1. Inngangur
This manual provides essential instructions for the safe and efficient operation of your Sharp CD-DH950P 240W Mini-Component System. This system features a 5-disc CD changer, a cassette deck, an iPod/iPhone docking station, a USB host for digital audio playback, and an AM/FM tuner. Please read this manual thoroughly before using the system and retain it for future reference.
2. Öryggisupplýsingar
- Aflgjafi: Tengdu tækið aðeins við riðstraumsinnstungu með tilgreindum hljóðstyrk.tage.
- Loftræsting: Tryggið næga loftræstingu. Ekki loka loftræstiopum.
- Vatn og raki: Ekki láta tækið verða fyrir rigningu, raka eða leka/skvettum vökva.
- Hiti: Haldið tækinu frá hitagjöfum eins og ofnum, hitaspjöldum, eldavélum eða öðrum tækjum sem framleiða hita.
- Þrif: Takið tækið úr sambandi við innstunguna áður en það er þrifið. Notið mjúkan, þurran klút.
- Þjónusta: Ekki reyna að þjónusta þessa vöru sjálfur. Vísaðu allri þjónustu til viðurkennds þjónustufólks.
3. Innihald pakka
Staðfestu að pakkinn þinn inniheldur eftirfarandi hluti:
- Main Unit (CD-DH950P)
- Vinstri þingforseti
- Hægri ræðumaður
- Fjarstýring með rafhlöðum
- AM hringloftnet
- FM vír loftnet
- Rafmagnssnúra
4. Uppsetning
4.1 Tenging hátalaranna
Connect the speaker wires from the main unit to the corresponding terminals on the back of each speaker. Ensure correct polarity (red to red, black to black) for optimal sound quality. The left speaker connects to the left speaker output, and the right speaker to the right speaker output.
4.2 Tenging loftnetanna
- FM loftnet: Connect the supplied FM wire antenna to the FM antenna terminal on the rear of the main unit. Extend the wire for better reception.
- AM loftnet: Connect the supplied AM loop antenna to the AM antenna terminals on the rear of the main unit. Position the antenna for best reception.
4.3 Rafmagnstenging
Plug the power cord into the AC IN jack on the rear of the main unit, then plug the other end into a standard AC wall outlet.
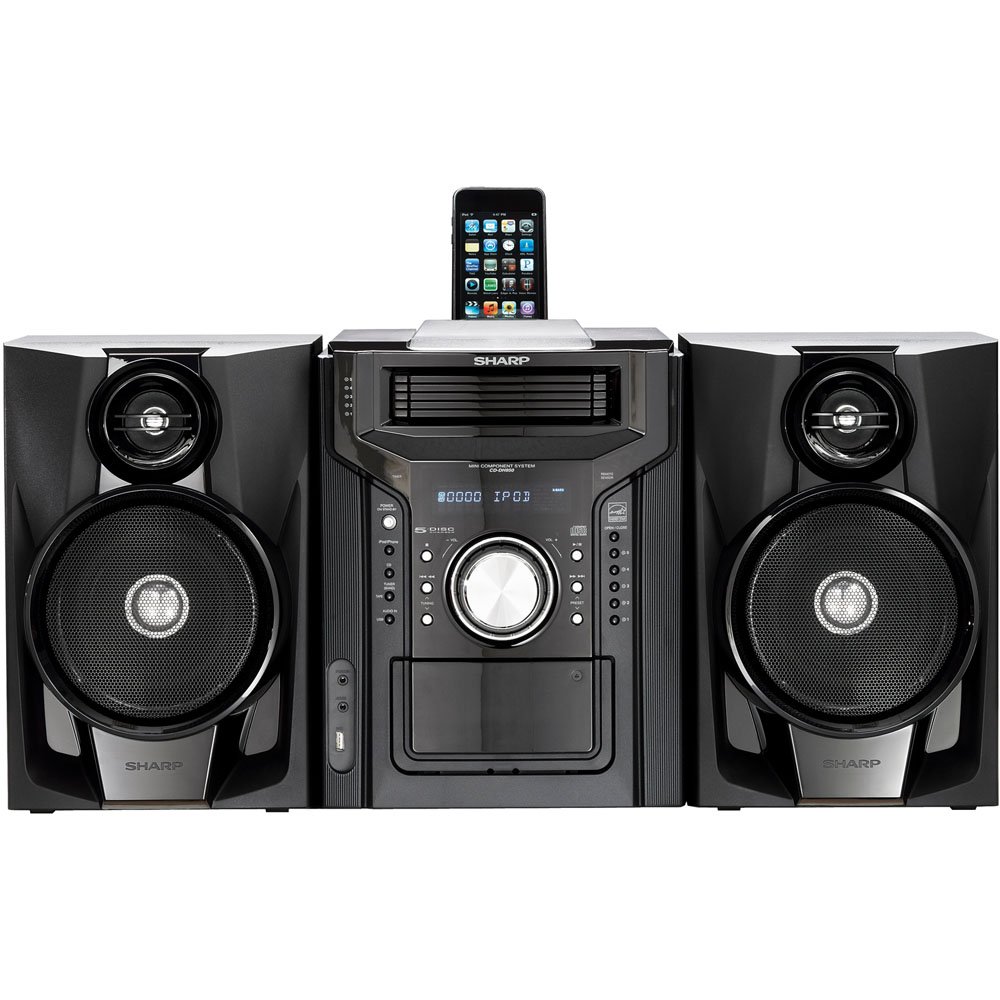
Mynd 4.3.1: Á heildina litið view of the Sharp CD-DH950P Mini-Component System, showing the main unit flanked by two speakers, with an iPhone docked on top of the main unit.
5. Notkunarleiðbeiningar
5.1 Kveikja/slökkva og hljóðstyrksstilling
- Ýttu á KRAFTUR hnappinn á framhliðinni eða fjarstýringunni til að kveikja eða slökkva á tækinu.
- Snúðu RÁÐMÁL hnappinn á framhliðinni eða notaðu VOL +/- hnappana á fjarstýringunni til að stilla hljóðstyrkinn.
5.2 Geislaspilun
This system features a 5-disc CD changer.
- Ýttu á OPNA/LOKA hnappinn til að opna geisladiskabakkann.
- Place up to five CDs on the disc trays, label side up.
- Ýttu á OPNA/LOKA aftur til að loka bakkanum.
- Ýttu á CD hnappinn til að velja geisladiskastillinguna.
- Ýttu á SPILA/HÁT hnappinn til að hefja spilun.
- Notaðu SKIPPA buttons to navigate between tracks or discs.
5.3 Notkun kassettuspilara
- Ýttu á TAPE OPEN/CLOSE button to open the cassette deck.
- Settu inn kassettuband.
- Ýttu á BAND hnappinn til að velja kassettuaðgerðina.
- Ýttu á SPILA til að hefja spilun.
- To record, ensure the source is selected (e.g., CD, Tuner) and press the MET button on the cassette deck.
5.4 iPod/iPhone Docking
The system includes a top-mounted docking slot for compatible iPod and iPhone devices (30-pin connector).
- Carefully place your iPod or iPhone into the docking slot.
- The system will automatically switch to iPod/iPhone mode or you may need to press the iPod / iPhone hnappinn.
- Use the system's controls or your device's controls to play music. The device will also charge while docked.
5.5 USB Host Playback
Connect a USB storage device containing MP3 or WMA audio files við USB tengið á framhliðinni.
- Settu USB tækið í USB tengið.
- Ýttu á USB hnappinn til að velja USB-virknina.
- Use the playback controls to navigate and play files.
5.6 AM/FM móttakari
- Ýttu á Tuner hnappinn til að velja AM eða FM útvarp.
- Notaðu TUNING +/- hnappana til að stilla handvirkt á stöð.
- Til að skanna sjálfvirkt skaltu halda inni TUNING +/- hnappa.
- To store a preset, tune to the desired station, then press MINNI og síðan forstillt númer.
5.7 Hljóðinntak
Connect an external audio device (e.g., MP3 player, smartphone) to the AUDIO IN jack on the front panel using a 3.5mm stereo cable.
- Connect your device to the AUDIO IN jack.
- Ýttu á HLJÓÐ INN button to select this source.
- Stjórnaðu spilun úr tengda tækinu þínu.
6. Viðhald
6.1 Þrif á einingunni
Wipe the exterior of the unit with a soft, dry cloth. Do not use abrasive cleaners, waxes, or solvents. Ensure the unit is unplugged before cleaning.
6.2 Umhirða geisladiska og spólu
- Handle CDs by their edges to avoid fingerprints and scratches. Clean discs with a soft, lint-free cloth from the center outwards.
- Store cassette tapes away from strong magnetic fields and direct sunlight.
7. Bilanagreining
| Vandamál | Möguleg orsök | Lausn |
|---|---|---|
| Enginn kraftur | Rafmagnssnúra ekki tengd; Rafmagnsinnstunga biluð | Gakktu úr skugga um að rafmagnssnúran sé vel tengd; prófaðu aðra innstungu. |
| Ekkert hljóð | Hljóðstyrkur of lágur; Hátalarar ekki tengdir; Rangur uppspretta valinn | Hækka hljóðstyrkinn; Athuga tengingar við hátalara; Veldu rétta inntaksuppsprettu |
| Geisladiskurinn spilar ekki | Disc inserted incorrectly; Disc is dirty or scratched | Insert disc correctly (label side up); Clean or replace disc |
| Léleg útvarpsmóttaka | Antenna not positioned correctly; Weak signal | Adjust position of AM/FM antennas; Try auto-tuning or manual fine-tuning |
| iPod/iPhone not charging/playing | Device not properly docked; Device not compatible (e.g., newer connector) | Re-dock the device; Note that this system uses a 30-pin connector, newer devices may require an adapter (not included) |
8. Tæknilýsing
- Vörumerki: Skarp
- Gerð: CD-DH950P
- Heildarúttaksstyrkur: 240 Watts RMS (85W/ch FTC)
- Uppsetning hátalara: 2.1 Rás
- Stutt hljóðsnið: CD, MP3, WMA
- Merki til hávaða hlutfall: 100 dB
- Samhæf tæki: MP3 Player, Smartphone (via 30-pin dock or USB/Audio In)
- Mál (L x B x H): 27.6 x 13.6 x 13.5 tommur
- Þyngd hlutar: 24.4 pund
- UPC: 074000369863, 074000369290
9. Upplýsingar um ábyrgð
This product is covered by a 1-year limited warranty from the date of purchase. Please refer to the warranty card included with your product for full terms and conditions, or contact Sharp customer service for details.
10. Stuðningur
For further assistance, technical support, or service inquiries, please contact Sharp customer service. Contact information can typically be found on the Sharp official webvefsíðunni eða í skjölunum sem fylgja vörunni þinni.