1. Inngangur
The iCODIS Document Camera & Overhead Scanner X3 is a versatile device designed for high-definition document and object capture. Featuring an 8-megapixel camera and A3 capture size, it is equipped with advanced software functionalities such as intelligent continuous shooting, Optical Character Recognition (OCR), automatic correction, and image segmentation. This portable scanner supports both video recording and image capturing, making it suitable for various applications in educational and professional settings.
Key features include a powerful 8MP camera (3264x2448 resolution), 4 LED fill lights for optimal illumination, and multi-language OCR capabilities. Its compact, foldable, and lightweight design ensures portability, while the stable base provides reliable operation. The device is designed for ease of use, with straightforward installation and software operation.
2. Innihald pakka
Upon unboxing your iCODIS X3 scanner, please ensure all the following items are present:
- iCODIS Document Camera & Overhead Scanner X3 Unit
- Black Document Pad (Neoprene rubber mat)
- Power Adapter with international plugs
- USB Cable (USB B to USB A)
- Finger Cots for Book Scanning (yellow rubber grips)
- Hand Button (USB)
- Fótpedali
- Side Light (for reducing glare on glossy materials)
- Software CD-ROM (software also available for download)
- Flýtileiðarvísir
3. Uppsetningarleiðbeiningar
Follow these steps to set up your iCODIS X3 scanner:
- Taka upp íhluti: Carefully remove the scanner unit, black document pad, power adapter, USB cable, and other accessories from the packaging.
- Position the Document Pad: Place the black document pad on a flat, stable surface. Ensure the notched side of the pad is positioned towards the back, where the scanner base will sit.
- Place the Scanner Unit: Position the scanner base into the notch of the document pad, ensuring it is stable and aligned.
- Tengdu rafmagn: Plug the power adapter into the DC port on the back of the scanner base, then connect it to a power outlet.
- Tengjast tölvu: Connect the USB cable from the scanner's USB PC port to an available USB port on your computer.
- Tengdu fylgihluti: Plug the hand button and/or foot pedal into their respective USB ports on the scanner base if you intend to use them for scanning.
- Install Side Light: If scanning glossy materials, attach the side light to the designated port on the scanner's arm to reduce glare.
- Kveikt á: Flip the power switch on the back of the scanner base to the 'ON' position.

Image: iCODIS X3 scanner set up on a desk with the document pad and a laptop.
4. Uppsetning hugbúnaðar
The iCODIS X3 scanner requires dedicated software for full functionality. Please note that the software is NOT COMPATIBLE WITH MAC OS; it only supports Windows operating systems.
- Sækja hugbúnaður: Insert the provided CD-ROM into your computer's CD drive. If your computer does not have a CD-ROM drive, visit the official iCODIS website (czur.com/support/et24_25pro) to download the latest software version for your specific model.
- Uppsetning: Follow the on-screen instructions to install the software. You may be prompted to enter the serial number, which is located on the bottom of your scanner unit.
- Ræstu hugbúnað: Once installed, launch the 'CZUR Scanner' application. You will typically be presented with options for 'Scanner' and 'Visual Presenter'. Select 'Scanner' to begin document scanning.
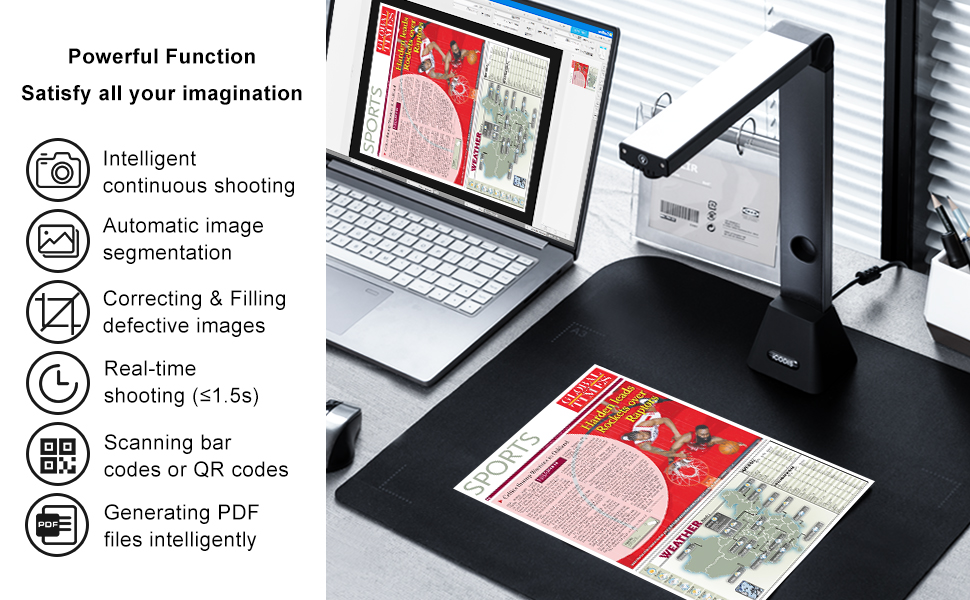
Image: The iCODIS scanner software interface on a computer screen.

Image: A reminder that the iCODIS X3 scanner software is not compatible with Mac OS.
5. Notkunarleiðbeiningar
The iCODIS X3 offers various scanning and display modes to suit your needs.
5.1 Skanna skjöl
The software supports different scanning modes for various document types:
- Flat Single Page: For individual documents, business cards, or other flat items.
- Facing Pages: Specifically designed for bound documents like books and archives. This mode includes features like automatic surface curvature recognition, automatic edge recognition, automatic edge cropping, rotation correction, and automatic curve flattening with finger cot removal.
To scan:
- Place your document(s) on the black document pad under the scanner's camera.
- In the software, select the appropriate 'Processing method' (Flat Single Page or Facing Pages).
- For 'Facing Pages' mode, use the provided finger cots to hold down the pages. The software is designed to automatically remove the finger cots from the final image. Ensure the black part of the finger cot aligns with the middle edge of the page, not the top or bottom.
- Click the 'Scan' button in the software, or use the hand button/foot pedal to initiate the scan.
- The scanner can be set to 'Auto Scan' mode, which automatically scans when it detects a page turn.

Image: A user demonstrating how to hold a book open with finger cots for scanning.
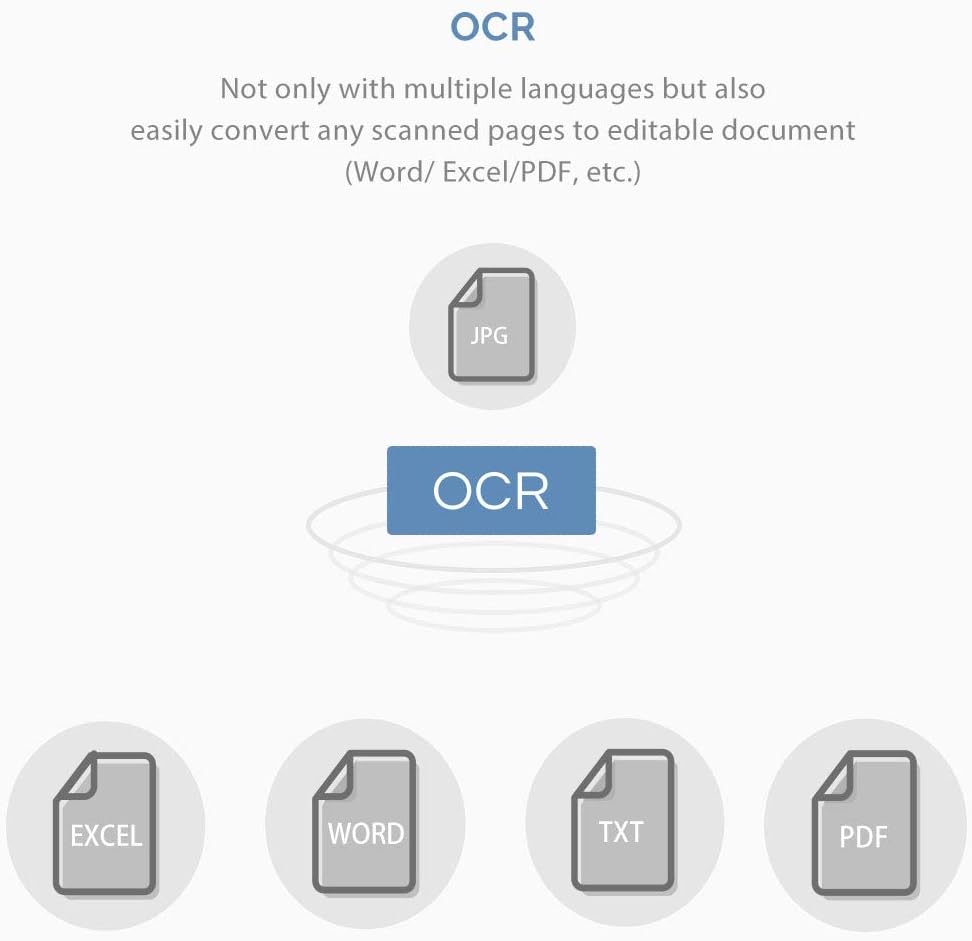
Image: The iCODIS X3 scanner automatically capturing images of documents.
5.2 Optical Character Recognition (OCR)
The iCODIS X3 features multi-language OCR technology, allowing you to convert scanned pages into editable document formats (Word, Excel, PDF, TXT).
- After scanning, select the desired images in the software.
- Choose the 'OCR' option and select your desired output format (e.g., Word, PDF/A).
- Confirm the settings and save the converted document to your preferred location.

Image: Icon representing OCR technology.

Mynd: Dæmiample of OCR converting a scanned document into editable text with 95% recognition rate.
5.3 Myndstillingar
The software provides tools to adjust image quality, including color mode (Auto Enhance, Color, B&W, Grayscale), DPI settings, and image format (JPG). You can also crop, rotate, and adjust contrast/sharpness/thickness.

Image: Screenshot of the iCODIS X3 scanner software showing various image adjustment options.
6. HDMI Mode (Object Projector)
The iCODIS X3 can function as an object projector via its HDMI output, allowing you to display live images of documents or objects onto a larger screen or projector. This is ideal for presentations, demonstrations, or classroom teaching.
- Connect an HDMI cable from the scanner's HDMI port to a display device (monitor, projector, smartboard).
- Gakktu úr skugga um að skanninn sé kveiktur.
- Place the object or document you wish to project under the camera. The live feed will appear on the connected display.
- Use the physical buttons on the scanner base to adjust magnification and lighting as needed.

Image: The iCODIS X3 scanner projecting a document onto a monitor in HDMI mode.
7. USB Mode (Webcam Functionality)
When connected via USB, the iCODIS X3 can also function as a standard USB Video Class (UVC) device, similar to a webcam. This allows it to be used with various third-party applications like OBS, Zoom, or other video conferencing and streaming software.
- Tengdu skannann við tölvuna þína með USB snúru.
- Launch your desired third-party application (e.g., Zoom, OBS).
- Select the 'iCODIS X3' or similar name as your video input device within the application's settings.
- You can now use the scanner to display live visuals of documents or objects during your calls or streams.
8. Viðhald
To ensure optimal performance and longevity of your iCODIS X3 scanner, follow these maintenance guidelines:
- Þrif: Use a soft, dry cloth to clean the scanner unit and document pad. Avoid abrasive cleaners or solvents that could damage the surfaces.
- Geymsla: When not in use, fold the scanner unit to its compact size and store it in a dry, dust-free environment. The original packaging can be used for safe storage.
- Meðhöndlun: Handle the device with care to avoid physical damage. Do not apply excessive force to the adjustable arm or camera head.
9. Bilanagreining
If you encounter issues with your iCODIS X3 scanner, refer to the following common problems and solutions:
- Software Not Installing/Recognizing Device:
- Ensure your operating system is Windows. The software is not compatible with Mac OS.
- Verify the USB connection. Try a different USB port or cable.
- Reinstall the software from the CD-ROM or the official websíða.
- Poor Image Quality/Glare:
- Adjust the built-in LED lights on the scanner head.
- Use the side light accessory for glossy documents to reduce glare.
- Ensure the document is flat and well-lit.
- Finger Cots Not Removed in Scan:
- Ensure the black part of the finger cot is aligned with the middle edge of the page, not covering content or placed at the top/bottom.
- Verify 'With finger cots' option is selected in the software settings for 'Facing Pages' mode.
10. Tæknilýsing
| Eiginleiki | Smáatriði |
|---|---|
| Nafn líkans | X3 |
| Vörumerki | iCODIS |
| Tegund skanni | Skjal |
| Tengitækni | USB |
| Upplausn | 3264*2448 (8 Megapixels) |
| Þyngd hlutar | 1.65 pund |
| Vörumál | 9.4 x 3.1 x 13.8 tommur |
| Litadýpt | 24 punktar |
| Stöðluð blaðageta | 1 (up to A3 capture size) |
| Optical Sensor Tækni | x3 |
| Lágmarks kerfiskröfur | Windows 7 |
11. Ábyrgð og stuðningur
For any questions regarding software installation, product usage, or technical support, please contact iCODIS customer service. You can typically find contact information (e.g., email address) on the product packaging or the official iCODIS website. Please provide your order number and a detailed description of your issue for prompt assistance.


