
1. Mikilvægar öryggisleiðbeiningar
Please read this manual carefully before operating your Qlima D 820 A SMART dehumidifier. Keep it for future reference. Failure to follow these instructions may result in electric shock, fire, or serious injury.
- Tengdu tækið alltaf við jarðtengda rafmagnsinnstungu.
- Ekki nota rakatækið ef rafmagnssnúra eða kló er skemmd.
- Ekki dýfa heimilistækinu, snúrunni eða stinga í vatn eða annan vökva.
- Gakktu úr skugga um að tækið sé komið fyrir á stöðugu, sléttu yfirborði.
- Haltu börnum og gæludýrum frá heimilistækinu meðan á notkun stendur.
- Ekki loka fyrir loftinntak eða úttak. Haldið að minnsta kosti 20 cm fjarlægð frá veggjum og húsgögnum.
- Aftengdu tækið áður en þú þrífur eða framkvæmir viðhald.
- Notið ekki tækið á stöðum þar sem eldfimar lofttegundir eða vökvar eru geymdir.
2. Vöru lokiðview
The Qlima D 820 A SMART dehumidifier is designed to efficiently remove excess moisture from the air, improving indoor air quality and comfort. It features smart connectivity, a HEPA filter, and various convenient functions.
Helstu eiginleikar:
- Plug & Play: Tilbúið til notkunar strax.
- Hygrometer + Hygrostat: For precise humidity measurement and control.
- Snjalltenging: Connects to mobile devices for remote control.
- Tímamælir aðgerð: Program operation times.
- Ambient Frost Prevention: Protects the unit in cooler conditions.
- Sjálfvirk lokun: Activates when the water tank is full.
- IP24 einkunn: Protection against splashing water.
- HEPA sía: For improved air purification.
- Rakageta: Allt að 20 lítrar á dag.
Varahlutir:
Kynntu þér helstu hluta rakatækisins:
- Stjórnborð með stafrænum skjá
- Loftinntak (með síu)
- Loftrás
- Vatnsgeymir
- Stöðugt frárennslisafrennsli
- Rafmagnssnúra

Framan view of the Qlima D 820 A SMART Dehumidifier, showing the control panel and air outlet.
Hlið view of the Qlima D 820 A SMART Dehumidifier, highlighting its compact design.

Til baka view of the Qlima D 820 A SMART Dehumidifier, showing the air inlet and power cord connection.
3. Uppsetning
Upptaka:
- Takið rakatækið varlega úr umbúðunum.
- Fjarlægið allt umbúðaefni, þar á meðal límband eða hlífðarfilmur.
- Skoðið hvort tækið sé skemmt. Ef það er skemmt, ekki nota það og hafið samband við þjónustuver.
Staðsetning:
- Place the dehumidifier on a firm, level surface in the area where dehumidification is desired.
- Gakktu úr skugga um að það sé að minnsta kosti 20 cm (8 tommur) autt rými í kringum loftinntak og -úttak til að tryggja rétta loftflæði.
- Avoid placing the unit near heat sources, direct sunlight, or in areas with excessive dust.
Rafmagnstenging:
- Stingdu rafmagnssnúrunni í viðeigandi jarðtengda rafmagnsinnstungu.
- Gakktu úr skugga um að binditage passar við forskriftir tækisins.
4. Notkunarleiðbeiningar
Stjórnborð:
Stjórnborðið er með stafrænum skjá og snertihnappum fyrir ýmsar aðgerðir.

Icons on the control panel indicating Timer, 20 Liters/24H capacity, and Humidity Level Control.
Kveikt/slökkt:
- Ýttu á Kraftur hnappinn til að kveikja eða slökkva á tækinu.
Stilling á æskilegum rakastigi:
- Ýttu á Raki button to cycle through desired humidity levels (e.g., 40%, 50%, 60% RH). The unit will operate until the set level is reached.
Tímamælir aðgerð:
- Ýttu á Tímamælir button to set the desired operating duration (e.g., 2, 4, 8 hours). The unit will automatically turn off after the set time.
Stilling viftuhraða:
- Ýttu á Viftuhraði button to select between available fan speeds (e.g., Low, Medium, High).
Snjalltenging:
The D 820 A SMART can be controlled via a mobile application. Refer to the separate Smart App Guide for detailed instructions on connecting your device and using smart features.

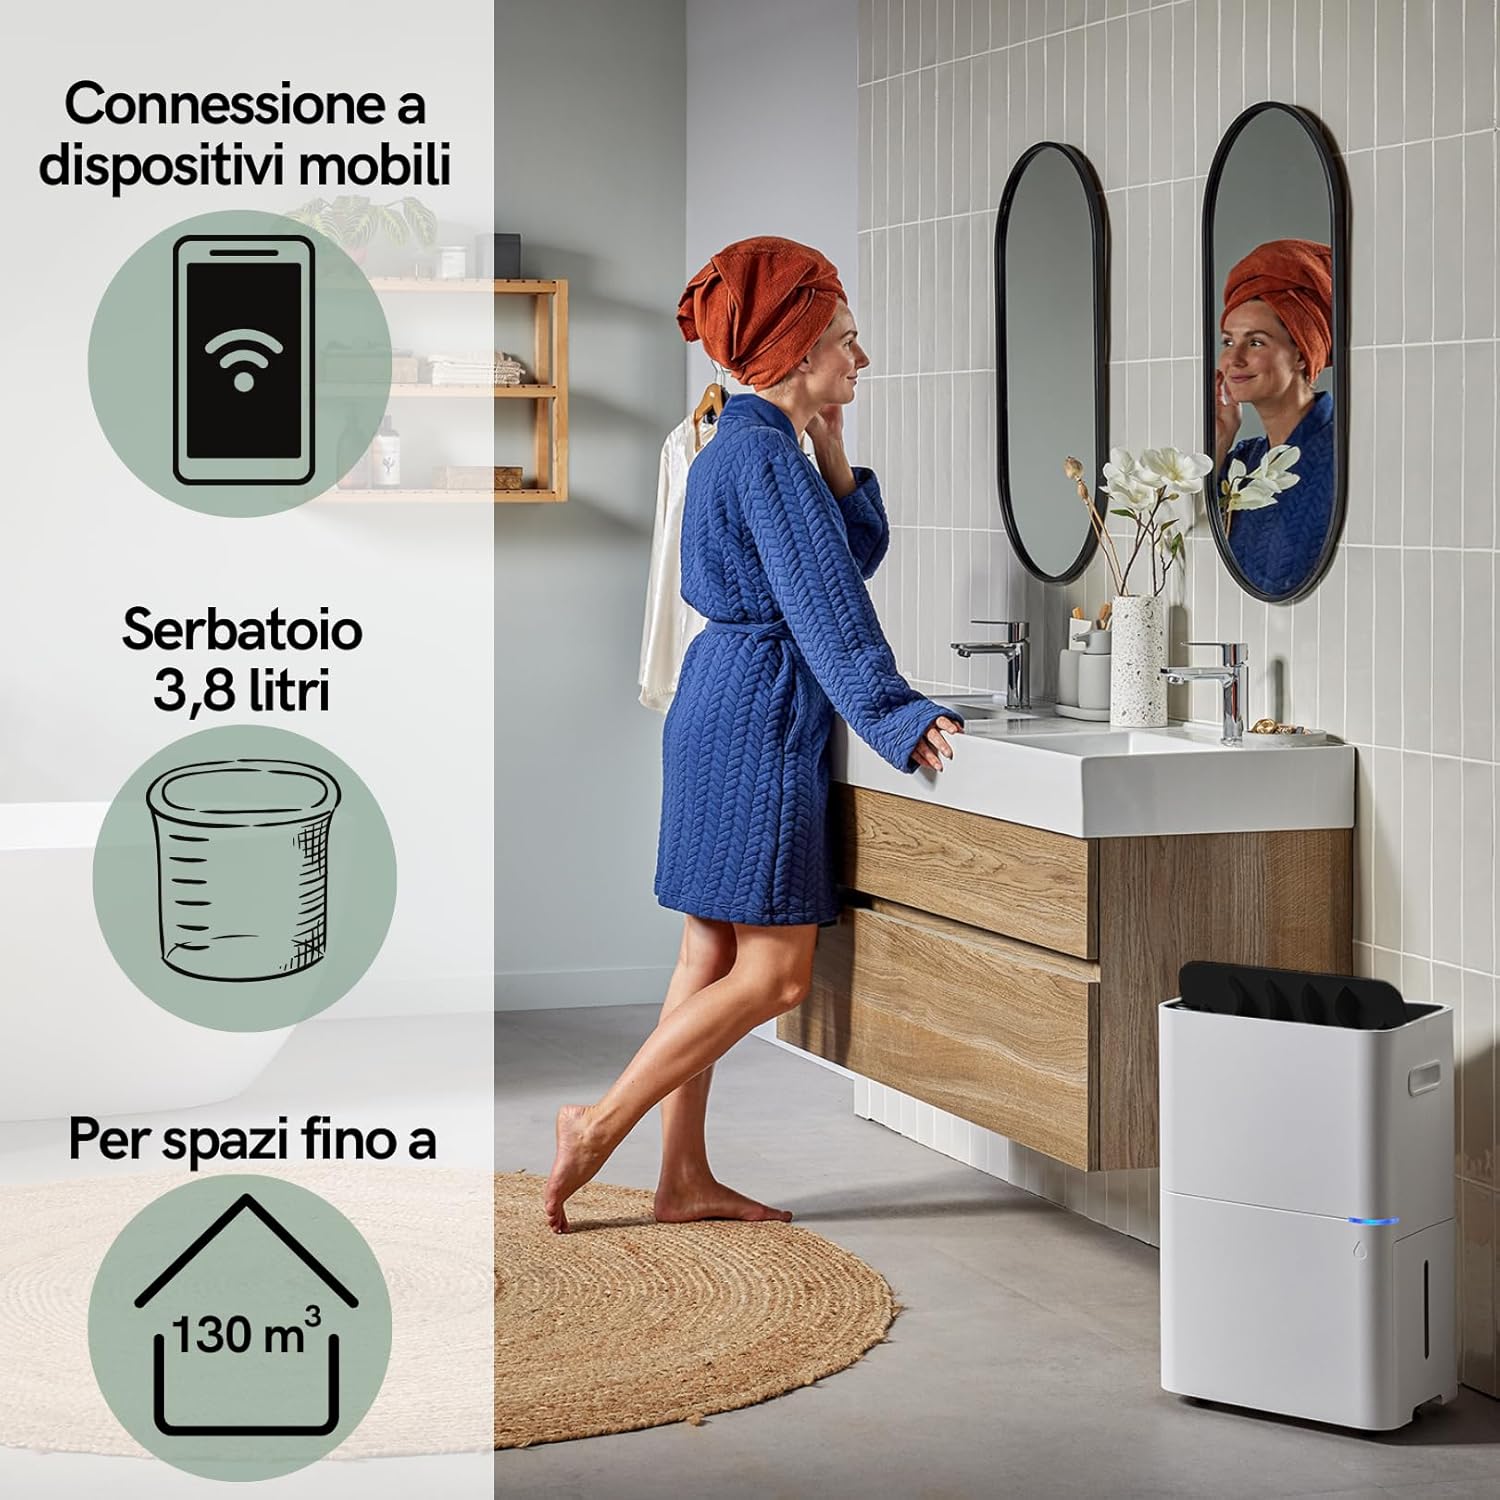
The dehumidifier supports mobile device connection, features a 3.8-liter water tank, and is suitable for spaces up to 130 m³.
Stöðugt frárennsli:
For continuous operation without emptying the water tank, connect a drainage hose (not included) to the continuous drainage outlet at the back of the unit. Ensure the hose is sloped downwards to allow water to drain by gravity.

The Qlima D 820 A SMART dehumidifier is suitable for use in various domestic environments such as kitchens, bedrooms, bathrooms, and living rooms.
5. Viðhald
Reglulegt viðhald tryggir bestu mögulegu afköst og lengir líftíma rakatækisins. Takið alltaf tækið úr sambandi áður en viðhald er framkvæmt.
Að tæma vatnstankinn:
- When the water tank is full, the unit will automatically shut off, and an indicator light will illuminate.
- Dragðu vatnstankinn varlega út úr framhlið tækisins.
- Tæmið safnaða vatnið.
- Slide the empty tank back into place until it clicks securely. The unit will resume operation.

The removable water tank can be easily accessed and emptied from the side of the unit.
Cleaning the Air Filter (HEPA Filter):
- The HEPA filter should be cleaned regularly, approximately every two weeks, or more often depending on air quality.
- Remove the filter cover and carefully take out the HEPA filter.
- Use a vacuum cleaner with a brush attachment to gently remove dust and debris from the filter. Do not wash the HEPA filter with water.
- Reinsert the clean filter and close the filter cover.
Hreinsun að utan:
- Þurrkaðu ytra byrði rakatækisins með mjúku, damp klút.
- Notið ekki slípiefni, leysiefni eða sterk efni.
Geymsla:
- Ef tækið er geymt í langan tíma skal ganga úr skugga um að vatnstankurinn sé tómur og hreinn.
- Hreinsaðu loftsíuna.
- Geymið rakatækið á köldum, þurrum stað, fjarri beinu sólarljósi og miklum hita.
6. Bilanagreining
Áður en þú hefur samband við þjónustuver viðskiptavina skaltu vísa til eftirfarandi leiðbeininga um úrræðaleit vegna algengra vandamála.
| Vandamál | Möguleg orsök | Lausn |
|---|---|---|
| Rakaþurrkan kveikir ekki á. | Engin aflgjafi. Rafmagnssnúra ekki í sambandi. | Check power connection. Ensure outlet is functional. |
| Engin rakaþurrkun. | Air filter clogged. Room temperature too low. Humidity setting too high. | Clean the air filter. Ensure room temperature is above 5°C. Lower the desired humidity setting. |
| Vísirinn fyrir fullan vatnstank logar en tankurinn er ekki fullur. | Water tank not properly seated. Float switch stuck. | Reinsert the water tank correctly. Gently shake the tank to free the float switch. |
| Óvenjulegur hávaði í rekstri. | Unit not on a level surface. Obstruction in fan. | Place the unit on a flat, stable surface. Check for and remove any obstructions. |
7. Tæknilýsing
Technical data for the Qlima D 820 A SMART Dehumidifier:

Dimensions and weight of the Qlima D 820 A SMART Dehumidifier.
| Eiginleiki | Forskrift |
|---|---|
| Gerðarnúmer | D 820 A SMART |
| Vörumerki | Qlima |
| Rafmagn getu | 20 lítrar/dag |
| Rúmmál vatnstanks | 3.8 lítrar |
| Mál (L x B x H) | 25.5 x 35.5 x 57.2 cm |
| Þyngd | 16.5 kg |
| Efni | Plast |
| Fjöldi hraða | 3 |
| Sérstakir eiginleikar | Smart operation, HEPA filter, Automatic shut-off, Timer, Ambient frost prevention |
| IP einkunn | IP24 |
| Ráðlagður notkun | Professional and domestic |
8. Ábyrgð og stuðningur
For warranty information, please refer to the warranty card included with your product or visit the official Qlima website. If you encounter any issues not covered in this manual or require further assistance, please contact Qlima customer support.
Please have your model number (D 820 A SMART) and purchase date ready when contacting support.