1. Inngangur
Thank you for choosing the OTIC 10.1-inch Portable Dual Screen Car DVD Player. This device is designed to provide versatile entertainment on the go, featuring two synchronized screens, a long-lasting rechargeable battery, and broad media compatibility. This manual will guide you through the proper setup, operation, and maintenance of your new DVD player to ensure optimal performance and longevity.
2. Innihald pakka
Vinsamlegast athugið pakkninguna vandlega til að tryggja að allar vörur séu til staðar og í góðu ástandi. Ef einhverjar vörur vantar eða eru skemmdar, vinsamlegast hafið samband við söluaðila.
- 1 x Main DVD Player Unit
- 1 x Slave Monitor Unit
- 1 x AC/DC straumbreytir
- 1 x DC to DC Connection Cable
- 1 x AV Connection Cable
- 1 x millistykki fyrir bílhleðslutæki
- 1 x fjarstýring (rafhlöður fylgja)
- 2 x heyrnartól
- 2 x festingarbönd
- 1 x Notendahandbók (þetta skjal)
- 1 x Quick Start Guide

Athugið: The remote control requires 2 AAA batteries, which are included.
3. Helstu eiginleikar
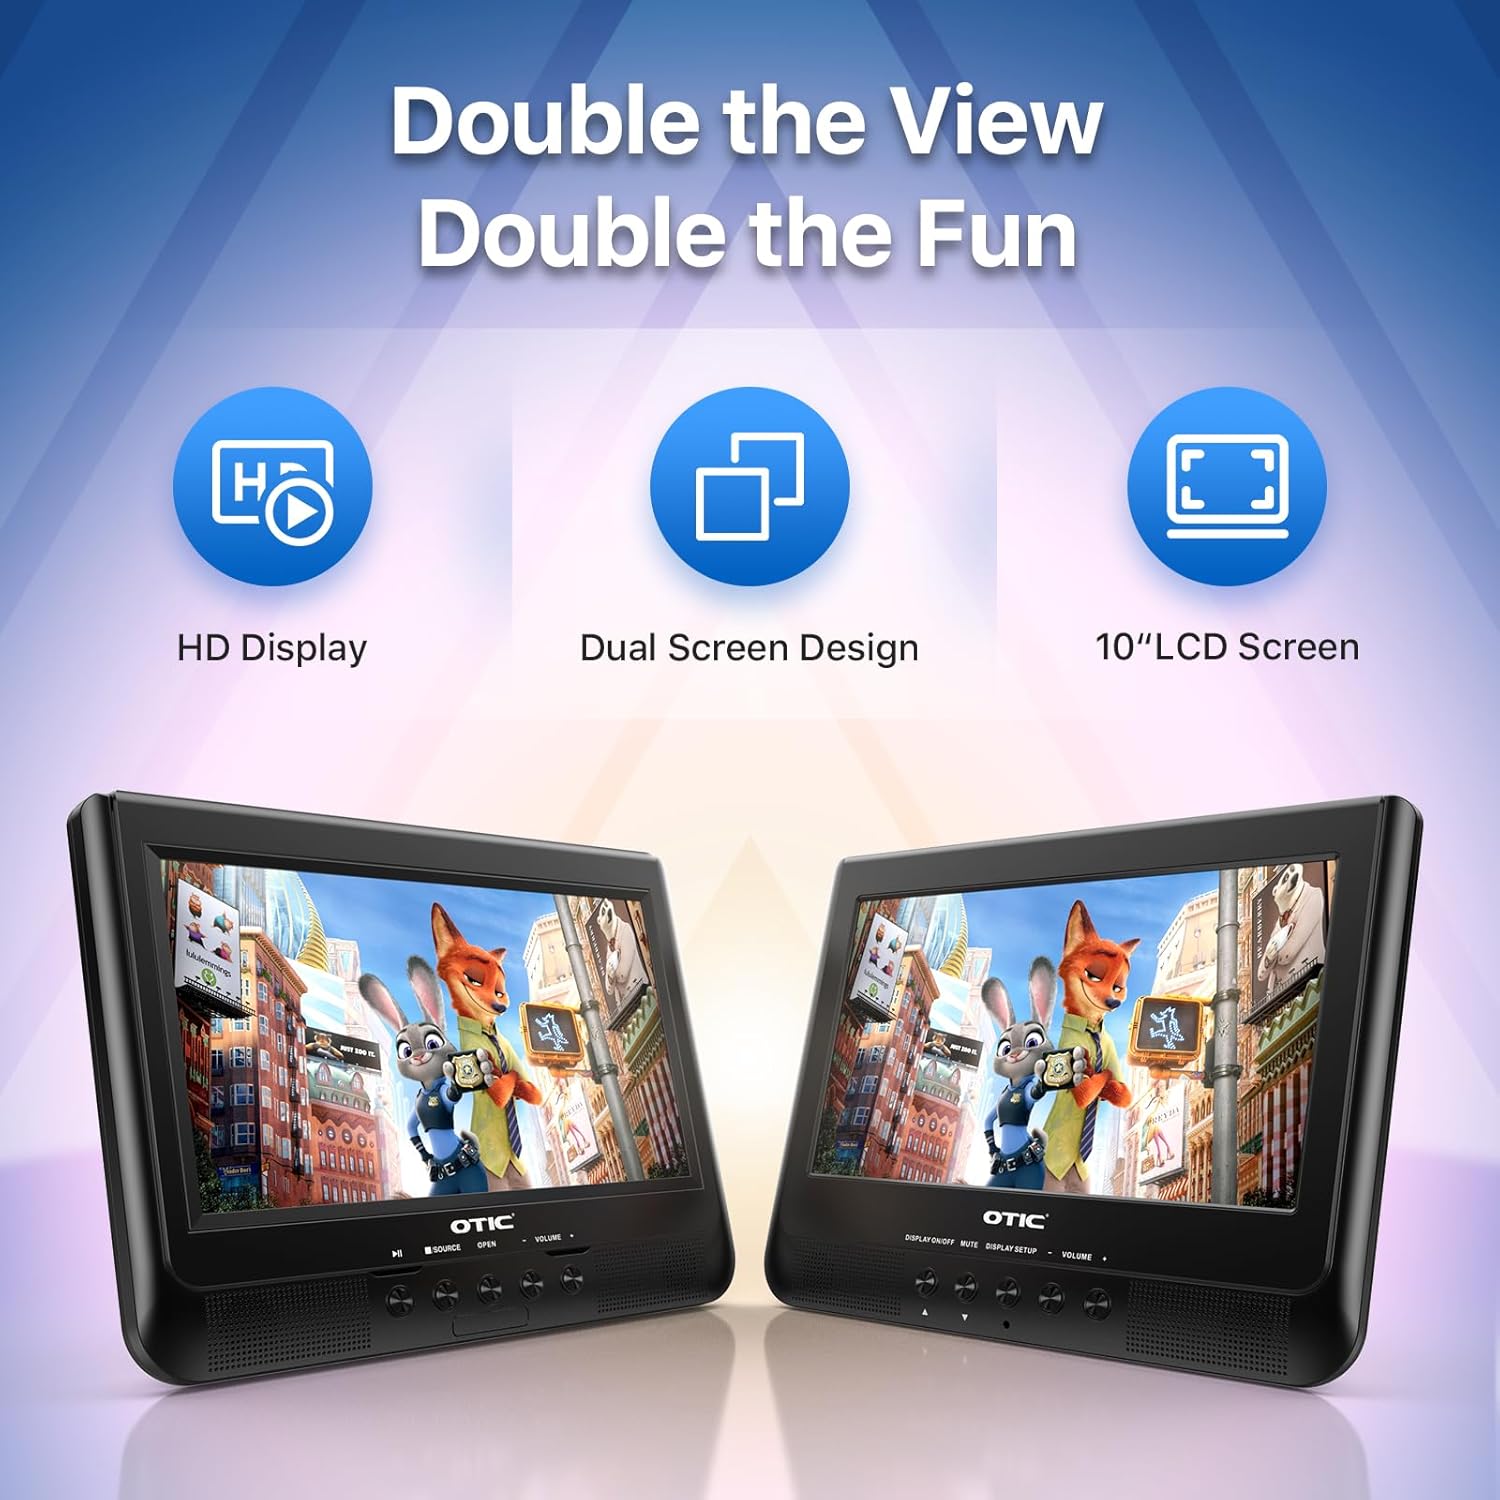
- Dual Display Capability: Connect the host DVD player to the slave monitor using the included AV cable for synchronized viewing of the same content.
- High-Resolution Screens: Both 10.1-inch displays feature a resolution of 1024 x 600 pixels. The main unit's screen can rotate 270° and flip 180° for optimal viewing horn.
- Lengri endingartími rafhlöðu: Equipped with a built-in 2500 mAh rechargeable battery, providing 3-5 hours of continuous video playback.
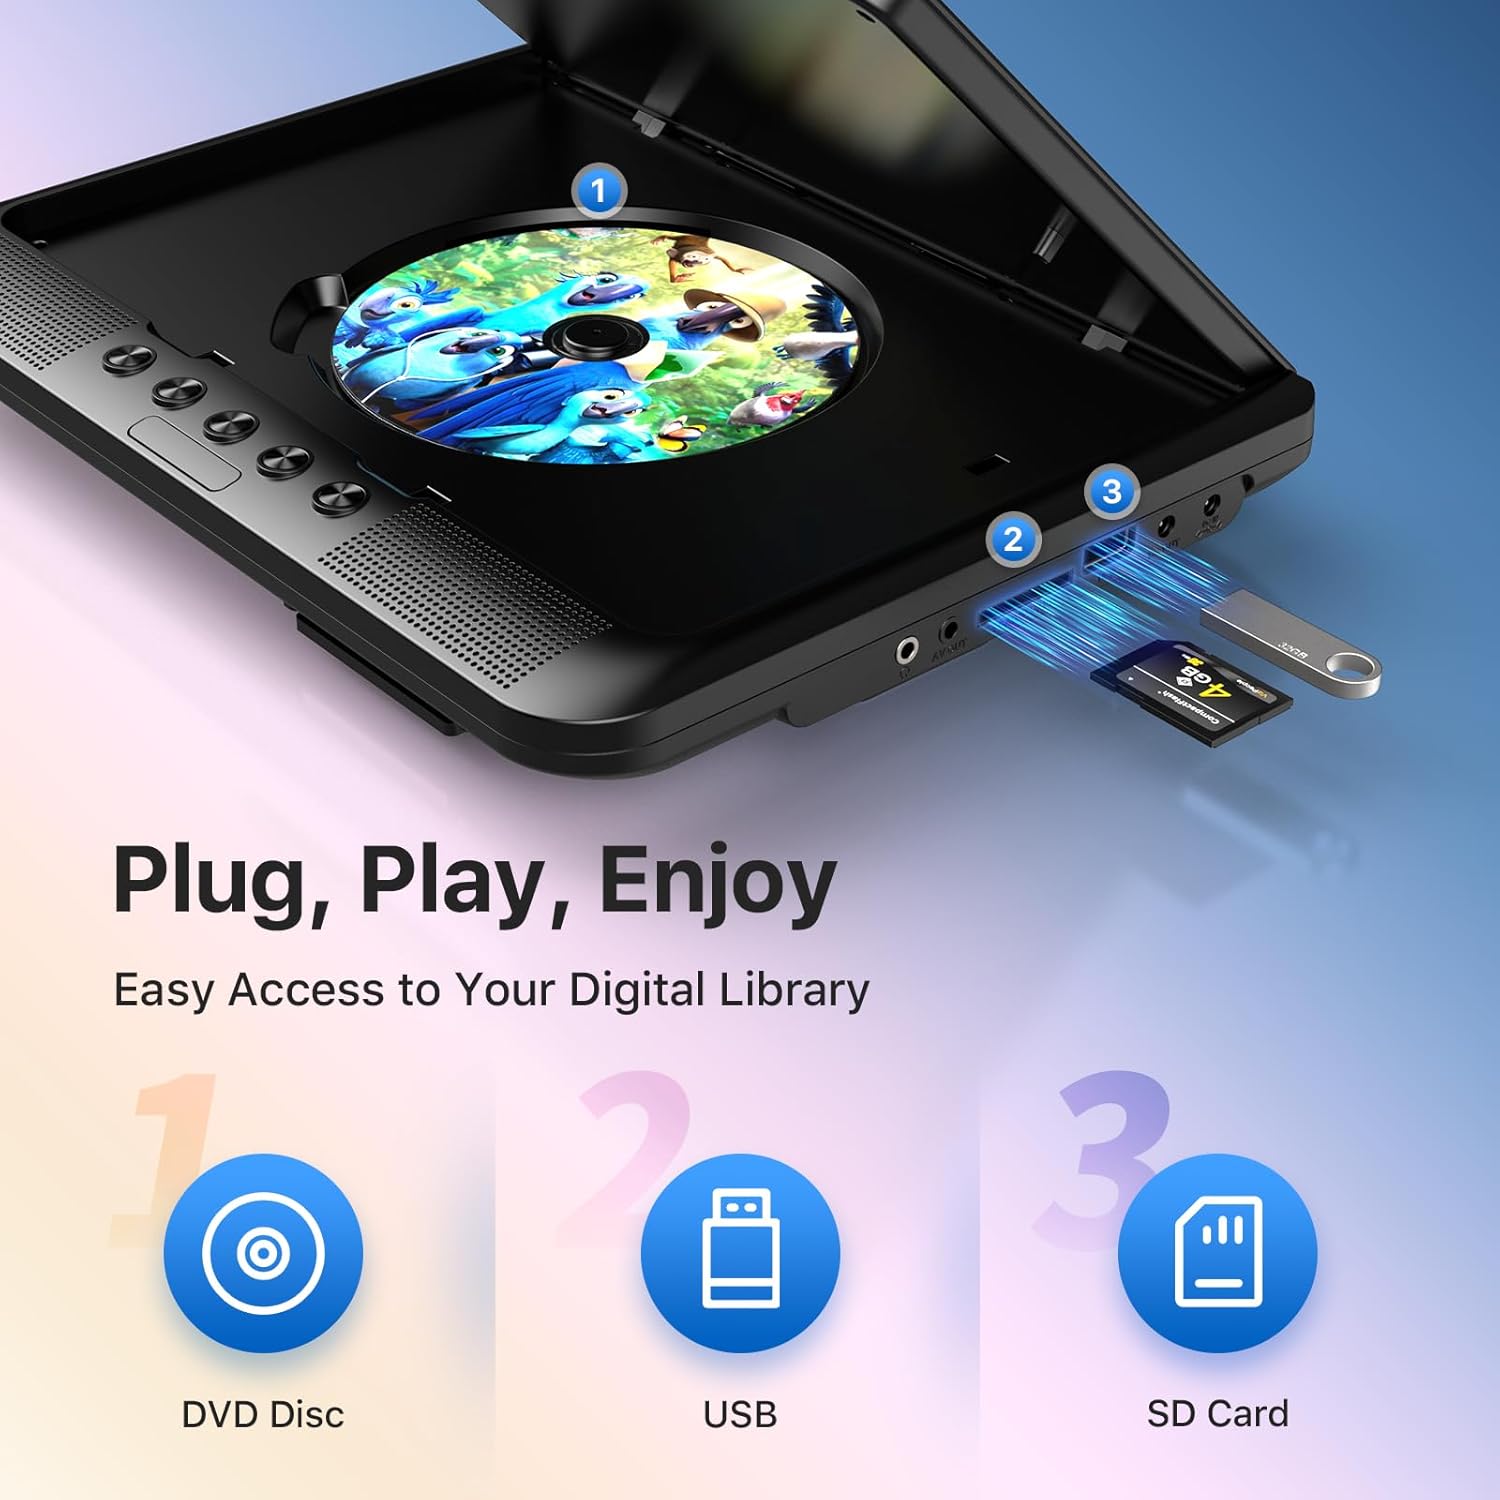
- Versatile Media Support: Plays various formats including CD, DVD, CD-R/RW, DVD±R/±RW, VCD/SVCD. Supports USB drives and SD cards up to 32GB for video (VOB, AVI, MPEG1, MPEG2, XVID), audio (MP3, WMA), and image (JPG, JPEG) files. (Note: Blu-ray DVDs are not supported.)
- Síðasta minnisaðgerð: Automatically resumes playback from where you left off, ensuring a seamless viewupplifun.
- Aukið hljóð: Integrated dual stereo speakers deliver clear sound. A 3.5mm headphone jack is available for private listening.
- AV inntak/úttak: Allows connection to larger TV screens for shared viewing or to external video sources.
4. Uppsetningarleiðbeiningar
4.1 Upphafshleðsla
Before first use, fully charge the main DVD player unit. Connect the AC/DC power adapter to the player's DC IN port and plug it into a wall outlet. The charging indicator light will typically turn off or change color when fully charged.
4.2 Connecting the Dual Screens
- Locate the AV OUT port on the main DVD player unit.
- Locate the AV IN port on the slave monitor unit.
- Connect the included AV connection cable between the AV OUT of the main unit and the AV IN of the slave unit.
- Connect the DC to DC connection cable from the main unit's DC OUT port to the slave unit's DC IN port to power the slave monitor.
4.3 Kveikt á tækinu
- AC Power: Use the AC/DC power adapter for home use.
- Car Power: Use the car charger adapter to power the unit from your vehicle's 12V power outlet.
- Rafhlöðuorka: The built-in rechargeable battery provides portable power for outdoor use.
4.4 Mounting in a Vehicle
Use the provided mounting straps to securely attach the DVD player and slave monitor to the headrests in your car. Ensure they are positioned safely and do not obstruct the driver's view eða útræsingu loftpúða.

5. Notkunarleiðbeiningar
5.1 Grunnspilun
- Kveikt á: Press the 'POWER' button on the unit or remote control.
- Settu inn disk: Gently open the disc cover and place a DVD or CD onto the spindle, label side up. Close the cover firmly.
- USB/SD spilun: Insert a USB drive into the USB port or an SD card into the SD card slot. The player should automatically detect the media or allow you to select the source using the 'SOURCE' button.
- Spilunarstýringar: Use the 'PLAY/PAUSE', 'STOP', 'NEXT', 'PREVIOUS', 'FF' (Fast Forward), and 'REW' (Rewind) buttons on the unit or remote control to manage playback.
- Hljóðstyrksstilling: Notaðu 'VOL+' og 'VOL-' takkana til að stilla hljóðstyrkinn.

5.2 Notkun fjarstýringarinnar
The included remote control provides full functionality for convenient operation from a distance. Point the remote control directly at the main DVD player unit's IR sensor.
5.3 Síðasta minnisaðgerð
The player automatically remembers the last playback point. To resume from where you left off, simply power on the device and press 'PLAY'. This function is active for most disc and digital media formats.
5.4 Connecting to an External Display (TV)
To share your viewing experience on a larger screen, use the AV OUT port on the main DVD player unit and connect it to the AV IN ports of your television using the included AV cable. Select the correct AV input on your TV.

6. Samhæfni fjölmiðla
The OTIC DVD player supports a wide range of media formats:
- Diskasnið: DVD, DVD+R, DVD-R, DVD+RW, DVD-RW, CD, CD+R, CD-R, CD+RW, CD-RW, VCD, SVCD. (Blu-ray discs are not supported.)
- Video Formats (USB/SD): VOB, AVI, MPEG1, MPEG2, XVID.
- Audio Formats (USB/SD): MP3, WMA.
- Image Formats (USB/SD): JPG, JPEG.
USB drives and SD cards up to 32GB capacity are supported.

7. Viðhald
7.1 Þrif á einingunni
Þurrkið ytra byrði spilarans með mjúkum, þurrum klút. Ef þrjósk blettir eru til staðar, þurrkið þá örlítið.ampen the cloth with water. Do not use abrasive cleaners or solvents, as they may damage the surface.
7.2 Umhirða diska
Handle discs by their edges. Keep discs clean and free of scratches. Store them in their cases when not in use. A dirty or scratched disc can cause playback issues.
7.3 Umhirða rafhlöðu
To prolong battery life, avoid fully discharging the battery frequently. If storing the unit for an extended period, charge it to about 50% every few months.
8. Bilanagreining
If you encounter issues with your OTIC DVD player, please refer to the following common problems and solutions:
| Vandamál | Möguleg orsök | Lausn |
|---|---|---|
| Spilarinn kveikir ekki á sér. | Rafhlaðan er tóm; Straumbreytirinn er ekki tengdur eða bilaður. | Hlaðið rafhlöðuna; Gangið úr skugga um að rafmagnsmillistykkið sé vel tengt og virki. |
| Engin mynd á skjánum. | Disc is dirty/scratched; Incorrect source selected; AV cable loose (for slave monitor/TV). | Clean or replace disc; Press 'SOURCE' button to select correct input; Check AV cable connections. |
| Ekkert hljóð. | Volume too low; Mute function active; Headphone connected. | Increase volume; Press 'MUTE' button on remote; Disconnect headphones if using speakers. |
| Diskur hoppar eða frýs. | Dirty/damaged disc; Player is on an unstable surface; Excessive vibration. | Clean or replace disc; Place player on a stable surface; Reduce vibrations if in a moving vehicle. |
| Fjarstýring virkar ekki. | Batteries depleted; Obstruction between remote and player; Incorrect angle. | Replace batteries; Ensure clear line of sight to IR sensor; Point remote directly at player. |
If the problem persists after trying these solutions, please contact OTIC customer support for further assistance.
9. Tæknilýsing
| Eiginleiki | Forskrift |
|---|---|
| Vörumerki | OTIC |
| Gerðarnúmer | DP-2123A |
| Skjástærð | 10.1 Inches (visible display area) |
| Tegund skjás | LCD |
| Skjáupplausn | 1024 x 600 dílar |
| Rafhlöðugeta | 2500 mAh (built-in rechargeable) |
| Spilunartími rafhlöðu | 3-5 tímar |
| Samhæft diskasnið | CD, CD-R/RW, DVD, DVD+R/RW, DVD-R/RW, VCD, SVCD |
| Compatible Digital Media | USB drives (up to 32GB), SD cards (up to 32GB) |
| Stuðningur myndbandssnið | VOB, AVI, MPEG1, MPEG2, XVID |
| Stutt hljóðsnið | MP3, WMA |
| Styður mynd snið | JPG, JPEG |
| Tengingar | AV In, AV Out, USB, SD Card Slot, 3.5mm Headphone Jack, DC In, DC Out |
| Mál (Aðaleining) | Um það bil 35.56 x 13.46 x 25.4 cm (14 x 5.3 x 10 tommur) |
| Þyngd | Um það bil 2.23 kg (4.92 lbs) |
| Litur | Svartur |
10. Ábyrgð og stuðningur
For information regarding warranty coverage, technical support, or service, please refer to the warranty card included in your package or contact the retailer from whom you purchased the product. You may also visit the official OTIC websíðu fyrir nýjustu stuðningsupplýsingarnar.
Vinsamlegast geymdu sönnunina þína fyrir kaupum fyrir ábyrgðarkröfur.