1. Inngangur
This manual provides essential information for the installation, operation, and maintenance of your Hikvision IDS-7208HQHI-M1/XT 8-Channel 5MP Turbo HD DVR. Please read this manual thoroughly before using the product to ensure correct and safe operation. Keep this manual for future reference.
The Hikvision IDS-7208HQHI-M1/XT is an advanced 8-channel Digital Video Recorder designed for high-definition surveillance systems. It supports various video input formats, including Turbo HD, AHD, CVI, CVBS, and IP cameras, offering versatile compatibility. Key features include 5MP recording capability, H.265+ video compression for efficient storage, AcuSense technology for intelligent motion detection, and remote access via the Hik-Connect app.
2. Innihald pakka
Verify that all items are present and in good condition upon unpacking. If any items are missing or damaged, contact your supplier immediately.
- DVR main unit
- Rafmagns millistykki
- USB mús
3. Vörueiginleikar
The Hikvision IDS-7208HQHI-M1/XT DVR offers a range of features designed for effective surveillance:
- 8-Channel DVR with 5MP HD Support: Supports multiple analog HD camera formats and up to 8 channels of real-time video monitoring and recording.
- Two-Way Audio Support: Enables audio communication through compatible cameras.
- Built-In AcuSense Technology: Smart analysis minimizes false alarms by focusing on human and vehicle-based motion detection.
- Remote Access via Hik-Connect App: View live video, playback recordings, and receive alerts anytime on your smartphone.
- Efficient Storage with H.265+ Compression: Saves bandwidth and hard disk space while maintaining clear video quality.
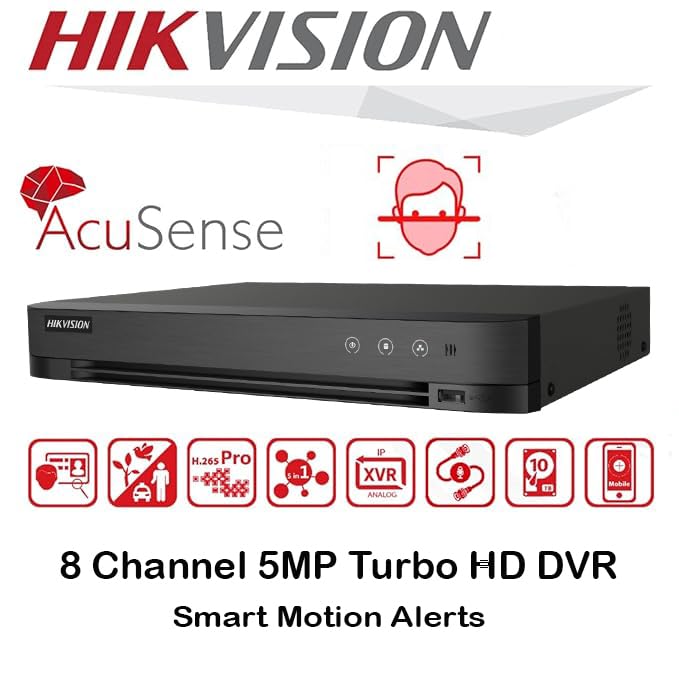
Mynd: Yfirview of key features including AcuSense, H.265+ compression, and 5MP resolution support.
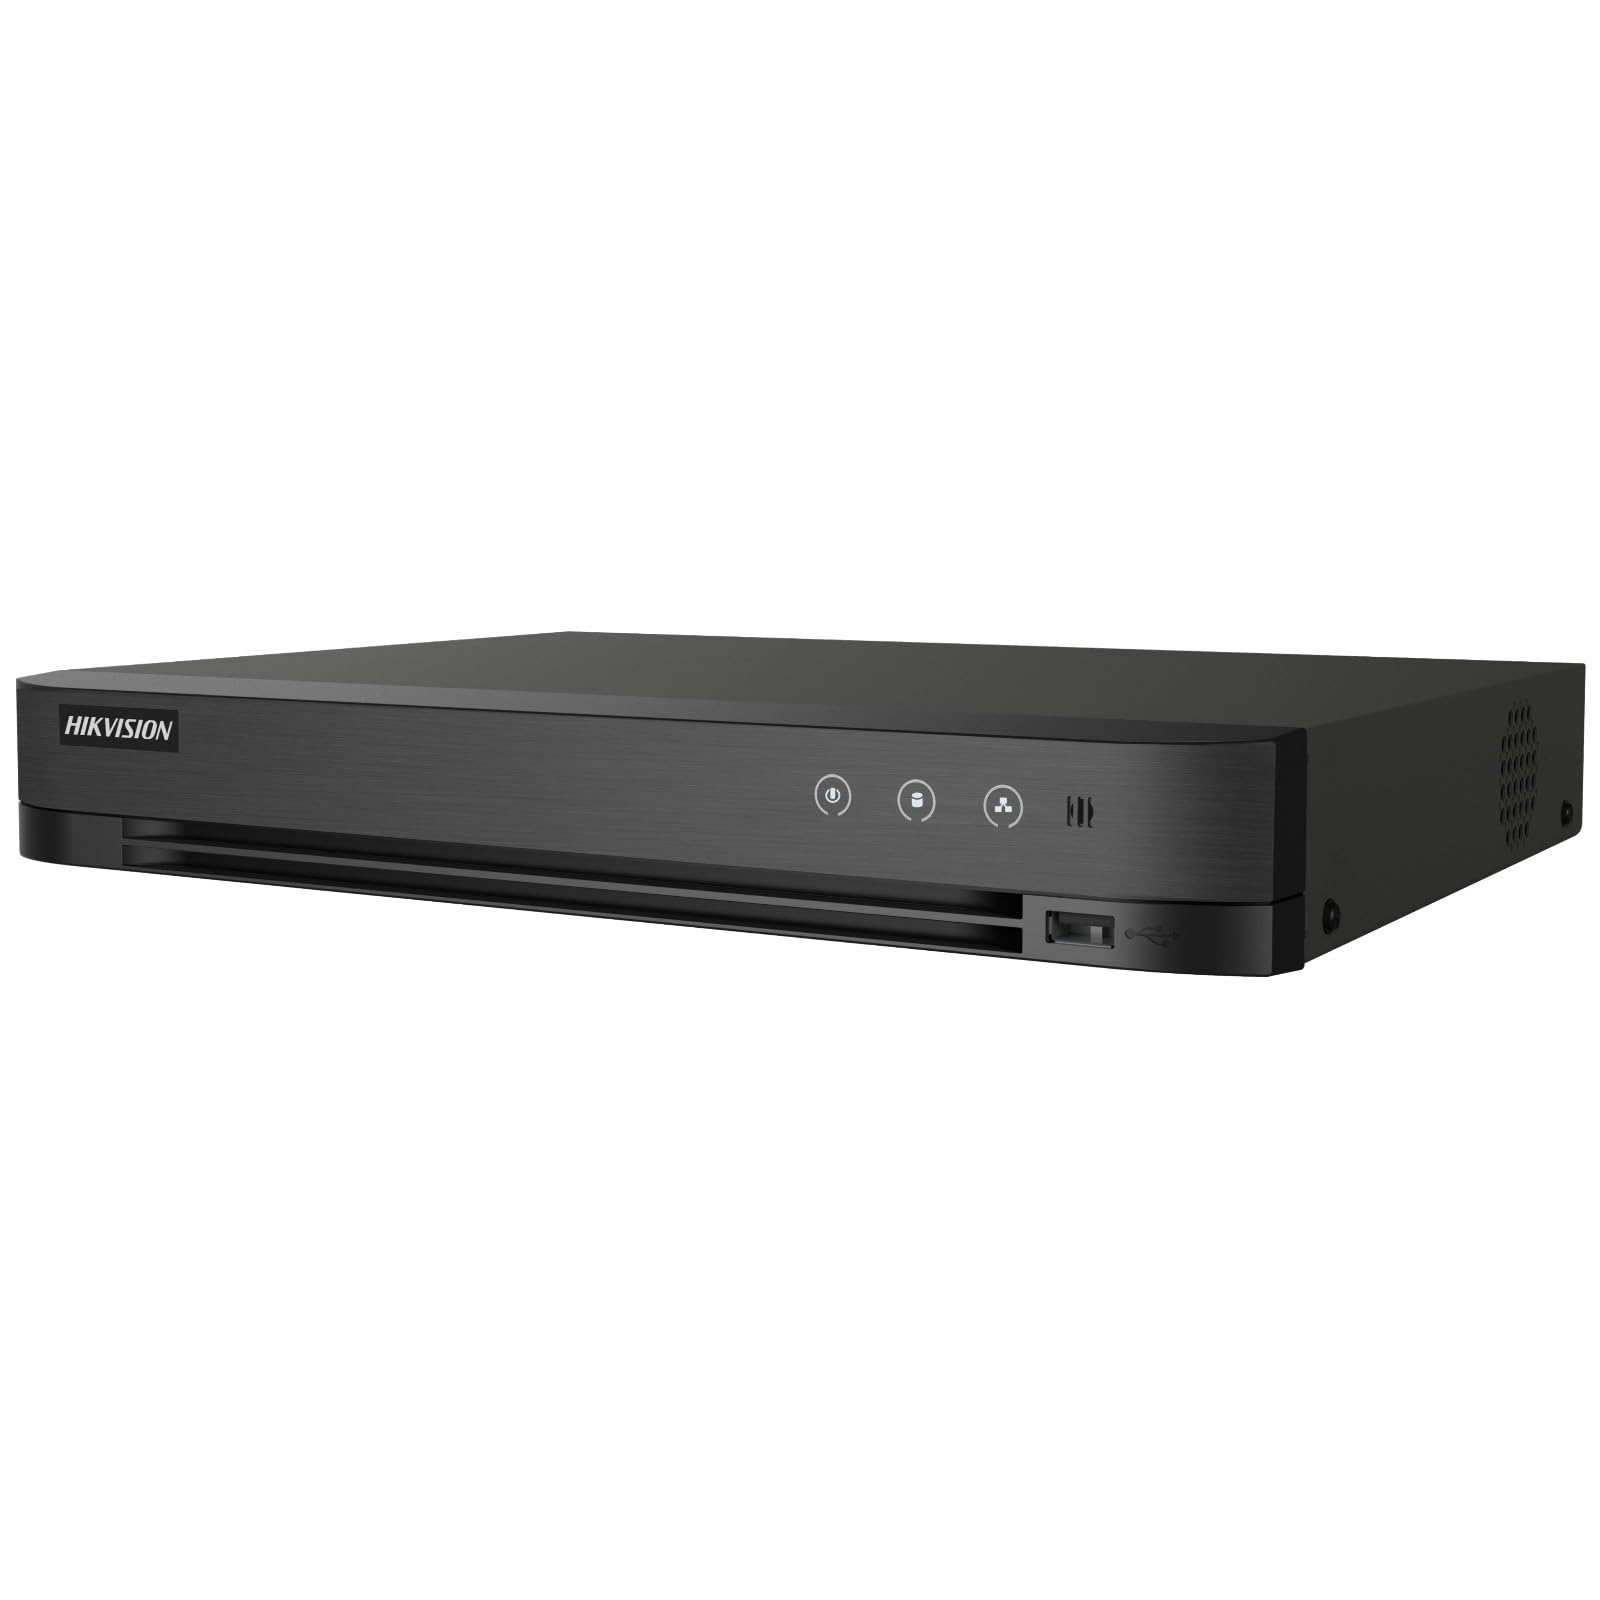
Image: The Hikvision Turbo HD DVR highlighting its support for two-way audio cameras, enabling interactive communication.
4. Líkamlegt viðmót
Familiarize yourself with the ports and indicators on the DVR unit. The following diagram illustrates the rear panel of the Hikvision IDS-7208HQHI-M1/XT DVR:

Image: Rear panel connections of the DVR, showing video inputs, audio ports, network, and power.
- Myndbandsinntak (BNC): Connect analog HD cameras (Turbo HD, AHD, CVI, CVBS).
- Video Out (BNC): Connect to a monitor for local display.
- Hljóðinntak (RCA): Connect external audio input devices.
- HDMI úttak: Tengdu við HDMI-samhæfan skjá eða sjónvarp fyrir háskerpu myndbandsútgang.
- VGA úttak: Tengist við VGA-samhæfan skjá.
- Hljóðútgangur (RCA): Connect to external audio output devices.
- USB tengi: Connect a USB mouse, USB flash drive for backup, or external storage.
- LAN tengi (RJ45): Tengstu við netið þitt fyrir fjaraðgang og samþættingu við IP-myndavélar.
- RS-485: For PTZ camera control (if supported).
- 12V DC rafmagnsinntak: Tengdu meðfylgjandi straumbreyti.
- Jarðstöð: Til að jarðtengja tækið.
5. Uppsetning
Follow these steps for initial setup of your DVR system:
5.1 Hard Drive Installation (if not pre-installed)
- Skrúfaðu af og fjarlægðu efri hlífina á DVR-tækinu.
- Tengdu SATA gagnasnúruna og rafmagnssnúruna við harða diskinn.
- Festið harða diskinn við undirvagn DVR-tækisins með meðfylgjandi skrúfum.
- Settu efri hlífina aftur á og festu hana með skrúfum.
5.2 Tengja jaðartæki
- Connect your cameras to the Myndband inn (BNC) ports.
- Connect a monitor to the HDMI or VGA úttaksport.
- Connect the USB mouse to a USB tengi.
- Connect the DVR to your network router using an Ethernet cable plugged into the LAN tengi.
- Tengdu rafmagnstengilinn við 12V DC aflinntak and then plug it into a power outlet.
5.3 Upphafleg stilling
- Við fyrstu ræsingu mun DVR-tækið leiða þig í gegnum uppsetningarhjálp.
- Set a strong password for the administrator account.
- Stilltu netstillingar (DHCP nægir venjulega fyrir flest heimanet).
- Initialize the hard drive if prompted. This will format the drive for recording.
- Adjust date, time, and other system preferences as needed.
6. Rekstur
Once the DVR is set up, you can begin monitoring and recording.
6.1 Í beinni View
Eftir innskráningu mun upptökutækið sýna beina útsendingu view frá tengdum myndavélum á skjánum. Þú getur skipt á milli einnar myndavélar view og fjölmyndavélarnet view með því að nota stjórntækin á skjánum eða músina.
6.2 Upptaka
The DVR is typically configured to record continuously or based on motion detection. You can adjust recording schedules and settings through the DVR's menu system (Configuration > Record > Schedule).
6.3 Spilun
Að endurtakaview skráð footage, siglaðu að Spilun menu. Select the date, time, and camera channel to view recordings. Use the playback controls (play, pause, fast forward, rewind) to navigate through the footage.
6.4 Remote Access (Hik-Connect App)
The Hik-Connect app allows you to access your DVR remotely from a smartphone or tablet.
- Sæktu Hik-Connect appið úr appverslun tækisins.
- Create a Hik-Connect account and log in.
- Add your DVR by scanning the QR code on the DVR's label or by manually entering its serial number.
- Follow the in-app instructions to complete the device addition.
- Þegar þú hefur bætt við geturðu view live feeds, play back recordings, and receive push notifications for events.

Image: Illustration of the Hik-Connect mobile application interface, demonstrating remote access to live video and recordings.
7. Viðhald
Reglulegt viðhald tryggir bestu mögulegu afköst og endingu DVR kerfisins.
- Clean the DVR: Þrífið reglulega ytra byrði DVR-tækisins með mjúkum, þurrum klút. Gangið úr skugga um að loftræstiop séu ryklaus til að koma í veg fyrir ofhitnun.
- Uppfærsla vélbúnaðar: Skoðaðu opinberu Hikvision website for firmware updates. Updating firmware can improve performance, add features, and fix bugs. Follow update instructions carefully.
- Heilbrigði harða disksins: Monitor the health of your hard drive through the DVR's system menu (HDD stjórnun). Replace the hard drive if it shows signs of failure.
- Afritaðu mikilvægar upplýsingartage: Regularly back up critical video footage á utanáliggjandi USB-drif eða netgeymslu.
- Lykilorðsöryggi: Change your DVR and Hik-Connect passwords periodically to maintain security.
8. Bilanagreining
Þessi hluti fjallar um algeng vandamál sem þú gætir rekist á.
8.1 Engin myndútgangur á skjá
- Athugaðu hvort skjárinn sé kveikt á og rétt tengdur við HDMI- eða VGA-tengi DVR-tækisins.
- Gakktu úr skugga um að rétt inntaksgjafi sé valinn á skjánum þínum.
- Try connecting to a different monitor or using a different cable.
8.2 Myndavélar birtast ekki
- Verify that cameras are powered on and properly connected to the DVR's BNC inputs.
- Check camera power supplies.
- Ensure the camera type (TVI, AHD, CVI, CVBS) is compatible with the DVR and configured correctly in the DVR settings.
8.3 Fjarlægur aðgangur virkar ekki
- Ensure the DVR is connected to the internet via the LAN port.
- Check network settings on the DVR (Configuration > Network).
- Verify that the Hik-Connect service is enabled on the DVR.
- Gakktu úr skugga um að snjallsíminn þinn hafi virka internettengingu.
- Re-add the device to the Hik-Connect app if necessary.
8.4 Engin upptaka
- Check if a hard drive is installed and properly initialized (Configuration > HDD).
- Verify recording schedules are set correctly (Configuration > Record > Schedule).
- Gakktu úr skugga um að nægilegt laust pláss sé á harða diskinum.
9. Tæknilýsing
Detailed technical specifications for the Hikvision IDS-7208HQHI-M1/XT DVR:
| Eiginleiki | Forskrift |
|---|---|
| Gerðarnúmer | IDS-7208HQHI-M1/XT |
| Vídeóinntak | 8-Channel (Turbo HD/AHD/CVI/CVBS/IP) |
| Myndbandsþjöppun | H.265 + / H.265 / H.264 + / H.264 |
| Upptökuupplausn | Allt að 5MP |
| Myndbandsúttak | HDMI, VGA, BNC |
| Hljóðinntak/úttak | 2-Way Audio Support |
| Netviðmót | 1 RJ45 10M/100M Ethernet Interface |
| USB tengi | 2 x USB 2.0 |
| Stuðningur við harða diska | 1 SATA tengi (allt að 10 TB geymisrými á hvern harða disk) |
| Aflgjafi | 12V DC |
| Mál (L x B x H) | 19.7 x 19.2 x 4.1 cm |
| Þyngd | 1.5 kg |
| Framleiðandi | HIKVISION, Prama Hikvision India Pvt. Ltd. |
10. Ábyrgð og stuðningur
For warranty information and technical support, please refer to the warranty card included with your product or visit the official Hikvision webGeymið kaupkvittunina sem sönnun fyrir kaup vegna ábyrgðarkröfu.
For further assistance, contact Hikvision customer support or your authorized dealer.