Inngangur
Thank you for choosing the STEINEL HS 152 XENO Sensor Halogen Floodlight. This product is designed to provide efficient and reliable outdoor lighting with integrated motion detection for enhanced security and convenience. Please read this manual carefully to ensure proper installation, operation, and maintenance of your floodlight.
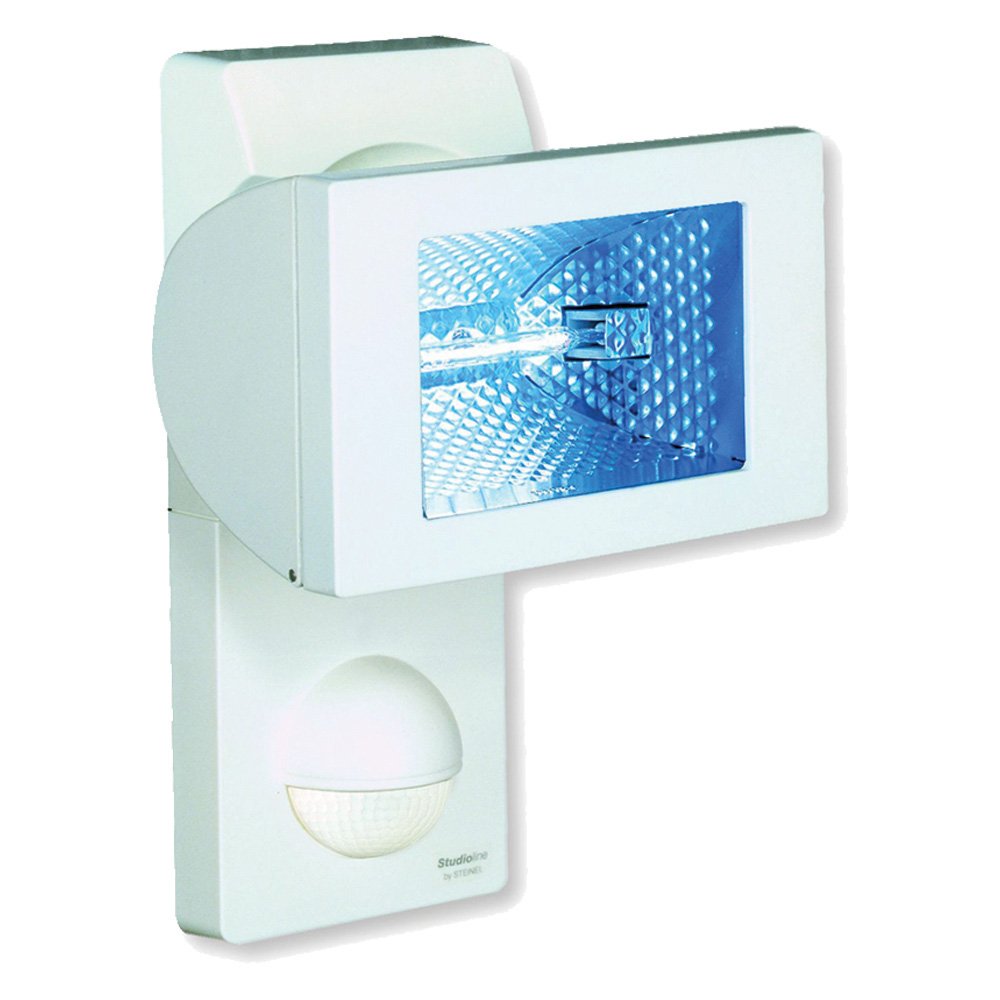
Image: STEINEL HS 152 XENO Sensor Halogen Floodlight. This image shows the floodlight from a front-side angle, highlighting its compact design and the integrated motion sensor below the lamp húsnæði.
Öryggisleiðbeiningar
WARNING: Risk of electric shock! Installation requires knowledge of electrical systems. Incorrect installation can lead to fire or electric shock. For your safety, always consult a qualified electrician if you have any doubts.
- Disconnect power at the main fuse or circuit breaker before installation or maintenance.
- Gakktu úr skugga um framboð voltage matches the floodlight's requirements (230-240V).
- Do not open the product housing unless specified in this manual.
- Ekki breyta vörunni á nokkurn hátt.
- Haldið börnum frá umbúðum.
- The floodlight becomes hot during operation. Avoid touching the lamp or housing immediately after use.
- Tryggið rétta jarðtengingu samkvæmt gildandi rafmagnsreglum.
- This product is rated IP44 for protection against splashing water. Do not immerse in water.
Innihald pakka
Vinsamlegast athugið hvort allir hlutar séu til staðar og óskemmdir:
- 1x STEINEL HS 152 XENO Sensor Halogen Floodlight (with integrated R7s 150W halogen lamp)
- 1x Set of mounting screws and wall plugs
- 1x Set of cover plates for detection range adjustment
- 1x leiðbeiningarhandbók
Uppsetning
- Undirbúningur: Turn off the power supply at the main circuit breaker. Use a voltage tester to ensure the circuit is de-energized.
- Uppsetningarstaður: Choose a suitable mounting location, ideally 1.8m to 2.5m above the ground, where the sensor has an unobstructed view of the desired detection area. Avoid mounting near heat sources or objects that might cause false triggers (e.g., moving branches, busy roads).
- Borun: Mark the drilling points using the floodlight's mounting plate as a template. Drill holes and insert wall plugs.
- Raflögn: Connect the electrical wires (Live, Neutral, Earth) from your mains supply to the corresponding terminals inside the floodlight's wiring compartment. Ensure all connections are secure.
- Mounting the Floodlight: Secure the floodlight to the wall using the provided screws. Adjust the floodlight head to the desired angle.
- Kveikt á: Restore power at the main circuit breaker. The floodlight will perform a brief self-test.
Rekstur
The STEINEL HS 152 XENO floodlight features an integrated passive infrared (PIR) motion sensor. When motion is detected within its adjustable range and the ambient light level falls below the set twilight threshold, the floodlight will automatically switch on for the pre-set duration.
Stilling skynjara
The sensor has three main adjustment controls, typically located on the underside of the sensor head:
- Range (Reach): Adjusts the detection distance, up to 12 meters, limitable to approximately 5 meters using the included cover plates. Turn the dial to increase or decrease the range.
- Twilight Threshold (Lux): Sets the ambient light level at which the sensor becomes active. Turn towards the sun symbol for daylight operation (test mode) or towards the moon symbol for activation only in darkness.
- Time Setting (Time): Determines how long the light remains on after motion is detected. Adjust the dial to set the desired duration.
The detection angle is 180° with an opening angle of 90°. Use the provided cover plates to precisely mask out areas you do not wish to be detected, such as public pathways or neighboring properties.
Viðhald
Þrif
Clean the floodlight and sensor lens regularly with a soft, damp cloth. Do not use abrasive cleaners or solvents, as these can damage the surfaces or the sensor lens.
Lamp Skipti
WARNING: Disconnect power before replacing the lamp.
- Ensure the floodlight is cool before handling.
- Opnaðu varlega lamp húsnæði.
- Remove the old R7s halogen lamp.
- Insert a new R7s 150W halogen lamp. Ensure it is correctly seated.
- Lokaðu lamp housing securely.
- Endurheimta orku.
Úrræðaleit
| Vandamál | Möguleg orsök | Lausn |
|---|---|---|
| Ljós kviknar ekki. | Engin aflgjafi. Lamp gölluð. Rökkurþröskuldur stilltur of hátt (dagsljós). Sensor range too low. | Athugaðu aflrofa. Skiptu um lamp. Adjust twilight setting towards 'moon' symbol. Increase sensor range. |
| Ljósið logar stöðugt. | Stöðug hreyfing á greiningarsvæði. Skynjari bilaður. | Adjust sensor range or mask detection area. Hafðu samband við þjónustuver. |
| Ljós kviknar án sýnilegrar hreyfingar. | False triggers (e.g., heat sources, small animals, moving branches). | Adjust sensor angle, reduce range, or use cover plates to mask problematic areas. |
Tæknilýsing
| Vörumerki: | STEINEL |
| Gerðarnúmer: | 632113 |
| Litur: | Svartur (Note: Product title indicates 'ws' for white, but specifications list 'Noir' for black.) |
| Sérstakur eiginleiki: | Hreyfiskynjari |
| Efni: | Gler |
| Aflgjafi: | Rafmagn með snúru |
| Tegund ljósgjafa: | Halógen |
| Fjöldi ljósgjafa: | 1 |
| Voltage: | 230 volt |
| Hvaðtage: | 150 Watt |
| Verndarflokkur: | IP44 |
| Greiningarhorn: | 180° (Opening angle 90°) |
| Hámark Uppgötvunarsvið: | 12 meters (adjustable to 5 meters) |
Ábyrgð og stuðningur
Fyrir upplýsingar um ábyrgð og tæknilega aðstoð, vinsamlegast vísið til opinberu STEINEL website or contact your local STEINEL distributor. Keep your purchase receipt as proof of purchase.
STEINEL Contact Information:
- Official STEINEL Websíða
- Refer to product packaging for specific regional support contacts.


