1. Inngangur
Thank you for choosing the HKC 1818 LED Monitor. This manual provides essential information for the safe and efficient use of your new display. Please read this manual thoroughly before operating the monitor and keep it for future reference.
2. Öryggisupplýsingar
Til að tryggja örugga notkun og koma í veg fyrir skemmdir skal fylgja eftirfarandi öryggisráðstöfunum:
- Ekki láta skjáinn verða fyrir rigningu eða raka til að forðast eld eða raflosti.
- Ekki opna skjáinn casing. Engir hlutar eru inni í tækinu sem notandinn getur gert við. Látið hæft þjónustufólk alla þjónustu sjá um.
- Setjið skjáinn á stöðugt, slétt yfirborð til að koma í veg fyrir að hann detti.
- Tryggið góða loftræstingu. Ekki loka fyrir loftræstiop.
- Notið aðeins straumbreytinn sem fylgir skjánum.
- Taktu skjáinn úr sambandi við rafmagn í þrumuveðri eða þegar hann er ekki notaður í langan tíma.
3. Innihald pakka
Vinsamlegast athugið innihald pakkans. Ef einhverjar vörur vantar eða eru skemmdar, hafið samband við söluaðila.
- HKC 1818 LED Monitor
- Skjástandur (grunnur og háls)
- Rafmagns millistykki
- VGA snúru
- Notendahandbók (þetta skjal)
4. Uppsetning
4.1 Samsetning standsins
- Takið skjáinn varlega úr umbúðunum og leggið hann með framhliðina niður á mjúkan, hreinan flöt til að koma í veg fyrir rispur.
- Festið standhálsinn aftan á skjáinn og stillið hann þannig að festingargötin passi við hann. Festið hann með skrúfum ef þær fylgja.
- Attach the stand base to the bottom of the stand neck. Tighten the thumb screw or regular screw at the bottom of the base.
- Gently lift the monitor and place it upright on a stable desk.
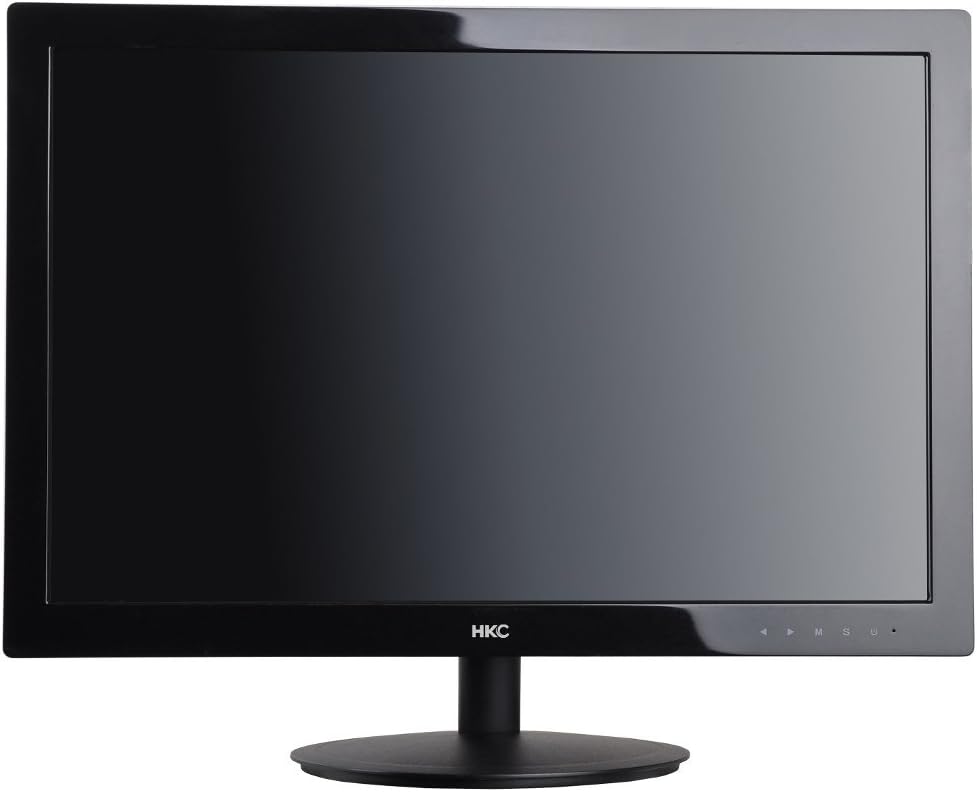
Mynd 1: Framan view of the HKC 1818 LED Monitor with its stand assembled, ready for connection.
4.2 Skjárinn tengdur
- Tengdu myndbandssnúruna: Locate the VGA port on the back of the monitor. Connect one end of the supplied VGA cable to this port and the other end to the VGA output port on your computer. Secure the connection by tightening the screws on the VGA connector.
- Tengdu rafmagnssnúruna: Plug the power adapter into the monitor's power input jack. Then, plug the other end of the power adapter into a wall outlet.

Mynd 2: Hornlaga view of the HKC 1818 LED Monitor, highlighting the rear panel where cables are connected.
4.3 Byrjunarkveikt
Press the power button located on the front or bottom right of the monitor. The power indicator light should illuminate, and the monitor will display an image if connected to an active video source.
5. Notkun skjásins
5.1 stjórnhnappar
The control buttons are typically located on the bottom right bezel of the monitor. They allow you to navigate the On-Screen Display (OSD) menu and adjust settings.
- Aflhnappur: Kveikir eða slekkur á skjánum.
- Valmyndarhnappur (M): Opens the OSD menu or enters a sub-menu.
- Up/Down (▲/▼) Buttons: Fletta í gegnum valmyndarvalkosti eða stilla gildi.
- Select (S) Button: Confirms a selection or exits a sub-menu.
- Auto/Exit (U) Button: Performs auto-adjustment or exits the OSD menu.
5.2 Leiðsögn í skjáborðsvalmynd
- Ýttu á Matseðill (M) hnappinn til að opna OSD valmyndina.
- Notaðu Up/Down (▲/▼) buttons to navigate through the main menu categories (e.g., Picture, Color, OSD, Setup).
- Ýttu á Select (S) button to enter a selected category.
- Notaðu Up/Down (▲/▼) hnappar til að stilla gildi eða velja undirvalkosti.
- Ýttu á Select (S) button to confirm changes or the Auto/Exit (U) button to go back or exit.
- Ýttu á Auto/Exit (U) hnappinn ítrekað til að fara úr OSD valmyndinni.
5.3 Algengar OSD-stillingar
- Birtustig: Stillir heildarbirtu skjásins.
- Andstæða: Stillir muninn á ljósum og dökkum svæðum.
- Litahitastig: Breytir litajafnvæginu (t.d. Hlýtt, Kalt, Notandaval).
- Inntaksval: Manually selects the video input source (e.g., VGA).
- Sjálfvirk stilling: Optimizes the image automatically for analog (VGA) input.
6. Viðhald
6.1 Þrif á skjánum
- Taktu alltaf skjáinn úr sambandi við rafmagn áður en hann er þrifinn.
- Notaðu mjúkan, lólausan klút örlítið dampened with water or a non-abrasive screen cleaner to wipe the screen. Do not spray cleaner directly onto the screen.
- Fyrir casing, use a soft, dry cloth. Avoid using strong detergents or abrasive cleaners.
6.2 Geymsla
If you plan to store the monitor for an extended period, unplug it, disconnect all cables, and store it in a cool, dry place, preferably in its original packaging to protect it from dust and physical damage.
7. Bilanagreining
If you encounter problems with your monitor, please refer to the following common issues and solutions:
| Vandamál | Möguleg orsök | Lausn |
|---|---|---|
| Enginn kraftur | Rafmagnssnúra ekki tengd; Rafmagnsinnstungan virkar ekki. | Gakktu úr skugga um að rafmagnssnúran sé vel tengd við skjáinn og innstunguna. Prófaðu innstunguna með öðru tæki. |
| Ekkert merki | Video cable not connected; Incorrect input source selected; Computer not on. | Check video cable connection. Select correct input source via OSD. Ensure computer is powered on and not in sleep mode. |
| Myndin er óskýr eða bjöguð | Incorrect resolution; Auto-adjust needed (VGA); Loose video cable. | Set computer resolution to monitor's native resolution (1366x768 for 18.5"). Use OSD Auto Adjust function. Check video cable connection. |
| Screen is too dark/bright | Stillingar fyrir birtustig/andstæðu eru rangar. | Stilltu birtustig og andstæðustillingar í OSD valmyndinni. |
Ef vandamálið er enn til staðar eftir að þessar lausnir hafa verið prófaðar, vinsamlegast hafið samband við þjónustuver.
8. Tæknilýsing
| Eiginleiki | Forskrift |
|---|---|
| Vörumerki | HKC |
| Gerðarnúmer | 1818 |
| Skjástærð | 18.5 tommur |
| Skjár Tegund | LED |
| Hlutfall | 16:9 |
| Svartími | 2 millisekúndur |
| Endurnýjunartíðni | 60 Hz |
| Tengitækni | VGA |
| Lýsing á skjáyfirborði | Glansandi |
| Vöruþyngd | 2.8 kíló |
| Stærðir pakka | 50 x 38.5 x 12 cm |
9. Ábyrgð og stuðningur
9.1 Upplýsingar um ábyrgð
This HKC monitor comes with a standard manufacturer's warranty. Please refer to the warranty card included in your package or contact your retailer for specific warranty terms and conditions. Keep your purchase receipt as proof of purchase for warranty claims.
9.2 Þjónustuver
For technical assistance, troubleshooting beyond this manual, or warranty inquiries, please contact HKC customer support or your local retailer. Contact information can typically be found on the manufacturer's official websíðunni eða á umbúðum vörunnar.