1. Yfirview
The Aerocool Cylon RGB Midi-Tower PC Case, model ACCM-PV10012.11, is designed to house computer components, offering both functionality and aesthetic appeal. It features a side window panel for showcasing internal hardware and an RGB LED illumination strip on the front panel for customizable lighting effects. This case supports ATX motherboards and provides ample space for various components, including multiple storage drives and cooling solutions.

Mynd 1: Framan view of the Aerocool Cylon RGB Midi-Tower PC Case, highlighting its distinctive RGB LED strip.
2. Innihald pakka
Vinsamlegast staðfestið að allir hlutir séu í pakkanum:
- Aerocool Cylon RGB Midi-Tower PC Case (ACCM-PV10012.11)
- Aukahlutakassi (inniheldur skrúfur, afstöðustykki, kapalbönd o.s.frv.)
- Notendahandbók (þetta skjal)
3. Öryggisupplýsingar
Read and understand all safety instructions before installing or operating the PC case. Failure to do so may result in injury or damage to the product.
- Aftengdu alltaf rafmagnið frá innstungunni áður en uppsetning eða viðhald er framkvæmt.
- Farið varlega með alla íhluti til að koma í veg fyrir skemmdir.
- Avoid touching electronic components directly; use anti-static precautions if possible.
- Keep small parts and accessories out of reach of children.
- Tryggið góða loftræstingu í kringum kassann til að koma í veg fyrir ofhitnun.
4. Uppsetning og uppsetning
4.1 Undirbúningur málsins
Before installing components, remove the side panels to access the interior of the case.
- Place the case on a flat, stable surface.
- Locate the thumbscrews on the rear of the case securing the side panel.
- Unscrew the thumbscrews and carefully slide the side panel backward, then lift it off. Repeat for the other side panel if necessary.
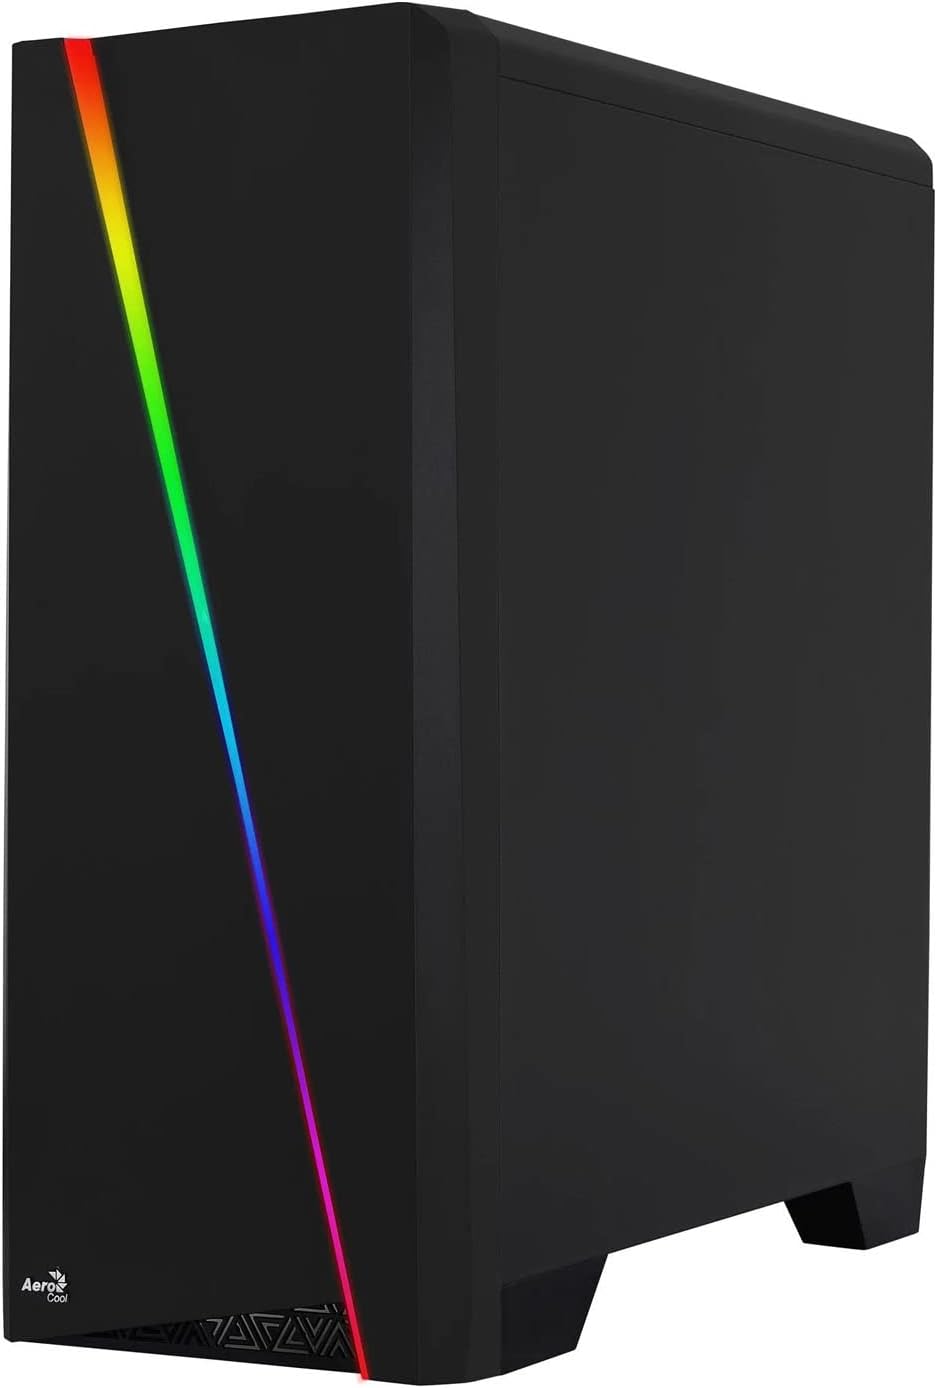

Figure 2: Left image shows the side panel attached, right image shows the side panel removed for access.
4.2 Uppsetning móðurborðs
The Aerocool Cylon case supports ATX motherboards.
- Install the I/O shield that came with your motherboard into the opening at the rear of the case.
- Ensure motherboard standoffs are correctly aligned with your motherboard's screw holes. Install any missing standoffs from the accessory box.
- Settu móðurborðið varlega á standfestingarnar og jafnaðu skrúfugötin.
- Secure the motherboard with the appropriate screws from the accessory box.
4.3 Drive Installation (2.5" / 3.5")
The case provides bays for 2.5-inch and 3.5-inch drives.
- Locate the drive bays within the case. Refer to the case diagram for specific locations.
- For 3.5-inch HDDs, slide the drive into the designated tray or bay and secure it with screws.
- For 2.5-inch SSDs, mount the drive onto the designated bracket or tray and secure it with screws.
4.4 Uppsetning aflgjafa (PSU).
The PSU is typically mounted at the bottom rear of the case.
- Slide the PSU into its designated compartment from the rear of the case.
- Align the PSU's screw holes with those on the case.
- Secure the PSU with the provided screws.
4.5 Expansion Card (GPU) Installation
Install your graphics card or other expansion cards into the PCIe slots.
- Remove the necessary PCI-E slot covers from the rear of the case corresponding to your expansion card's size.
- Carefully insert the expansion card into the appropriate PCI-E slot on the motherboard until it clicks into place.
- Secure the expansion card with screws.

Mynd 3: Aftan view of the PC case, showing the expansion slots and I/O area.
4.6 Fan / Liquid Cooling Radiator Installation
The Aerocool Cylon case supports various cooling configurations.
- Aftan: 1 x 120mm fan (pre-installed or optional).
- Efst: Supports 2 x 120mm fans or 1 x 240mm radiator.
- Neðst: Supports 2 x 120mm fans.
- Mount fans or radiators to their respective positions using the appropriate screws.
- Connect fan power cables to the motherboard or a fan controller.

Figure 4: An interior shot of the case, illustrating potential fan and liquid cooling radiator placements.
4.7 Kapalstjórnun
Effective cable management improves airflow and aesthetics.
- Route cables through the cutouts and behind the motherboard tray.
- Use cable ties (included in the accessory box) to bundle and secure cables.
4.8 Connecting Front Panel I/O
Connect the front panel cables to the corresponding headers on your motherboard.
- USB 3.0: Tengdu USB 3.0 snúruna við USB 3.0 tengi móðurborðsins.
- USB 2.0: Connect the USB 2.0 cables (x2) to the motherboard's USB 2.0 headers.
- HD hljóð: Tengdu HD hljóðsnúruna við hljóðtengið á móðurborðinu.
- Afl/Endurstilling/LED ljós: Connect the small individual cables (Power SW, Reset SW, HDD LED, Power LED) to the motherboard's front panel headers according to your motherboard manual.
5. Notkun tölvukassans
Once all components are installed and connected, reattach the side panels and power on your system.
- Kveikt á: Press the power button located on the top I/O panel of the case.
- RGB lýsingarstýring: The front panel RGB LED illumination can be controlled via a dedicated button on the top I/O panel or through compatible motherboard software, depending on your setup. Refer to your motherboard manual for software control options.
6. Viðhald
Reglulegt viðhald hjálpar til við að tryggja bestu mögulegu afköst og endingu tölvukassans og íhluta hans.
- Þrif á ryksíu: The case features dust filters (e.g., on the top and bottom). Regularly remove and clean these filters to prevent dust buildup and maintain good airflow. Use compressed air or a soft brush.
- Almenn þrif: Notaðu mjúkan, damp cloth to wipe down the exterior of the case. Avoid abrasive cleaners or solvents. For the transparent side panel, use a microfiber cloth to prevent scratches.
7. Bilanagreining
Ef þú lendir í vandræðum skaltu íhuga eftirfarandi algengar úrræðaleitarskref:
- Enginn kraftur: Ensure the PSU is properly connected to the wall outlet and the power switch on the PSU is in the 'ON' position. Verify all power cables to the motherboard and components are securely seated.
- Viftur snúast ekki: Check that all fan cables are correctly connected to the motherboard or fan controller. Ensure the system is receiving power.
- RGB virkar ekki: Confirm RGB cables are properly connected. If using motherboard software, ensure it is installed and configured correctly.
- Lausar tengingar: Recheck all internal connections (power, data, front panel I/O) to ensure they are firmly seated.
8. Tæknilýsing
| Eiginleiki | Forskrift |
|---|---|
| Nafn líkans | ACCM-PV10012.11 |
| Tegund máls | midi-turn |
| Samhæfni móðurborðs | ATX |
| Mál (LxBxH) | 16.26 x 7.8 x 18.07 tommur |
| Þyngd hlutar | 8.36 pund |
| Efni | Akrýl |
| USB 3.0 tengi | 1 |
| USB 2.0 tengi | 2 |
| Kæliaðferð | Loft |
| Fan Size (Rear) | 120 millimetrar |
| RGB lýsing | Front Panel LED Strip |
9. Upplýsingar um ábyrgð
The Aerocool Cylon RGB Midi-Tower PC Case is covered by a manufacturer's warranty. Please refer to the warranty card included with your product or visit the official AeroCool webvefsíðu fyrir ítarlegar ábyrgðarskilmála, þar á meðal ábyrgðartíma og málsmeðferð við kröfum.
10. Stuðningur
For further assistance, technical support, or to download the latest drivers and software, please visit the official AeroCool websíða:
Websíða: www.aerocool.io
You may also contact AeroCool customer service through the contact information provided on their websíða.


