1. Inngangur
Thank you for choosing the SYNCWIRE Magnetic Phone Car Mount. This manual provides essential information for the proper installation, operation, and maintenance of your new car mount. Please read these instructions carefully before use and retain them for future reference.
2. Hvað er í kassanum
Gakktu úr skugga um að allir íhlutir séu til staðar í pakkanum þínum:
- 1 x SYNCWIRE Magnetic Phone Mount
- Metal Plates (various shapes)
- 3M VHB Adhesive Pads (extra included)
- Protective Films
- Blautþurrkur
- Leiðbeiningarhandbók

Image: Included components of the SYNCWIRE Magnetic Phone Car Mount.
3. Helstu eiginleikar
- 4th Generation Neodymium Magnets (N52): Provides strong magnetic force to securely hold smartphones, even with cases.
- Solid Alloy Body: Constructed from aluminum alloy and soft silicone with an antioxidant surface for durability and a smooth touch.
- Super Stick Force: Utilizes a reliable 3M VHB adhesive pad for strong attachment to the dashboard, maintaining stability during braking, bumps, and rough roads.
- Freely Adjustable: Features a solid metal ball joint for 360° rotation, allowing adjustment to any preferred viewing horn.
- Mini Size and Space Saving: Compact design ensures it does not obstruct driving view.

Image: Enhanced N52 Neodymium Magnets for superior hold.
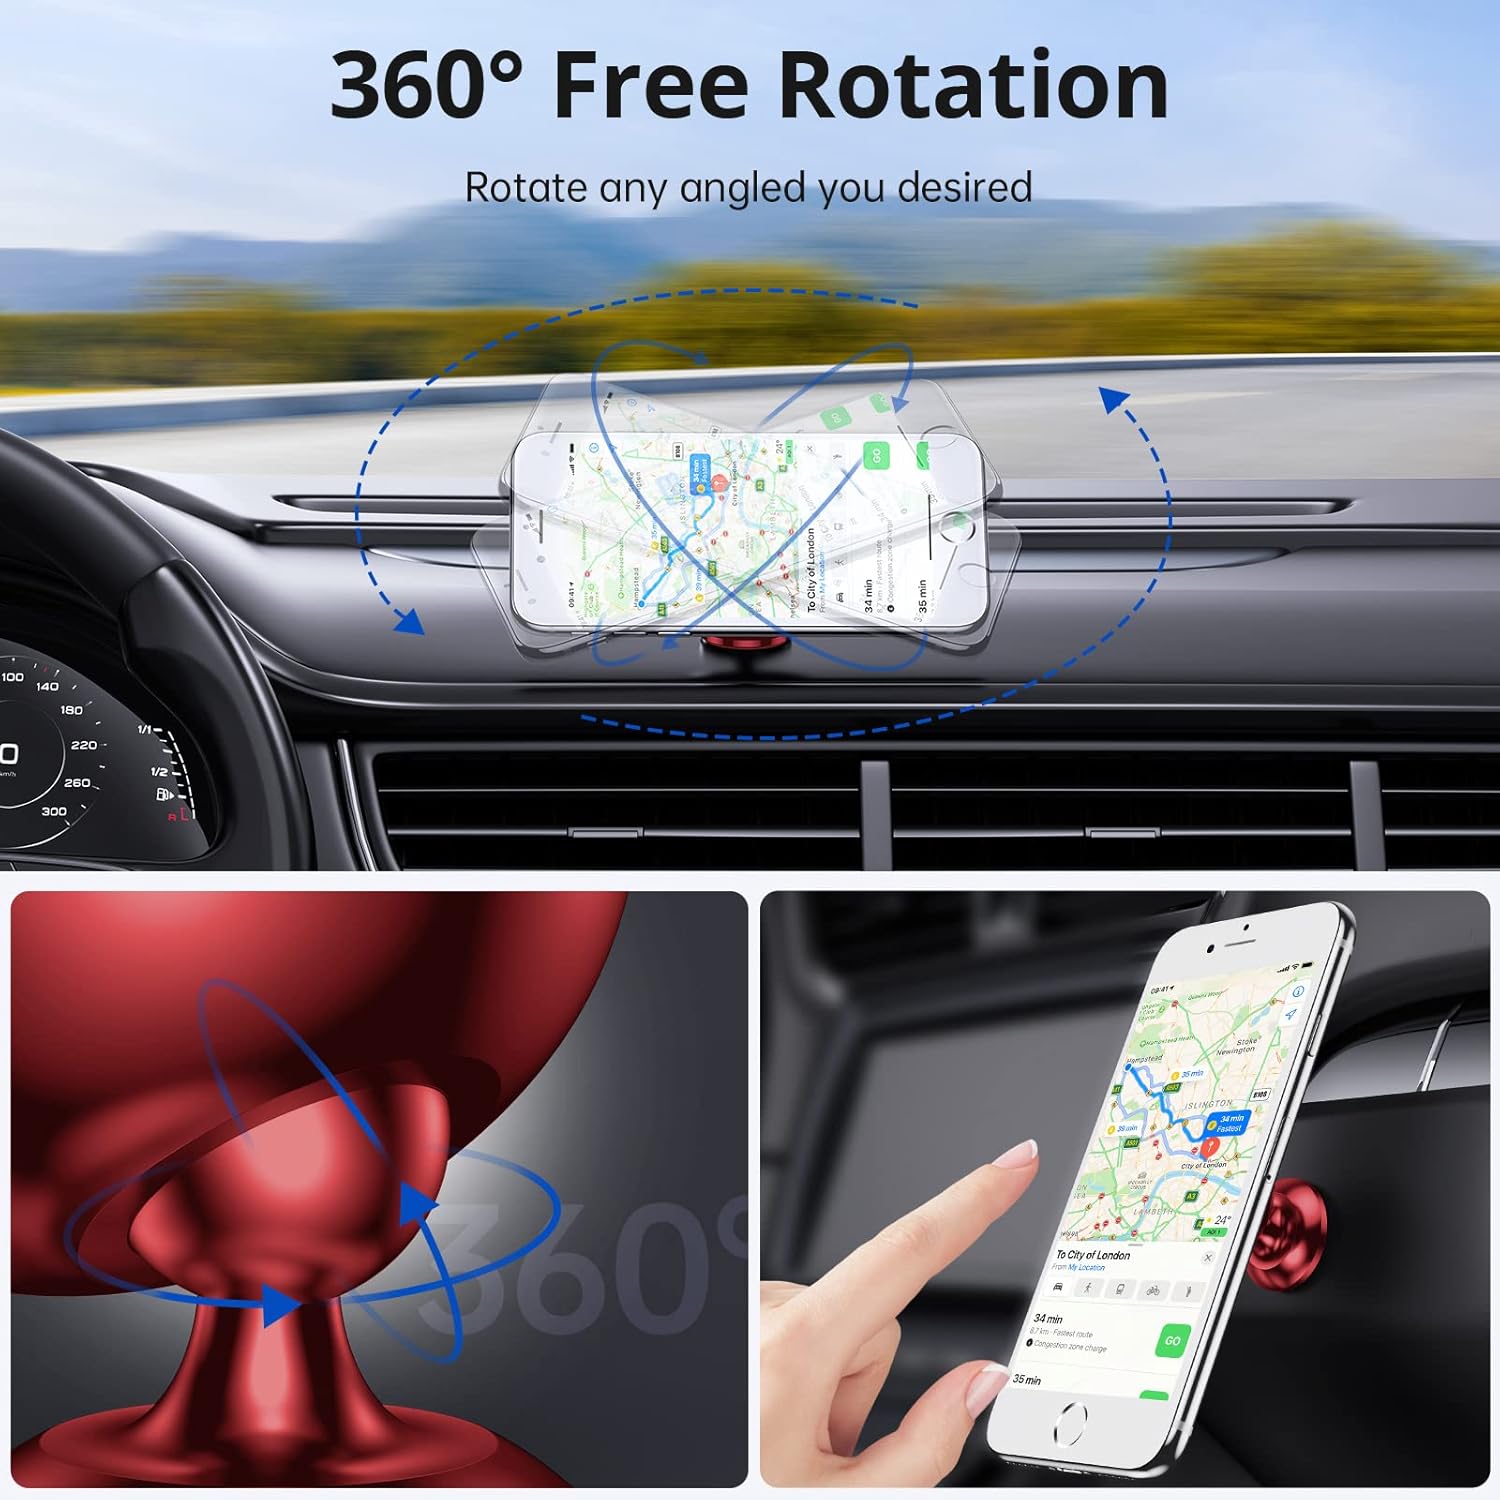
Image: 360° Free Rotation for optimal viewing horn.

Image: Mini size and space-saving design.
4. Uppsetning og uppsetning
Follow these steps for proper installation of your magnetic phone car mount:
4.1. Preparing Your Phone for Magnetic Attachment
- Clean Phone Surface: Use the provided wet wipe to clean the back of your phone or phone case where the metal plate will be attached. Ensure the surface is dry.

Image: Cleaning the phone surface.
- Apply Protective Film: Peel off the backing from one of the transparent protective films and carefully apply it to the cleaned area on your phone or case. This film protects your phone's surface from the adhesive.

Image: Applying the protective film.
- Attach Metal Plate: Select a metal plate (round or rectangular) and peel off the adhesive backing. Carefully center it over the protective film. Press firmly for 30 seconds to ensure strong adhesion.


Image: Attaching the metal plate to the phone.
Note on Wireless Charging: Attaching a metal plate directly to your phone may interfere with wireless charging capabilities. If wireless charging is essential, consider placing the metal plate between your phone and a non-metallic case, ensuring it does not cover the wireless charging coil area.
4.2. Installing the Car Mount on Your Dashboard
- Veldu slétt yfirborð: Identify a flat, smooth surface on your car's dashboard that does not obstruct your view or interfere with airbags. Avoid leatherette surfaces as the adhesive may not bond effectively.

Image: Recommended dashboard surfaces for installation.
- Clean Dashboard Surface: Use a wet wipe to thoroughly clean the chosen area on your dashboard. Allow it to dry completely.

Image: Cleaning the dashboard surface.
- Afhýðið límbakhlið: Remove the red protective film from the 3M VHB adhesive pad on the base of the car mount.

Image: Removing adhesive backing.
- Festu festingu: Firmly press the car mount onto the cleaned dashboard surface for at least 30 seconds.

Image: Attaching the mount to the dashboard.
- Leyfa viðloðunartíma: For optimal adhesion, allow the mount to cure for 24 hours before attaching your phone. This ensures maximum stick force.

Image: Wait 24 hours for adhesive to set.
5. Notkunarleiðbeiningar
- Að tengja símann þinn við: Once the mount is securely installed and the metal plate is on your phone/case, simply bring your phone close to the magnetic surface of the mount. The strong magnets will automatically secure your device.
- Aðlögun Viewí horn: The mount features a 360° rotatable ball joint. Gently swivel or tilt your phone to achieve your desired viewing angle (portrait or landscape). The joint is designed to hold its position firmly.
- Að fjarlægja símann þinn: To remove your phone, simply pull it away from the magnetic surface.
6. Samhæfni tækja
The SYNCWIRE Magnetic Phone Car Mount is compatible with all smartphones up to 7 inches, including but not limited to:
- iPhone 17/17 Pro/17 Pro Max/iPhone Air, iPhone 16/16 Pro/16 Pro Max/15/15 Pro/15 Pro Max/14/14 Pro/14 Pro Max/13/13 Pro/13 Pro Max/12/12 Pro/12 Pro Max/12 Mini/11 Pro Max/11 Pro/11/Xs Max/XR/XS/X/8 Plus/8/7 Plus/7
- Samsung Galaxy S22/S21/S20/Note10+/Note10/S10/S10e/S10+/S9+/S9/Note 9/Note 8/S8
- Google Pixel 7/6
- LG, OnePlus, Sony, and other similar sized smartphones.

Image: Broad compatibility with smartphones up to 7 inches.
7. Viðhald
- Þrif: Wipe the mount and magnetic surface with a soft, dry cloth to remove dust or smudges. Do not use harsh chemicals or abrasive cleaners.
- Límþol: If the adhesive pad loses its stickiness over time, use one of the included extra 3M VHB adhesive pads for re-installation. Ensure the surface is clean and dry before applying.
- Hitastig: Avoid exposing the mount to extreme temperatures for prolonged periods, as this may affect the adhesive's performance.
8. Bilanagreining
| Vandamál | Möguleg orsök | Lausn |
|---|---|---|
| Phone does not stick firmly to the mount. | Metal plate not properly attached or positioned. Phone case is too thick. | Ensure the metal plate is centered on your phone/case. If using a thick case, ensure the metal plate is on the outside of the case or use a thinner case. |
| Mount falls off the dashboard. | Dashboard surface was not clean/dry, or adhesive did not cure for 24 hours. Incompatible dashboard material. | Re-clean the dashboard surface thoroughly. Use a new 3M VHB adhesive pad and allow 24 hours for curing. Ensure the surface is not leatherette. |
| Þráðlaus hleðsla virkar ekki. | Metal plate is interfering with the wireless charging coil. | Adjust the position of the metal plate to avoid the wireless charging coil, or place it between the phone and a non-metallic case. |
9. Tæknilýsing
| Eiginleiki | Smáatriði |
|---|---|
| Vörumerki | SYNCWIRE |
| Gerðarnúmer | SW-MPH536 |
| Gerð uppsetningar | Dashboard Adhesive |
| Sérstakir eiginleikar | 360° Rotatable, Strong N52 Magnets |
| Efni | Ál, kísill |
| Þyngd hlutar | 2.47 aura (u.þ.b. 70g) |
| Mál | 2.87 x 2.48 x 2.05 tommur (u.þ.b. 7.3 x 6.3 x 5.2 cm) |
| Samhæf tæki | Snjallsímar allt að 7 tommur |
10. Ábyrgð og stuðningur
The SYNCWIRE Magnetic Phone Car Mount comes with a 3-year support period. If you encounter any issues such as the phone holder not securely holding your device, missing accessories, breakage, or incompatibility with your car, please contact SYNCWIRE customer support for assistance or a replacement.
For further assistance, please visit the official SYNCWIRE websíðuna eða hafðu samband við þjónustuver þeirra beint.


