1. Inngangur
The Hama MW-650 is a versatile 6-button optical wireless mouse designed for multi-device use. It offers flexible connectivity options via a 2.4 GHz USB-A receiver and Bluetooth, allowing seamless switching between up to three devices. The optical sensor provides precise cursor control, and adjustable DPI settings cater to various user preferences. This manual provides detailed instructions for setup, operation, maintenance, and troubleshooting to ensure optimal performance of your device.
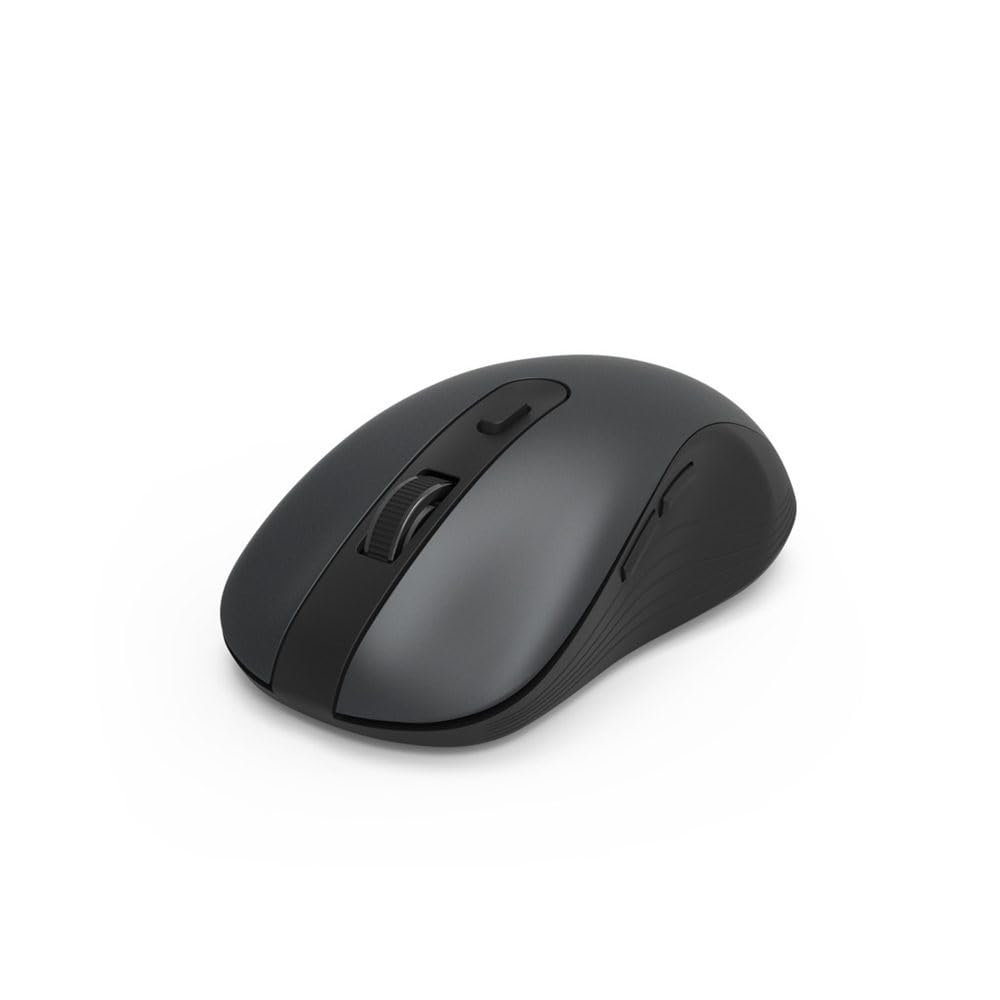
Image 1.1: Hama MW-650 Wireless Mouse (Top View)
2. Innihald pakka
Vinsamlegast athugið hvort eftirfarandi atriði séu í pakkanum:
- 1 x Hama MW-650 6-Button Optical Wireless Mouse
- 1 x USB-A móttakari
- 2 x AA Mignon rafhlöður
- 1 x Leiðbeiningarhandbók (þetta skjal)

Image 2.1: Hama MW-650 Product Packaging
3. Uppsetning
3.1. Uppsetning rafhlöðu
- Finndu rafhlöðuhólfið á neðri hlið músarinnar.
- Opnaðu hlífina á rafhlöðuhólfinu.
- Insert the two AA Mignon batteries, ensuring correct polarity (+/-).
- Lokaðu rafhlöðuhólfinu tryggilega.
3.2. Kveikt/slökkt
On the underside of the mouse, slide the ON/OFF switch to the 'ON' position to power on the mouse. Slide it to 'OFF' when not in use to conserve battery life.

Image 3.1: Underside of Hama MW-650 Mouse with ON/OFF Switch and Receiver
3.3. Tengimöguleikar
The Hama MW-650 mouse supports two wireless connection methods: 2.4 GHz via USB-A receiver and Bluetooth.
3.3.1. 2.4 GHz USB-A Receiver Connection
- Remove the USB-A receiver from its storage slot on the underside of the mouse.
- Plug the USB-A receiver into an available USB-A port on your computer or laptop.
- Stýrikerfið ætti sjálfkrafa að greina og setja upp nauðsynlega rekla.
- The mouse will connect automatically. The LED indicator for BT1/BT2 will not be lit when using the USB receiver.
3.3.2. Bluetooth-tenging
The mouse can connect to two separate Bluetooth devices (BT1 and BT2).
- Gakktu úr skugga um að kveikt sé á músinni.
- Press the 'BT1' or 'BT2' button on the underside of the mouse to select the desired Bluetooth channel. The corresponding LED will flash slowly.
- To enter pairing mode, press and hold the selected 'BT1' or 'BT2' button for approximately 3 seconds until the LED flashes rapidly.
- Virkjaðu Bluetooth í tækinu þínu (tölvu, fartölvu, spjaldtölvu, snjallsíma) og leitaðu að nýjum tækjum.
- Select "Hama MW-650" from the list of available devices to pair.
- Once successfully paired, the LED will stop flashing and remain steadily lit for a few seconds before turning off.
4. Notkunarleiðbeiningar
4.1. Grunnvirkni músarinnar
The Hama MW-650 features 6 buttons and a scroll wheel:
- Vinstri smellihnappur: Primary function, typically for selecting items or opening links.
- Hægri smellihnappur: Secondary function, typically for context menus.
- Skrunahjól: For scrolling up and down documents or web pages. Can also be pressed for a middle-click function.
- DPI hnappur: Located behind the scroll wheel, used to adjust cursor sensitivity.
- Hnappar fyrir áfram/aftur: Located on the side of the mouse, typically used for navigating web síður eða möppur.
4.2. Skipta á milli tækja
The MW-650 mouse allows you to switch between three connected devices (one via USB receiver, two via Bluetooth).
- To switch to a Bluetooth-connected device, press the 'BT1' or 'BT2' button on the underside of the mouse. The corresponding LED will light up briefly.
- To switch to the device connected via the USB receiver, press the 'USB' button (or the button without a BT label) on the underside of the mouse.

Image 4.1: Multi-Device Connectivity Example

Image 4.2: Multi-Device Setup with Monitor
4.3. DPI Sensitivity Adjustment
The mouse offers adjustable DPI (Dots Per Inch) settings to control cursor speed and sensitivity. Press the DPI button located behind the scroll wheel to cycle through the available sensitivities:
- 800 DPI
- 1200 DPI (sjálfgefið)
- 1600 DPI
- 2000 DPI
- 2400 DPI
Each press of the DPI button will change the sensitivity, allowing you to find the setting that best suits your task or preference.
5. Orkustjórnun
The Hama MW-650 mouse is designed with intelligent power management features to conserve battery life:
- Sjálfvirk biðhamur: The mouse will automatically enter a standby mode after a period of inactivity. To wake it up, simply move the mouse or click any button.
- Kveikja/slökkva rofi: For extended periods of non-use, slide the ON/OFF switch on the underside of the mouse to the 'OFF' position to completely power down the device and maximize battery life.
6. Umhirða og viðhald
6.1. Þrif
Til að viðhalda afköstum og útliti músarinnar:
- Ensure the mouse is powered off before cleaning.
- Notið mjúkan, þurran og lólausan klút til að þurrka yfirborð músarinnar.
- Fyrir þrjósk óhreinindi, örlítið dýftampÞvoið klútinn með vatni eða mildri hreinsilausn. Forðist hörð efni eða slípiefni.
- Hreinsið svæðið við sjónskynjarann undir músinni reglulega með bómullarpinna til að tryggja nákvæma mælingar.
6.2. Skipt um rafhlöðu
When the mouse's performance degrades or it stops responding, it may be time to replace the batteries.
- Power off the mouse using the ON/OFF switch.
- Opnaðu rafhlöðuhólfið að neðan.
- Remove the old AA batteries and dispose of them according to local regulations.
- Insert new AA Mignon batteries, observing correct polarity.
- Lokaðu rafhlöðuhólfinu.
7. Bilanagreining
If you encounter issues with your Hama MW-650 mouse, please refer to the following common solutions:
| Vandamál | Möguleg lausn |
|---|---|
| Músin svarar ekki. |
|
| Hreyfing bendilsins er óregluleg eða hæg. |
|
| Ekki er hægt að skipta á milli tækja. |
|
| Bluetooth parun mistókst. |
|
8. Tæknilýsingar
| Gerðarnúmer | 00182617 (MW-650) |
| Tengitækni | 2.4GHz RF (USB-A Receiver), Bluetooth 5.0 |
| Hreyfingarskynjunartækni | Optískur |
| DPI næmi | 800 / 1200 / 1600 / 2000 / 2400 DPI (adjustable) |
| Fjöldi hnappa | 6 (þar með talið skrunhjól) |
| Form Factor | Hægri hönd |
| Aflgjafi | 2 x AA Mignon rafhlöður (innifalin) |
| Rafhlöðuending | Allt að 288 dagar (fer eftir notkun) |
| Samhæft stýrikerfi | Windows 11/10/8/7, Android 4.3 or higher, macOS 10.10 or higher, iOS 13 or higher |
| Vörumál (L x B x H) | 11.3 x 6.3 x 4 cm (4.41 x 2.48 x 1.57 tommur) |
| Þyngd hlutar | 3.62 aura |
| Litur | Svartur |
9. Ábyrgð og stuðningur
Fyrir upplýsingar um ábyrgð og tæknilega aðstoð, vinsamlegast vísið til opinberu vefsíðu Hama. webvefsíðu eða hafðu samband við þjónustuver þeirra beint. Geymdu kaupkvittunina þína vegna hugsanlegra ábyrgðarkrafna.
- Framleiðandi: Hama GmbH & Co KG
- Websíða: www.hama.com


