1. Inngangur
Þakka þér fyrir kaupinasing the IRRADIO VDP-4600HDW LCD/LED Projector. This manual provides essential information for the safe and efficient operation of your device. Please read it thoroughly before use and retain it for future reference.
2. Öryggisleiðbeiningar
- Ekki loka fyrir loftræstiop. Tryggið nægilegt loftflæði í kringum skjávarpann til að koma í veg fyrir ofhitnun.
- Ekki horfa beint í linsuna á skjávarpanum þegar ...amp er kveikt, þar sem bjart ljós getur valdið augnskaða.
- Haldið skjávarpanum frá vatni eða öðrum vökvum. Notið ekki í damp eða blautar aðstæður.
- Notið aðeins straumbreytinn sem fylgir skjávarpanum.
- Reynið ekki að gera við skjávarpann sjálfur. Látið hæft starfsfólk sjá um alla þjónustu.
- Setjið skjávarpann á stöðugt, slétt yfirborð til að koma í veg fyrir að hann detti.
3. Innihald pakka
Vinsamlegast athugið hvort allir hlutir séu í pakkanum ykkar:
- IRRADIO VDP-4600HDW Projector
- Fjarstýring
- Rafmagnssnúra
- HDMI snúru
- AV Cable
- Notendahandbók
4. Vöru lokiðview
4.1. Íhlutir skjávarpans

Mynd 4.1: Á heildina litið view of the IRRADIO VDP-4600HDW Projector. This image displays the projector from an angled perspective, highlighting its compact design and the lens on the front left side, with ventilation grilles and control buttons visible on the top and sides.

Mynd 4.2: Framan view of the projector. This image focuses on the large projection lens on the left, with the IRRADIO logo and ventilation grilles on the right side of the front panel.

Mynd 4.3: Aftan view of the projector. This image shows the VGA port, focus adjustment knob, and keystone correction knob on the rear panel, along with additional ventilation.
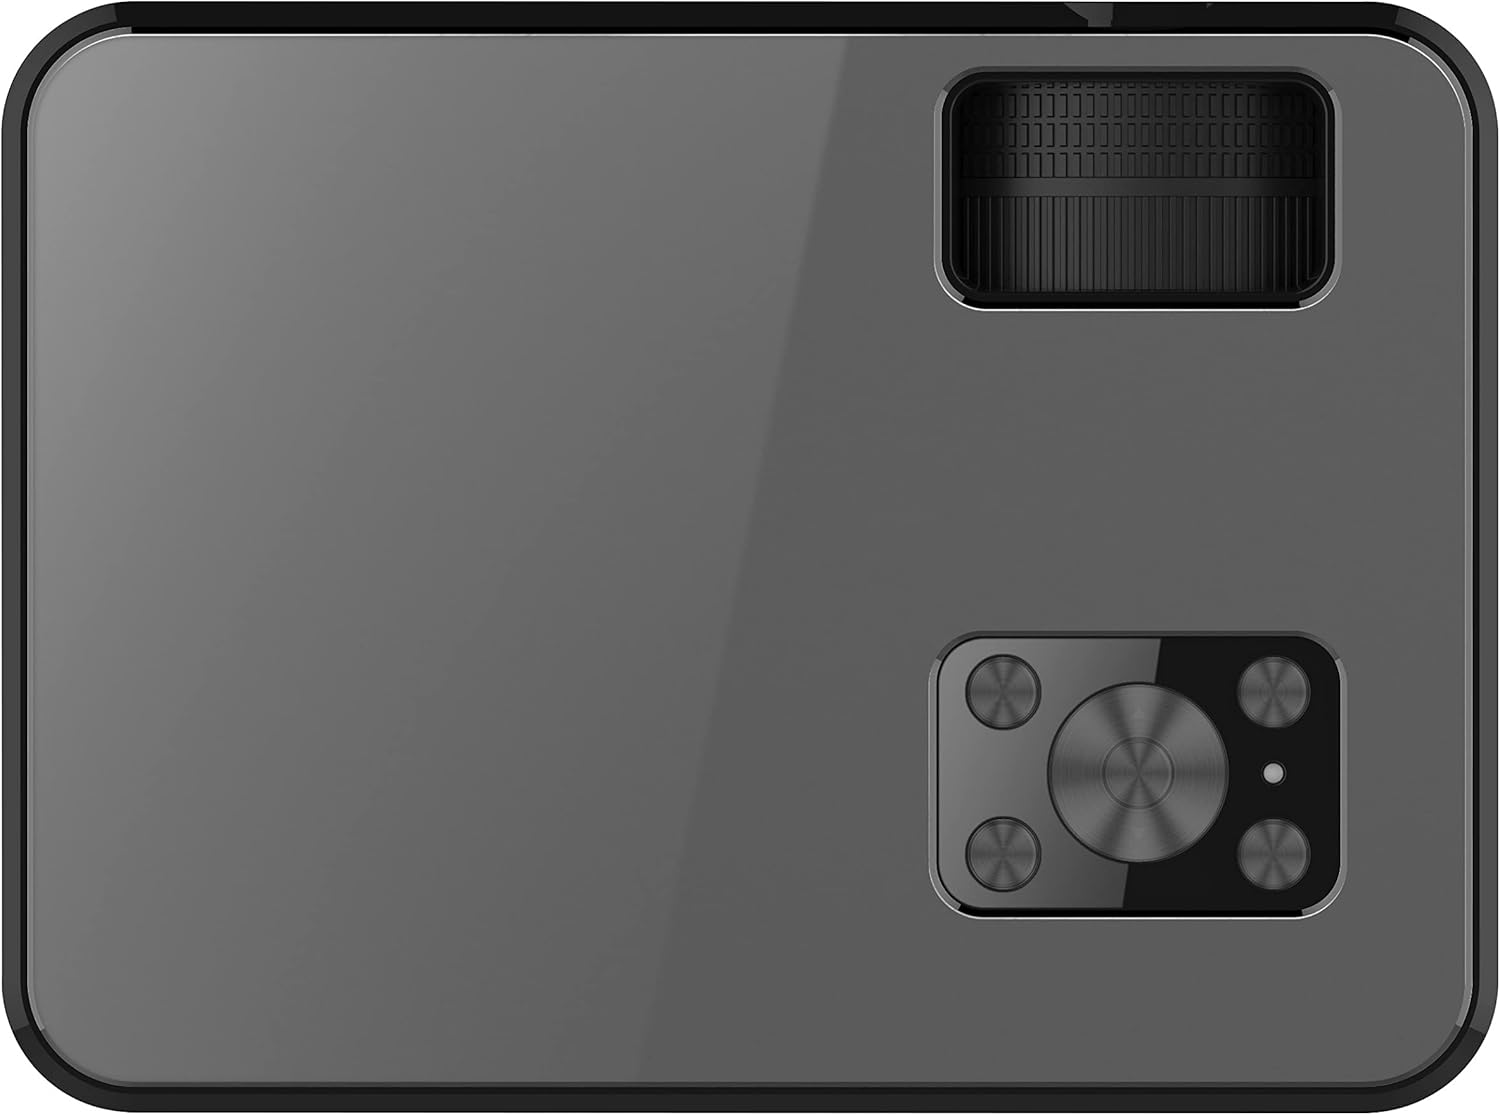
Mynd 4.4: Efst view of the projector. This image displays the control panel with navigation buttons (up, down, left, right, OK), source, menu, and exit buttons, along with the power button and volume controls.

Mynd 4.5: Hlið view of the projector showing input/output ports. This image highlights two HDMI ports, AV input, two USB ports, and a 3.5mm headphone jack (audio out).

Mynd 4.6: Gagnstæð hlið view of the projector. This image shows the power input port and additional ventilation grilles.

Mynd 4.7: Neðst view of the projector. This image displays the mounting points for ceiling installation and rubber feet for stable placement on a flat surface.
4.2. Fjarstýring
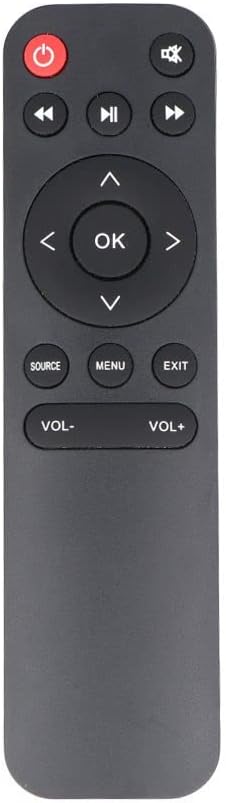
Mynd 4.8: The remote control for the IRRADIO VDP-4600HDW Projector. It features buttons for power, mute, navigation (up, down, left, right, OK), source selection, menu, exit, and volume control.
4.3. Tengi og stýringar yfirview
- Aflhnappur: Kveikir/slökkvið á skjávarpanum.
- Linsa: Varpar myndinni.
- Fókushringur: Stillir skýrleika myndarinnar.
- Keystone leiðrétting: Stillir myndbjögun.
- HDMI tengi (x2): Connect to HDMI-enabled devices (laptops, gaming consoles, Blu-ray players).
- USB tengi (x2): Tengdu USB-drif til að spila margmiðlunarefni.
- VGA tengi: Tengist tölvum með VGA úttaki.
- AV tengi: Connect to older devices using composite video.
- 3.5 mm hljóðútgangur: Tengdu ytri hátalara eða heyrnartól.
- IR móttakari: Fyrir fjarstýringarmerki.
5. Uppsetning
5.1. Staðsetning
Place the projector on a stable, flat surface or mount it to the ceiling. Ensure the projector is positioned directly in front of the projection screen or wall. The optimal projection distance ranges from 1.52 meters to 3.48 meters, yielding a screen size between 50 and 120 inches.
- Framvörpun: Place the projector in front of the screen.
- Afturvörpun: Place the projector behind a translucent screen.
- Loftfesting: The projector can be inverted and mounted to the ceiling. Adjust settings in the OSD menu for inverted projection.
5.2. Rafmagnstenging
- Tengdu rafmagnssnúruna við aflgjafainntak skjávarpans.
- Plug the other end of the power cable into a standard electrical outlet (220V AC, 50Hz).
- Ýttu á rofann á skjávarpanum eða fjarstýringunni til að kveikja á honum.
5.3. Fókus og lykilstilling
- Kveiktu á skjávarpanum og sýndu mynd.
- Snúðu Fókus hringur (staðsett nálægt linsunni) þar til myndin virðist skörp og skýr.
- Stilltu Leiðrétting á hljómsteini knob (located on the rear panel) to correct any trapezoidal distortion, making the image rectangular.
6. Rekstur
6.1. Kveikt/slökkt
Ýttu á rofann á skjávarpanum eða fjarstýringunni til að kveikja eða slökkva á tækinu.
6.2. Val á inntaksheimild
Eftir að kveikt er á, ýttu á HEIMILD button on the remote control or the projector's control panel to cycle through available input sources (HDMI1, HDMI2, USB1, USB2, VGA, AV).
6.3. Að tengja ytri tæki
- HDMI: Connect an HDMI cable from your device (e.g., laptop, game console) to one of the projector's HDMI ports. Select the corresponding HDMI input.
- VGA: Connect a VGA cable from your computer to the projector's VGA port. Select the VGA input.
- AF: Use the provided AV cable to connect to devices with composite video output. Select the AV input.
- USB: Insert a USB flash drive into a USB port. The projector's media player interface will appear automatically or can be accessed via the source menu.
6.4. Spilun margmiðlunar (USB)
The integrated media player supports various formats:
- Myndsnið: JPEG, BMP, PNG, MPO
- Myndbandssnið: MPEG1, MPEG2, H.263, H.264, AVS, MJPEG, RV30, RV40, HEVC
- Hljóðsnið: MPEG1, MPEG2, LPCM, MP3
Farðu í gegnum files using the remote control's arrow keys and press OK að velja.
6.5. Wireless Audio Connection
The projector features an integrated wireless audio function for connecting to external audio devices. Refer to the on-screen display (OSD) menu for specific pairing instructions. Typically, you will need to enable the wireless audio feature in the projector's settings and then pair it with your desired external speaker or headphone.
7. Viðhald
7.1. Linsuhreinsun
Use a soft, lint-free cloth and a specialized lens cleaning solution to gently wipe the lens. Avoid abrasive materials or excessive pressure.
7.2. Þrif á ryksíu
Regularly check and clean the dust filters to ensure optimal airflow and prevent overheating. Use a soft brush or a vacuum cleaner with a brush attachment to remove dust from the ventilation grilles.
7.3. Geymsla
When not in use for extended periods, store the projector in a cool, dry place, protected from dust and direct sunlight. Use the original packaging or a protective case.
8. Bilanagreining
- Enginn kraftur: Gakktu úr skugga um að rafmagnssnúran sé vel tengd og að rafmagnsinnstungan virki.
- Engin mynd: Check the input source selection. Ensure the connected device is powered on and sending a signal. Verify cable connections.
- óskýr mynd: Adjust the focus ring. Ensure the projection distance is within the optimal range.
- Mynd brengluð: Stilltu keystone leiðréttingu.
- Ekkert hljóð: Check the volume settings on both the projector and the connected device. If using external speakers, ensure they are properly connected or paired via wireless audio.
- Fjarstýring virkar ekki: Skiptu um rafhlöður. Gakktu úr skugga um að engar hindranir séu á milli fjarstýringarinnar og innrauðs móttakara skjávarpans.
9. Tæknilýsing
| Eiginleiki | Forskrift |
|---|---|
| Sýningarkerfi | LCD panel with LED light source |
| Innfæddur upplausn | 1920x1080 (Full HD 1080p) |
| Dynamic Contrast Ratio | 2000:1 |
| Light Source Brightness | 3000 lúmen |
| LED Lamp Lífið | 50,000 klst |
| Linsa | Handvirkur fókus |
| Þráðlaus hljóðvirkni | Innbyggt |
| Tengingar | 2x HDMI, 2x USB, VGA, AV Composite, 3.5mm Headphone Jack (output) |
| Hlutfall | 16:9 Native / 4:3 Compatible |
| Ákjósanleg vörpustærð | 50" - 120" |
| Besta vörpun fjarlægð | 1.52 m til 3.48 m |
| Sýningarstillingar | Front, Rear, Ceiling (Front/Rear) |
| Hljóð | 1x 3W Hi-Fi Speaker |
| Kælikerfi | Tvöfalt kælikerfi |
| OSD tungumál | 23 tungumál |
| Aflgjafi | 220V AC 50Hz (single phase) |
| Þyngd | 1.4 kg |
| Mál (B x H x D) | 222 x 91 x 173 mm |
10. Ábyrgð og stuðningur
Information regarding specific warranty terms and support contacts is not available in the provided product data. Please refer to the product packaging or the retailer's websíðu fyrir upplýsingar um ábyrgð og upplýsingar um þjónustuver.


