Inngangur
Welcome to the Ducky One 3 Mini Aura 60% Mechanical Keyboard. This manual provides essential information for setting up, operating, and maintaining your new keyboard. The Ducky One 3 series incorporates the innovative QUACK Mechanics design philosophy, focusing on enhanced aesthetics, hot-swappable functionality, superior sound dampening, and improved stabilizers.
Your Ducky One 3 Mini Aura features a low-profile case with a unique 3-layer design, allowing for vibrant RGB lighting. It includes a silicone plate dampener and EVA foam case dampener for optimal acoustics. The keyboard is equipped with hot-swappable Kailh Yellow Sockets, Ducky's V2 stabilizers for improved stability, and 3-level adjustable feet. The keycaps are Double Shot Pudding style PBT, offering durability and enhanced RGB illumination.
Innihald pakka
Vinsamlegast gætið þess að allir hlutir séu til staðar í pakkanum þínum:
- Ducky One 3 Mini Aura 60% Mechanical Keyboard
- USB-C kapall
Uppsetning
Að tengja lyklaborðið
- Finndu USB-C tengið aftan á lyklaborðinu.
- Tengdu meðfylgjandi USB-C snúru við lyklaborðið.
- Connect the other end of the USB-A connector to an available USB port on your computer.
- Stýrikerfið þitt mun sjálfkrafa þekkja lyklaborðið.

Image: The Ducky One 3 Mini Aura keyboard connected to its detachable USB-C cable.
Adjusting Keyboard Height
The keyboard features 3-level adjustable feet on the underside. Flip out the desired feet to achieve your preferred typing angle.
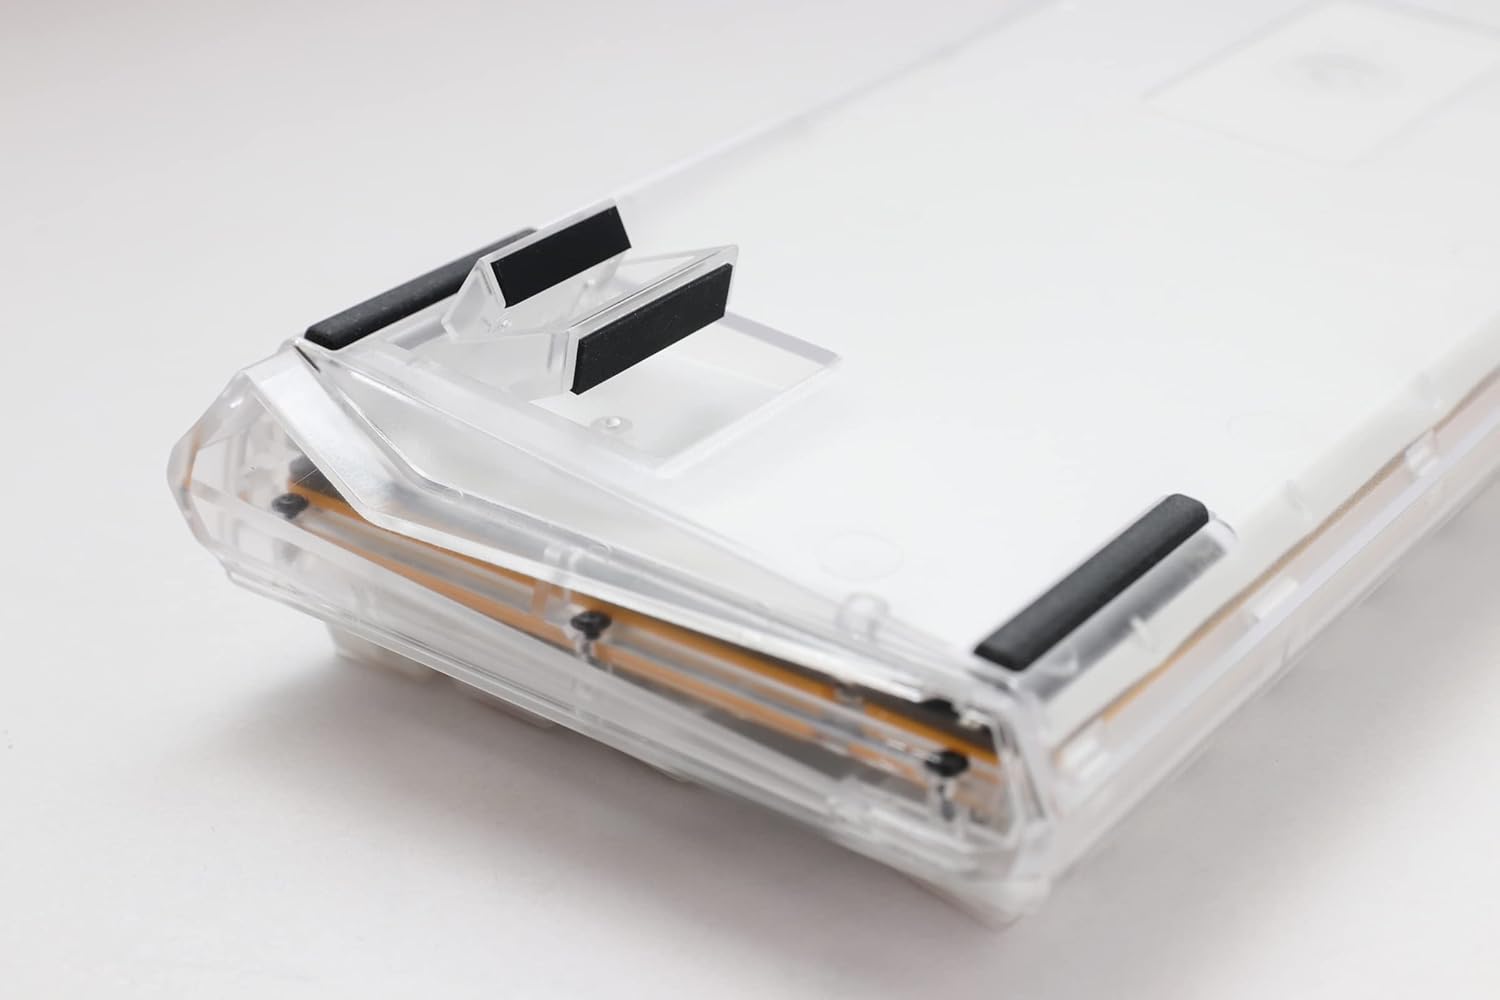
Image: The underside of the Ducky One 3 Mini Aura keyboard, highlighting the adjustable feet for ergonomic positioning.
Notkunarleiðbeiningar
Grunnvirkni lyklaborðsins
The Ducky One 3 Mini Aura functions as a standard 60% mechanical keyboard. Refer to the keycap legends for primary functions. Secondary functions are typically accessed via the Fn key combination.

Mynd: Ofan frá view of the Ducky One 3 Mini Aura 60% mechanical keyboard, showcasing its compact layout and white keycaps.
RGB lýsing
The keyboard features per-key programmable RGB lighting. Various lighting modes and customization options are available directly on the keyboard. Consult the official Ducky website or included quick guide for detailed instructions on changing lighting effects and colors.
Fjölvi aðgerðir
The Ducky One 3 Mini Aura supports a remapped macro layout, allowing users to program custom key sequences. Specific instructions for macro recording and assignment can be found in the comprehensive user guide available on the Ducky support page.
Hot-Swapping rofar
Your Ducky One 3 Mini Aura is equipped with a hot-swappable PCB and Kailh Yellow Sockets, allowing you to change mechanical switches without soldering. This feature enables customization of typing feel and sound.
- Slökkva á: Aftengdu lyklaborðið frá tölvunni áður en þú reynir að fjarlægja eða setja upp rofa.
- Fjarlægðu lyklakippuna: Use a keycap puller to gently remove the desired keycap.
- Fjarlægja rofa: Use a switch puller to carefully grip the top and bottom clips of the switch and pull it straight up.
- Setja upp nýjan rofa: Stilltu pinnunum á nýja rofanum saman við götin á prentplötunni. Ýttu varlega á rofann þar til hann smellpassar. Gakktu úr skugga um að pinnarnir séu ekki beygðir.
- Skipta um lyklakippu: Settu lyklakippuna aftur á nýja rofastilkinn.
Myndband: Yfirview of the Ducky One 3 series, demonstrating features like hot-swappable switches and the QUACK Mechanics design philosophy.
Viðhald
Að þrífa lyklaborðið þitt
- Aftengdu lyklaborðið frá tölvunni þinni.
- Notið mjúkan bursta eða þrýstiloft til að fjarlægja ryk og rusl á milli lyklaborðanna.
- For stubborn dirt, gently remove keycaps using a keycap puller and clean the exposed switches and plate with a damp cloth (ensure it's not dripping wet).
- Clean keycaps with mild soap and water, then dry thoroughly before reattaching.
Almenn umönnun
Avoid exposing the keyboard to extreme temperatures, direct sunlight, or liquids. Do not attempt to disassemble the keyboard beyond switch and keycap removal, as this may void your warranty.
Úrræðaleit
Lyklaborð svarar ekki
- Gakktu úr skugga um að USB-C snúran sé vel tengd bæði við lyklaborðið og tölvuna þína.
- Prófaðu að tengja lyklaborðið við aðra USB tengi á tölvunni þinni.
- Prófaðu lyklaborðið á annarri tölvu til að útiloka vandamál sem tengjast kerfinu.
- Ef þú notar USB-tengipunkt skaltu prófa að tengja hann beint við tölvuna.
Incorrect Key Input or RGB Issues
- Perform a factory reset (refer to the official Ducky manual for specific key combinations).
- Ensure no switches are bent or improperly seated if you have recently hot-swapped them.
- Update your computer's USB drivers if necessary.
Tæknilýsing
| Vörumerki | Ducky |
| Gerðarnúmer | DKON2161ST-BUSPDAWWWWC1 |
| Vörumál | 12.2 x 4.33 x 1.57 tommur |
| Þyngd hlutar | 2.09 pund |
| Lýsing á lyklaborði | Vélrænn |
| Tengitækni | USB-C |
| Samhæf tæki | PC |
| Sérstakur eiginleiki | Baklýst (RGB) |
| Skiptategund | Cherry MX Brown (Hot-Swappable) |
| Keycap efni | Pólýbútýlentereftalat (PBT) |
| Stíll | 60% hvítt |
| Tungumál | ensku |
Ábyrgð og stuðningur
Vöruábyrgð
This Ducky keyboard comes with a manufacturer's warranty. Please refer to the warranty card included with your product for specific terms, conditions, and duration. Keep your proof of purchase for warranty claims.
Valfrjálsar verndaráætlanir
Hægt er að kaupa framlengdar verndaráætlanir sérstaklega:
- Tveggja ára verndaráætlun
- Tveggja ára verndaráætlun
- Asurion Complete Protect (monthly billing)
These plans offer additional coverage beyond the standard manufacturer's warranty. Review the terms of each plan for details.
Þjónustudeild
For technical assistance, troubleshooting, or warranty inquiries, please visit the official Ducky website or contact their customer support. You can often find FAQs, driver downloads, and detailed manuals on their support pages.


