1. Inngangur
This manual provides detailed instructions for the setup, operation, maintenance, and troubleshooting of your Steelplay Adventure Controller for Nintendo Switch. Please read this manual thoroughly before using the product to ensure optimal performance and longevity.
2. Innihald pakka
- Steelplay Adventure Controller
- USB hleðslusnúra
- Notendahandbók (þetta skjal)
3. Skipulag stýringar
Familiarize yourself with the buttons and features of your Steelplay Adventure Controller.

Mynd 1: Framan view of the Steelplay Adventure Controller. This image displays the controller's ergonomic design, featuring a teal main body, brown grips, and yellow accents on the analog sticks, D-pad, and face buttons. The layout includes two clickable analog sticks, a directional pad, A/B/X/Y action buttons, Home, Capture, Plus, Minus, and Turbo buttons.
- Vinstri hliðræni stýripinninn: Fyrir hreyfingu og myndavélastýringu.
- Hægri hliðræni stýripinni: For camera control or specific in-game actions.
- D-Pad: Stefnubundin inntak.
- A/B/X/Y hnappar: Aðgerðarhnappar.
- V/H hnappar: Hnappar á öxlum.
- ZL/ZR hnappar: Kveikjuhnappar.
- HOME hnappur: Fer aftur í heimavalmynd Nintendo Switch.
- UPPHAFSHNAPPUR: Tekur skjáskot eða myndskeið.
- + (Plus) Button: Byrja/hlé hnappur.
- - (Mínus) hnappur: Velja hnappur.
- TURBO hnappur: For setting rapid-fire functionality (refer to operating section).
- LED Vísar: Display connection status, player number, and charging status.
4. Uppsetning og tenging
4.1 Upphafshleðsla
Before first use, fully charge the controller. Connect the USB charging cable to the controller's charging port and the other end to a USB power source (e.g., Nintendo Switch dock, USB wall adapter, computer USB port). The LED indicators will show charging status and turn off or change color when fully charged.
4.2 Pörun við Nintendo Switch
- On your Nintendo Switch HOME Menu, select "Controllers".
- Veldu „Breyta gripi/röð“.
- On the Steelplay Adventure Controller, press and hold the HOME takki og Y hnappur simultaneously for a few seconds until the LED indicators start flashing rapidly. This indicates the controller is in pairing mode.
- The Nintendo Switch will detect the controller. Once detected, the LED indicators on the controller will stop flashing and remain solid, indicating a successful connection.
- Press the L+R buttons on the controller as prompted by the Switch screen to finalize the connection.
Once paired, the controller will automatically connect to your Nintendo Switch when powered on and within range.
5. Notkun stjórntækisins
5.1 Grunnstýringar
The Steelplay Adventure Controller functions similarly to official Nintendo Switch Pro Controllers. Use the analog sticks for movement, D-pad for directional input, and A/B/X/Y buttons for in-game actions. The L/R and ZL/ZR buttons provide additional input options.
5.2 Hreyfistýring
The controller supports motion control functionality, allowing for immersive gameplay in compatible titles. Ensure your Nintendo Switch system software is up to date for optimal motion control performance.
5.3 TURBO virkni
The TURBO function allows a button to be pressed repeatedly as long as it is held down, providing a rapid-fire effect.
- Til að virkja TURBO: Ýttu á og haltu inni TURBO takki, then press the desired action button (e.g., A, B, X, Y, L, R, ZL, ZR). The button will now have TURBO functionality.
- Til að slökkva á TURBO: Ýttu á og haltu inni TURBO takki again, then press the same action button. The TURBO function for that button will be turned off.
6. Viðhald
6.1 Þrif
Til að þrífa stjórntækið skaltu nota mjúkan, þurran klút. Fyrir þrjósk óhreinindi skaltu þurrka örlítið.ampen the cloth with water and gently wipe the surface. Do not use harsh chemicals, solvents, or abrasive cleaners, as these can damage the controller's finish and internal components.
6.2 Geymsla
Store the controller in a cool, dry place away from direct sunlight, extreme temperatures, and high humidity. Avoid placing heavy objects on the controller to prevent damage to the buttons or casing.
6.3 Umhirða rafhlöðu
The controller contains a built-in Lithium-ion battery. To prolong battery life, avoid fully discharging the battery frequently. If storing the controller for an extended period, charge it to approximately 50% capacity every few months.
7. Bilanagreining
| Vandamál | Möguleg orsök | Lausn |
|---|---|---|
| Controller does not connect to Switch. |
|
|
| Inntakstöf eða óvirkir hnappar. |
|
|
| Controller does not charge. |
|
|
8. Tæknilýsing
| Eiginleiki | Smáatriði |
|---|---|
| Vörumerki | Steelplay |
| Gerðarnúmer | 3760352735322 |
| Tengingar | Bluetooth (þráðlaust) |
| Samhæf tæki | Nintendo Switch |
| Litur | Multicolore (Teal, Brown, Yellow) |
| Sérstakir eiginleikar | Wireless, Motion Control, TURBO Function |
| Þyngd | 185 grömm |
| Mál (L x B x H) | 16 x 11.5 x 6.3 sentimetrar |
| Tegund rafhlöðu | 1 Lithium-ion (built-in) |
9. Ábyrgð og stuðningur
The product packaging indicates a 5-year warranty. For specific warranty terms, conditions, and support inquiries, please refer to the official Steelplay webvefsíðu eða hafðu samband við þjónustuver þeirra beint. Geymdu kaupkvittunina þína vegna ábyrgðarkröfu.
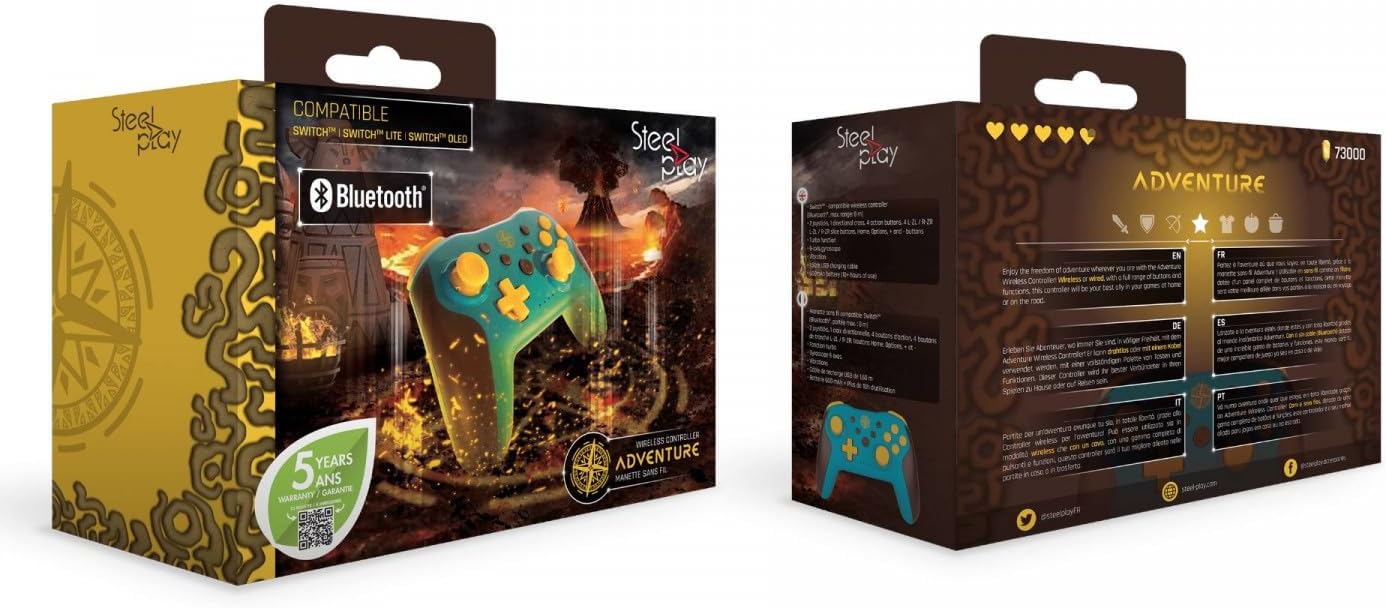
Mynd 2: Packaging of the Steelplay Adventure Controller. The box prominently features the controller's design, compatibility with various Nintendo Switch models, Bluetooth logo, and a "5 years warranty" seal. The reverse side provides product information in multiple languages.


