1. Inngangur
Welcome to the user manual for your Lenovo ThinkPad P17 Gen 2 Workstation. This document provides essential information for setting up, operating, maintaining, and troubleshooting your new device. The ThinkPad P17 Gen 2 is a high-performance mobile workstation designed for demanding professional tasks, featuring an Intel i7-11850H vPro processor, NVIDIA RTX A2000 graphics, a 17.3-inch 4K UHD IPS display, and Windows 11 Pro.
Please read this manual thoroughly to ensure optimal performance and longevity of your workstation.
2. Vöru lokiðview
The Lenovo ThinkPad P17 Gen 2 is engineered for power and reliability. Familiarize yourself with its components and features.
2.1. Framan View

Image: The Lenovo ThinkPad P17 Gen 2 Workstation open, showcasing its 17.3-inch display and full-sized keyboard. The screen displays a complex data analysis application, highlighting its capability for demanding tasks.

Mynd: Ofan frá view of the Lenovo ThinkPad P17 Gen 2, showing the keyboard with a numeric keypad, the TrackPoint pointing device, and the large display.
2.2. Side and Rear Views (Ports and Connectors)

Mynd: Hlið view of the ThinkPad P17 Gen 2, illustrating various ports such as USB, HDMI, and the SD Card Reader, essential for connectivity.

Mynd: Aftan view of the ThinkPad P17 Gen 2, highlighting additional ports and cooling vents, designed for efficient heat dissipation during intensive use.
Helstu höfnir eru meðal annars:
- 2 x Thunderbolt 4 (Type-C)
- 1 x HDMI 2.1
- USB 3.2 Type-C
- SD kortalesari
- Ethernet staðarnet (RJ-45)
- Samsett tengi fyrir heyrnartól/hljóðnema
2.3. Dockztorm Portable USB Hub

Image: The compact blue Dockztorm Portable USB Hub, designed for expanding connectivity options.
Your workstation includes a Dockztorm Portable USB Hub for additional connectivity. This hub provides super speedy data sync rates up to 5Gbps, allowing you to connect more peripherals.
3. Uppsetning
Follow these steps to set up your Lenovo ThinkPad P17 Gen 2 Workstation.
3.1. Upptaka
- Takið vinnustöðina og allan fylgihluti varlega úr umbúðunum.
- Verify that all components are present: laptop, power adapter, power cord, and the Dockztorm Portable USB Hub.
3.2. Tengja máttur
- Tengdu rafmagnssnúruna við straumbreytinn.
- Plug the power adapter into the workstation's power input port.
- Stingdu rafmagnssnúrunni í jarðtengda rafmagnsinnstungu.
- Leyfðu rafhlöðunni að hlaðast að fullu áður en hún er notuð í fyrsta skipti, þó geturðu byrjað að nota fartölvuna á meðan hún hleðst.
3.3. Initial Boot-Up and Windows 11 Pro Setup
- Opnaðu lokið á fartölvunni og ýttu á rofann.
- Follow the on-screen instructions to complete the Windows 11 Pro initial setup, including language selection, network connection, user account creation, and privacy settings.
3.4. Tengja jaðartæki
- Dockztorm Hub: Connect the Dockztorm Portable USB Hub to an available USB port on your workstation to expand your connectivity options for additional USB devices.
- Ytri skjár: Use the HDMI 2.1 or Thunderbolt 4 (Type-C) ports to connect an external monitor.
- Net: Til að fá aðgang að neti með snúru skaltu tengdu Ethernet-snúru við RJ-45 tengið.
4. Rekstur
This section covers basic operation and key features of your ThinkPad P17 Gen 2 Workstation.
4.1. Lyklaborð og snertiflötur
- The workstation features a full-sized backlit keyboard with a numeric keypad for enhanced productivity.
- Utilize the Trackpad for precise cursor control. The TrackPoint pointing device in the center of the keyboard offers an alternative navigation method.
- The integrated Fingerprint Security System allows for secure and quick login.
4.2. Skjárstillingar
Your workstation features a 17.3-inch 4K Ultra HD (3840x2160) IPS display. To adjust display settings:
- Hægrismelltu á skjáborðið og veldu „Skjástillingar“.
- Adjust resolution, scaling, and multiple display configurations as needed.
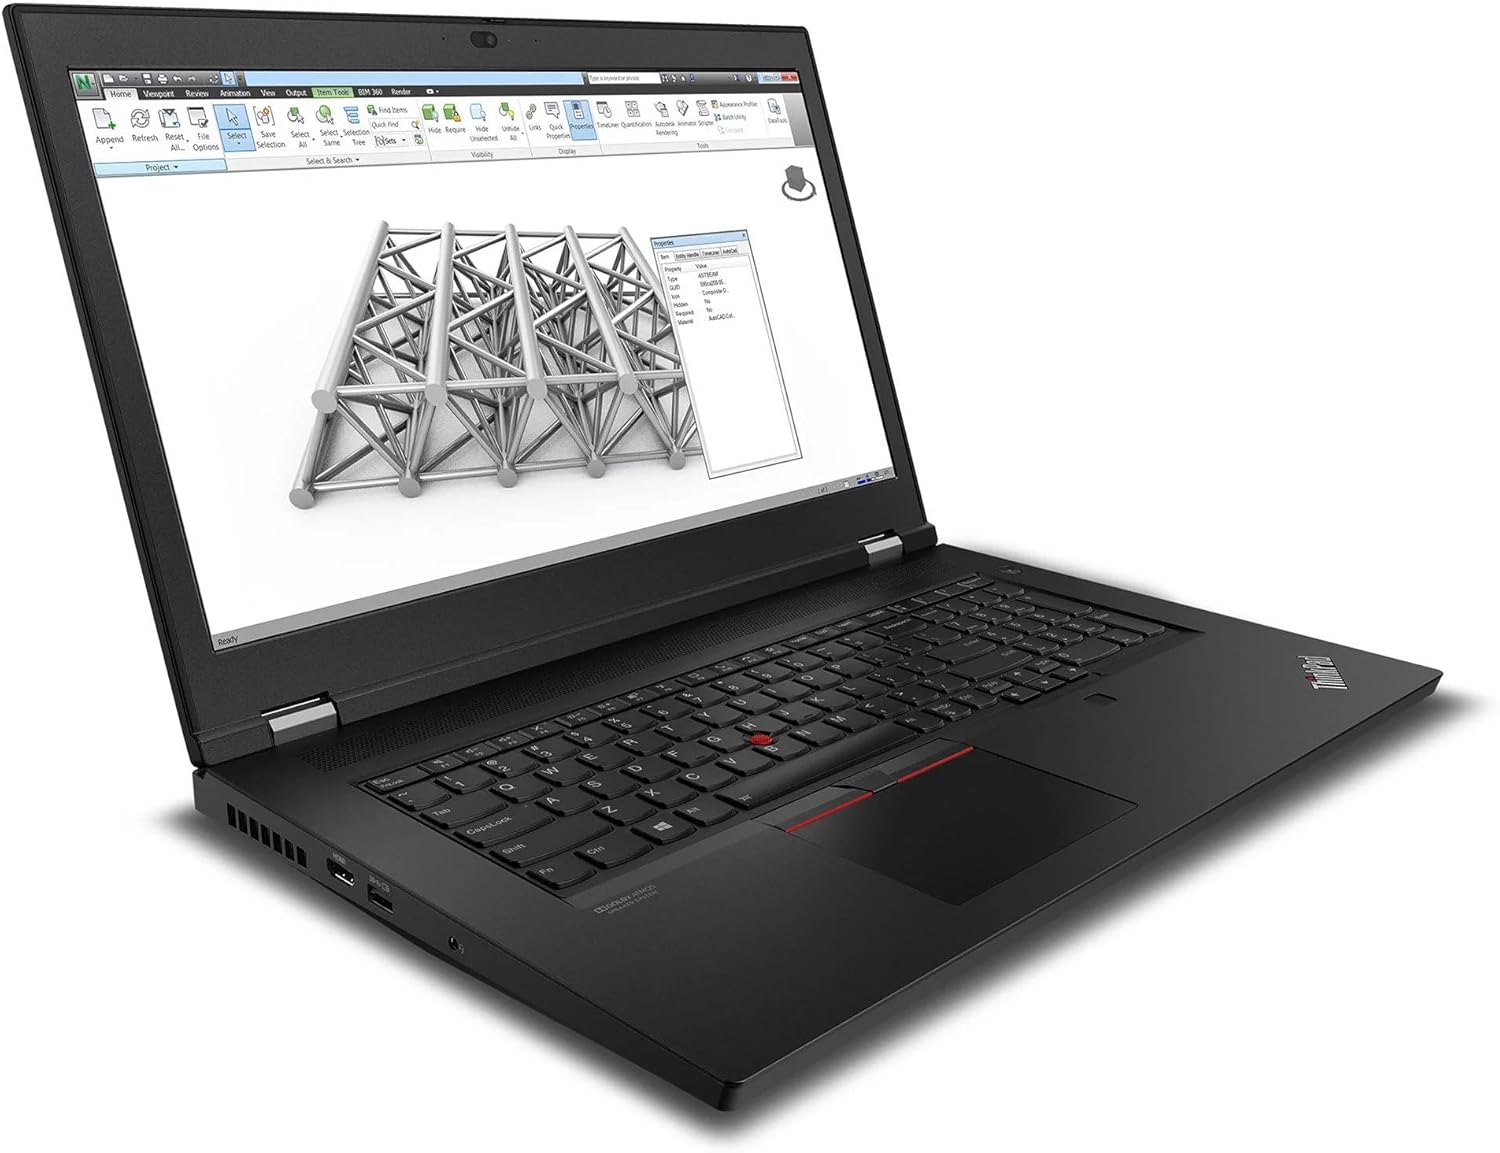
Image: The ThinkPad P17 Gen 2 displaying a detailed 3D model, demonstrating its high-resolution screen and graphics capabilities for design and engineering applications.
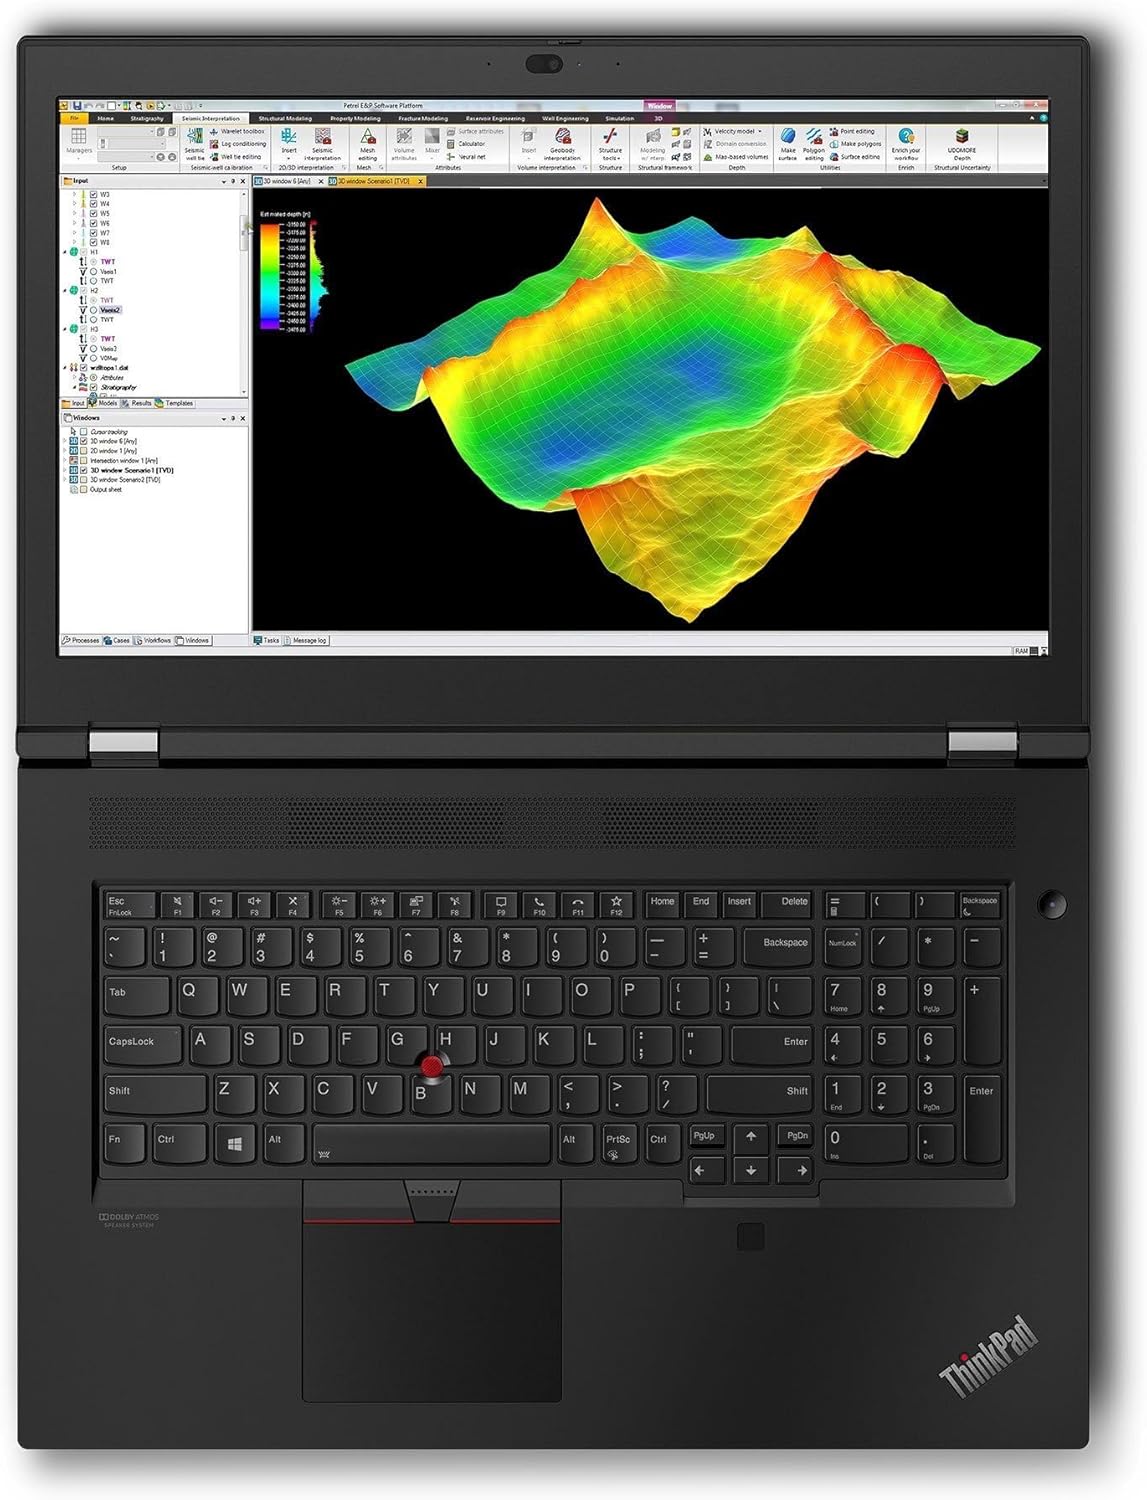
Image: The workstation screen showing complex geological data, illustrating its suitability for scientific visualization and analysis.
4.3. Tengingar
- Wi-Fi 6E: Connect to high-speed wireless networks. Access Wi-Fi settings via the Windows taskbar.
- Bluetooth 5.3: Pair with Bluetooth devices such as headphones, mice, or keyboards. Manage Bluetooth devices in Windows Settings > Bluetooth & devices.
- Thunderbolt 4: These versatile ports support high-speed data transfer, video output, and power delivery.
5. Viðhald
Proper maintenance ensures the longevity and optimal performance of your workstation.
5.1. Þrif
- Skjár: Notaðu létt mjúkan, lólausan klút dampÞvoið með vatni eða skjáhreinsilausn. Ekki úða vökva beint á skjáinn.
- Undirvagn og lyklaborð: Notið mjúkan klút. Fyrir þrjósk óhreinindi, örlítið þurrt.amp Hægt er að nota klút með mildri sápu og tryggja að vökvi komist ekki inn í op.
- Loftop: Periodically clean the cooling vents with compressed air to prevent dust buildup, which can affect performance.
5.2. Umhirða rafhlöðu
- Forðastu að tæma rafhlöðuna alveg oft.
- Geymið fartölvuna á köldum og þurrum stað ef hún er ekki notuð í langan tíma.
- Til að hámarka rafhlöðuheilsu skaltu forðast að láta fartölvuna verða fyrir miklum hita.
5.3. Hugbúnaðaruppfærslur
- Regularly update Windows 11 Pro through Windows Update to ensure security and performance.
- Check for driver updates for your NVIDIA RTX A2000 graphics card and other components from the Lenovo support website or NVIDIA's official site.
6. Bilanagreining
Þessi hluti býður upp á lausnir á algengum vandamálum sem þú gætir lent í.
6.1. No Power / Does Not Turn On
- Gakktu úr skugga um að rafmagnsmillistykkið sé vel tengt bæði við fartölvuna og virkan rafmagnsinnstungu.
- Athugaðu hvort rafmagnsinnstungan virki með því að stinga í samband annað tæki.
- Ef rafhlaðan er alveg tæmd getur það tekið nokkrar mínútur að hlaða fartölvuna áður en hægt er að kveikja á henni.
6.2. Skjávandamál
- Engin mynd á skjánum: Gakktu úr skugga um að fartölvan sé kveikt. Ef utanaðkomandi skjár er tengdur skaltu prófa að aftengja hann eða ýta á Fn + F7 (or the appropriate function key) to cycle display outputs.
- Flikrandi eða brengluð mynd: Update your graphics drivers. Try adjusting the display resolution in Windows settings.
6.3. Connectivity Problems (Wi-Fi / Bluetooth)
- Wi-Fi: Ensure Wi-Fi is enabled in Windows settings. Restart your router and modem. Run the Windows Network Troubleshooter.
- Bluetooth: Ensure Bluetooth is enabled. Try unpairing and re-pairing the device. Update Bluetooth drivers.
6.4. System Performance Issues
- Hæg frammistaða: Check Task Manager for processes consuming high CPU or RAM. Ensure Windows and drivers are up to date. Clear temporary files.
- Ofhitnun: Ensure cooling vents are clear. Consider using a cooling pad for extended heavy workloads.
7. Tæknilýsing
Detailed technical specifications for the Lenovo ThinkPad P17 Gen 2 Workstation (B0CKD2N4PJ configuration):
| Eiginleiki | Forskrift |
|---|---|
| Örgjörvi | Intel i7-11850H vPro (11th Gen, 2.50GHz, up to 4.8 GHz, 8-Cores, 16-Threads) |
| Stýrikerfi | Windows 11 Pro-64 |
| Skjár | 17.3-inch IPS 4K Ultra HD (3840x2160) 60Hz 16:9 |
| Grafík | NVIDIA RTX A2000 4GB GDDR6 (Dedicated) |
| vinnsluminni | 64GB DDR4 SO-DIMM |
| Geymsla | 2TB PCIe NVMe SSD diskur |
| Tengingar | Wi-Fi 6E AX210, Bluetooth 5.3, Ethernet LAN (RJ-45) |
| Hafnir | 2x Thunderbolt 4 (Type-C), 1x HDMI 2.1, USB 3.2 Type-C, SD Card Reader, Headphone/Microphone Combo Jack |
| Öryggi | Fingrafaraöryggiskerfi |
| Rafhlaða | 6-sellu 94 Wh rafhlaða |
| Aflgjafi | 170W |
| Mál (BxLxH) | 16.3 x 11 x 1.3 tommur |
| Þyngd | 7.8 pund |
8. Ábyrgð og stuðningur
Your Lenovo ThinkPad P17 Gen 2 Workstation comes with a 1-Year Manufacturer warranty from GreatPriceTech. This warranty covers defects in materials and workmanship under normal use.
For warranty claims, technical assistance, or support inquiries, please contact GreatPriceTech directly. Refer to the documentation provided with your purchase for specific contact information.
For general information and driver downloads, you may also visit the official Lenovo support websíða.


