1. Inngangur
This manual provides detailed instructions for the installation, operation, and maintenance of your Marhynchus SmartSolar MPPT Solar Charge Controller. This advanced controller is designed to efficiently manage power from your solar panels to charge various battery types, ensuring optimal performance and longevity of your solar power system. Please read this manual thoroughly before installation and use.
2. Öryggisupplýsingar
Vinsamlegast fylgið eftirfarandi öryggisráðstöfunum við uppsetningu og notkun:
- Ensure all connections are correct and secure before applying power. Incorrect wiring can cause damage to the controller, battery, or solar panels.
- Aftengdu alltaf sólarsella og rafhlöðu áður en stjórntækið er sett upp eða stillt.
- Setjið stjórntækið upp á vel loftræstum stað, fjarri eldfimum efnum og beinu sólarljósi.
- Ekki taka stjórntækið í sundur eða reyna að gera við það sjálfur. Hafðu samband við hæft starfsfólk til að fá þjónustu.
- Wear appropriate personal protective equipment, such as safety glasses and insulated gloves, when working with electrical systems.
- This controller is designed for specific battery types. Ensure your battery type is compatible before connection.
3. Vörueiginleikar
The Marhynchus SmartSolar MPPT Solar Charge Controller offers a range of advanced features for efficient solar power management:
- Ítarleg MPPT tækni: Utilizes Maximum Power Point Tracking algorithms for over 99.5% tracking efficiency, maximizing energy harvest from solar panels.
- Sjálfvirk Voltage auðkenning: Automatically detects 12V, 24V, 36V, and 48V system voltages.
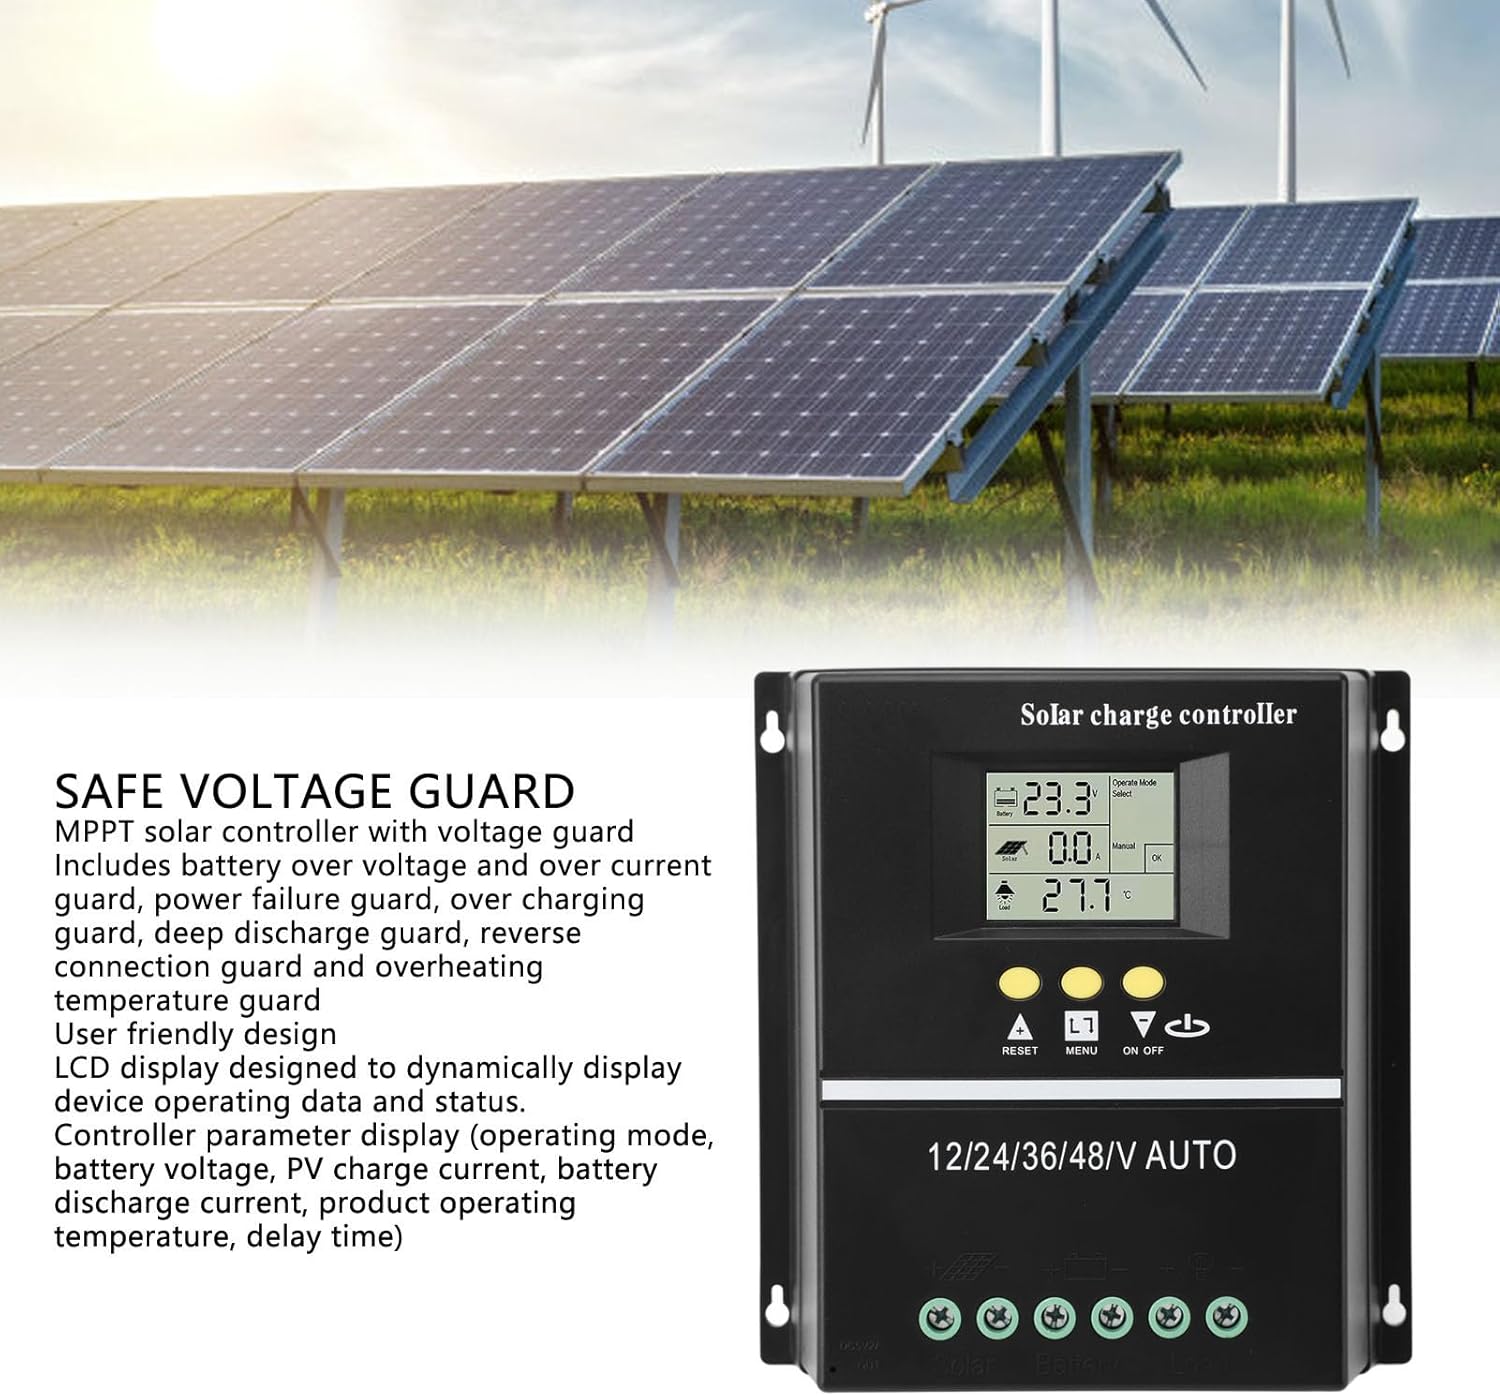
- Multifunctional LCD Display: Backlit display shows operating data, working status, battery voltage, PV charging current, battery discharging current, product operating temperature, and delay time.
- Seven Working Modes: Includes Charging Mode, Light Control Mode, Light and Delay Control Mode, Universal Control Mode, Manual Control Mode, and Timer Control Mode.
- Alhliða vernd: Features battery overvoltage/overcurrent protection, power failure protection, overcharge protection, deep discharge protection, reverse connection protection, and overheat temperature protection.
- Samhæfni við margar rafhlöður: Compatible with Sealed, GEL, Flooded, and LiFePO4 battery types.
- Tvö USB hleðslutengi: Provides two 5V USB charging outputs.
4. Vöru lokiðview og Tengingar
Familiarize yourself with the controller's components and connection points.


5. Uppsetning og uppsetning
Follow these steps for proper installation of your MPPT solar charge controller:
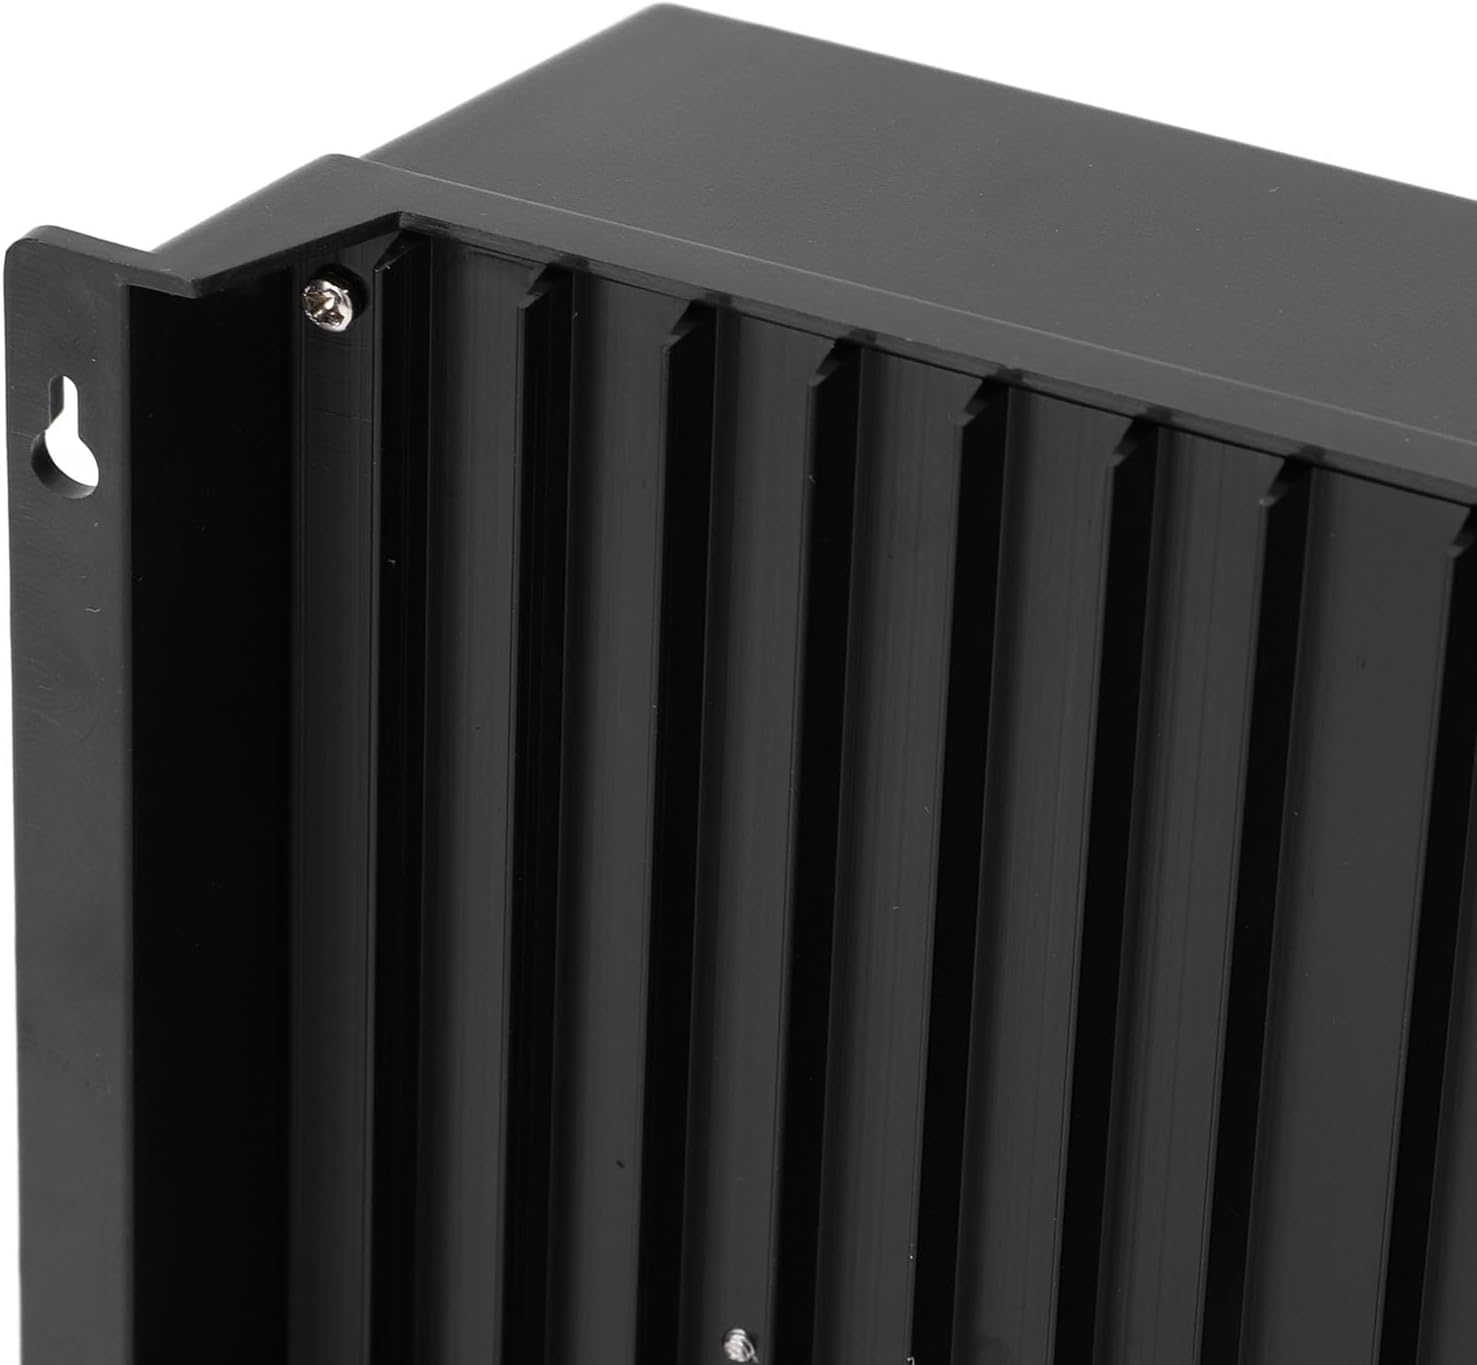
- Uppsetning: Choose a dry, well-ventilated location, protected from direct sunlight and moisture. Mount the controller vertically on a solid surface to allow for proper heat dissipation.
- Raflagnaröð: It is critical to connect components in the correct order to prevent damage.
- Step 1: Connect the Battery. Connect the battery to the controller's battery terminals (marked with '+' and '-'). Ensure correct polarity. The controller will automatically detect the system voltage.
- Step 2: Connect the Solar Panel. Connect the solar panel array to the controller's solar terminals (marked with 'Solar +' and 'Solar -'). Ensure correct polarity.
- Step 3: Connect the Load. Connect your DC load to the controller's load terminals (marked with 'Load +' and 'Load -'). Ensure correct polarity.
- Stærð kapals: Use appropriate gauge wiring for all connections to minimize voltage drop and ensure safe operation. Refer to local electrical codes.

6. Notkunarleiðbeiningar
The controller features an intuitive LCD display and control buttons for easy operation.
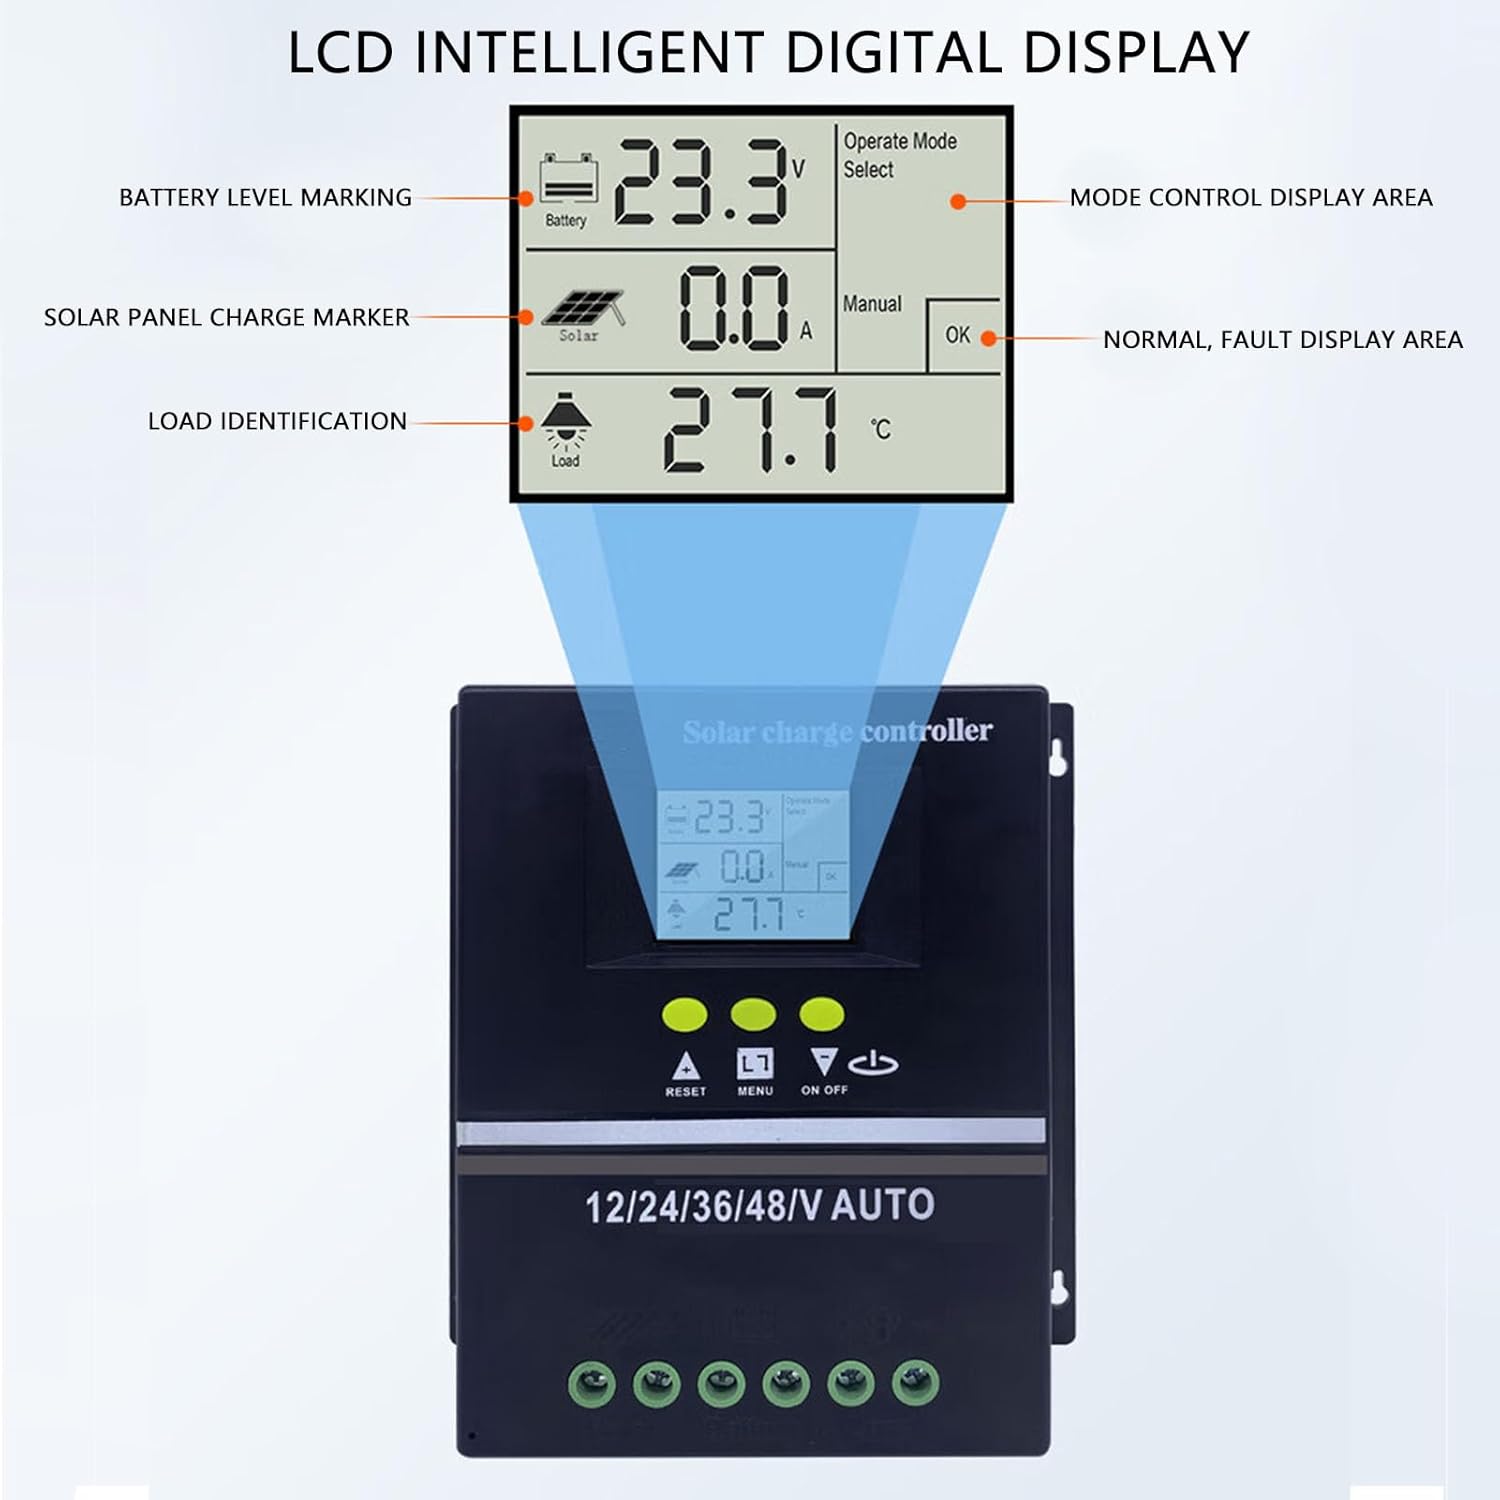
6.1 LCD skjár yfirview
- Battery Level Marking: Indicates current battery charge status.
- Solar Panel Charge Marker: Shows when solar panels are actively charging.
- Load Identification: Indicates if a load is connected and drawing power.
- Operate Mode Select: Displays the currently selected working mode.
- Normal/Fault Display Area: Shows system status or error codes.
- Digital Readings: Sýnir rafhlöðu voltage (V), PV charging current (A), and product operating temperature (°C).
6.2 stjórnhnappar
- RESET hnappur: Used to reset certain parameters or clear fault indications.
- MENU hnappur: Navigates through display screens and enters parameter settings.
- UPP/NIÐUR hnappar: Adjusts parameter values or scrolls through options.
- ON/OFF hnappur: Manually controls the DC load output.
6.3 Vinnustillingar
The controller supports seven distinct working modes:
- Hleðslustilling: Standard battery charging from solar panels.
- Ljósastýringarstilling: Hleðslan kviknar sjálfkrafa í rökkri og slokknar í dögun.
- Light and Delay Control Mode: Hleðslan kviknar í rökkrinu og helst á í ákveðinn tíma.
- Universal Control Mode: Load is always on (unless battery voltage er lágt).
- Handvirk stjórnunarstilling: Load is controlled manually via the ON/OFF button.
- Timer Control Mode: Load operates according to a programmed schedule.
- (Note: The seventh mode is not explicitly detailed in the feature bullets, but the description mentions 7 modes. Users should refer to the on-screen menu for full details.)
To select a working mode or adjust parameters, press the MENU button to enter the settings interface, then use the UP/DOWN buttons to navigate and adjust values. Press MENU again to confirm or exit.
7. Viðhald
Reglulegt viðhald tryggir bestu mögulegu afköst og endingu sólarhleðslustýringarinnar:
- Skoðaðu tengingar: Athugið reglulega hvort allar raflagnir séu þéttar eða tærðar. Lausar tengingar geta valdið ofhitnun og lélegri virkni.
- Hreinsa stjórnandi: Keep the controller clean and free of dust and debris. Use a dry cloth to wipe the exterior. Do not use liquids or solvents.
- Loftræsting: Ensure the installation area remains well-ventilated and that the heat sink fins are not obstructed.
- Heilsa rafhlöðu: Monitor your battery's health and charge levels. Ensure it is compatible with the controller's settings.
- Umhverfisskilyrði: Protect the controller from extreme temperatures, direct water exposure, and high humidity.
8. Bilanagreining
Ef þú lendir í vandræðum með stjórntækið þitt skaltu skoða eftirfarandi algeng vandamál og lausnir:
| Vandamál | Möguleg orsök | Lausn |
|---|---|---|
| Slökkt er á stýrisskjánum. | No power from battery or solar panel; incorrect wiring. | Check battery and solar panel connections. Ensure battery is charged above minimum operating voltage. |
| Rafhlaða hleðst ekki. | Solar panel not connected; insufficient sunlight; faulty solar panel; incorrect battery type setting. | Verify solar panel connections. Ensure adequate sunlight. Check solar panel output. Confirm battery type setting on controller. |
| Load not working. | Load disconnected; battery voltage too low; load overcurrent; incorrect load mode. | Check load connections. Charge battery. Reduce load or check for short circuit. Verify load working mode (e.g., not in light control mode during day). |
| Villukóði á skjánum. | System fault (e.g., overvoltage, reverse polarity). | Refer to the controller's on-screen error messages for specific details. Disconnect power, check wiring, and reconnect. If persistent, contact support. |
For issues not listed here, or if troubleshooting steps do not resolve the problem, please contact Marhynchus customer support.
9. Tæknilýsing
Key technical specifications for the Marhynchus SmartSolar MPPT Solar Charge Controller (200A):
- Gerðarnúmer: Marhynchus5whiur3xgv-14
- Núverandi einkunn: 200A
- System Voltage: 12V/24V/36V/48V Auto Identification
- Hámark PV Inntak Voltage: 100V
- Skilvirkni rakningar: ≥99.5%
- Samhæfni rafhlöðu: Sealed, GEL, Flooded, LiFePO4
- USB úttak: Dual 5V ports
- Þyngd hlutar: 1.63 pund
- Stærðir pakka: 8.27 x 8.27 x 3.15 tommur
- Framleiðandi: Marhynchus
10. Ábyrgð og stuðningur
For warranty information, technical support, or service inquiries, please contact Marhynchus customer service through your purchase platform or the official Marhynchus website. Please have your model number (Marhynchus5whiur3xgv-14) and purchase details ready when contacting support.
Marhynchus Official Store: Heimsækja verslun


