1. Inngangur
This manual provides essential information for the safe and efficient operation of your Anern 4200W Hybrid Solar Inverter. Please read this manual thoroughly before installation and use. Keep it for future reference.
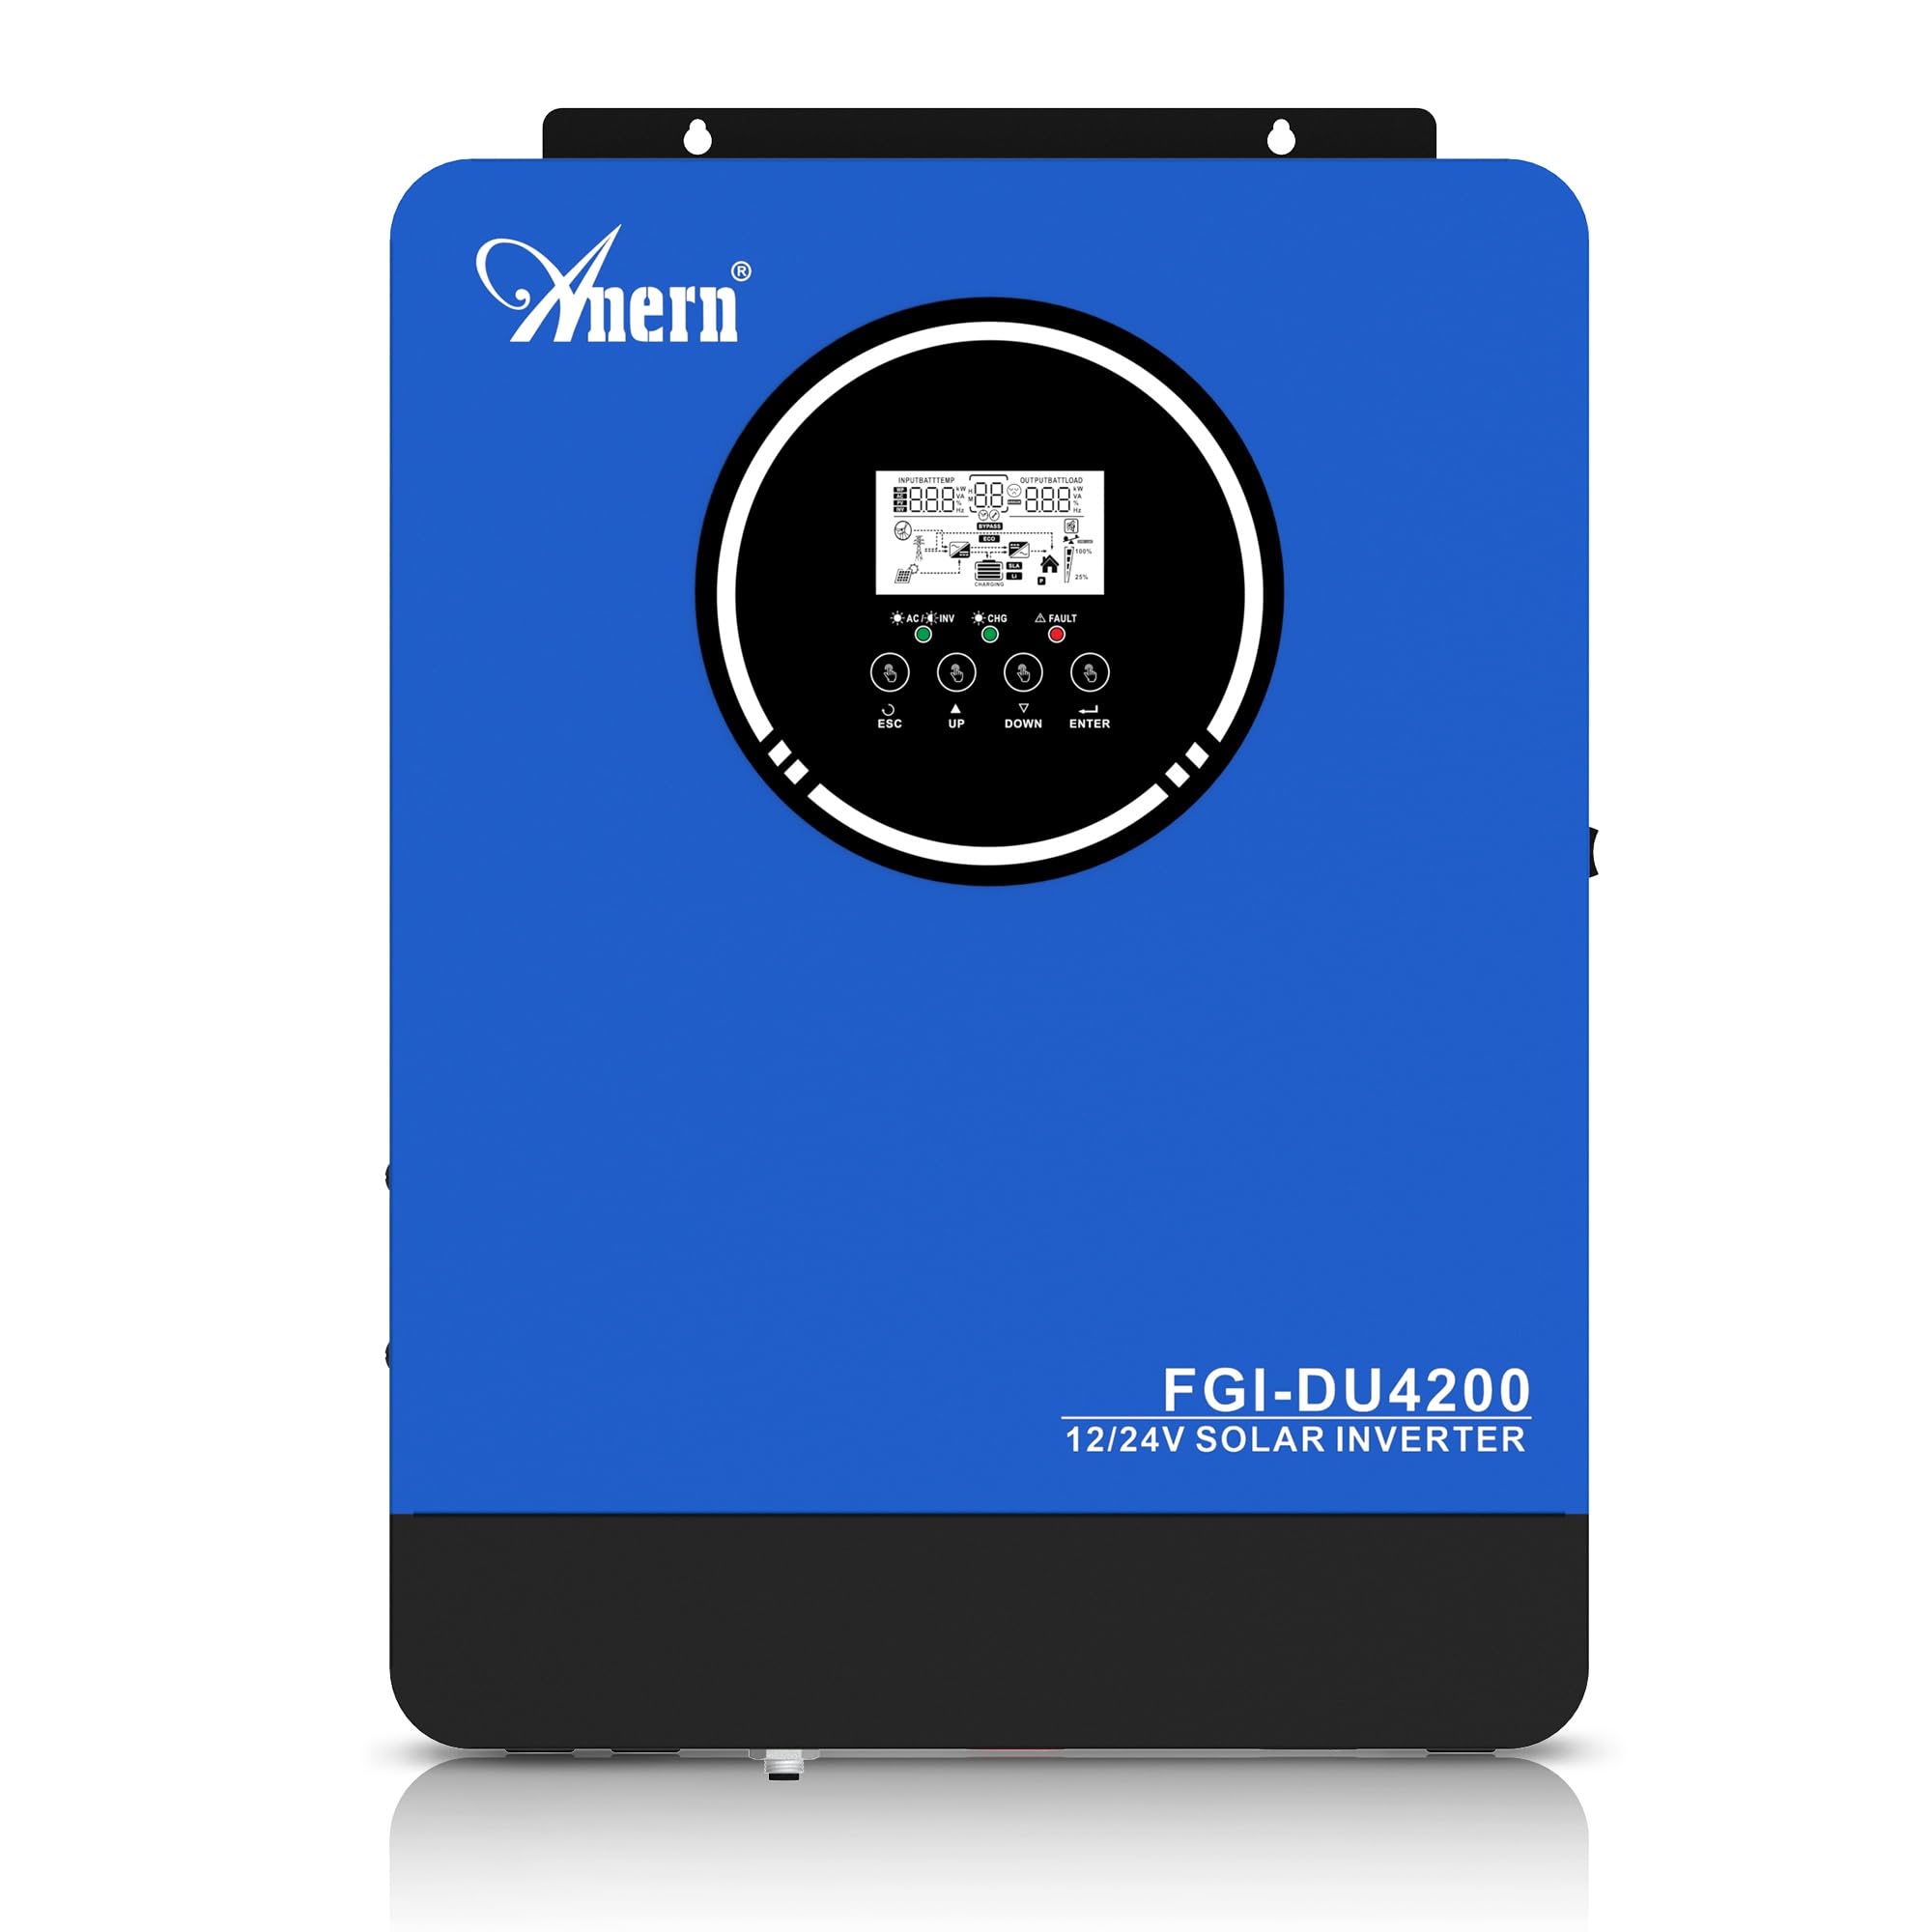
Figure 1: Anern 4200W Hybrid Solar Inverter. This image displays the main unit of the inverter, highlighting its key specifications such as 100A AC charging current, 4200W rated output power, and 500 VDC maximum PV array voltage.
2. Öryggisleiðbeiningar
Fylgið alltaf eftirfarandi öryggisráðstöfunum til að draga úr hættu á raflosti, eldsvoða eða meiðslum:
- Uppsetning verður að vera framkvæmd af hæfu starfsfólki.
- Ensure all wiring is correctly connected and equipped with appropriate protective switches.
- Ekki taka inverterinn í sundur. Það eru engir hlutar inni í honum sem notandinn getur gert við.
- Forðist að inverterinn verði fyrir rigningu, snjó, úða eða öðrum vökvum.
- Tryggið næga loftræstingu í kringum inverterinn til að koma í veg fyrir ofhitnun.
- Disconnect all power sources (PV, battery, utility) before performing any maintenance or wiring.
3. Vöru lokiðview
The Anern 4200W Hybrid Solar Inverter is designed to convert DC power from solar panels and batteries into AC power for household use. It features an integrated 100A MPPT solar charge controller and supports both 12V and 24V battery systems with automatic detection.
Helstu eiginleikar:
- 4200W hrein sinusbylgjuúttak: Provides stable and clean power for sensitive electronics.
- 100A MPPT sólarhleðslustýring: Hámarkar orkunýtingu úr sólarplötum.
- 12V/24V Battery Auto-Detection: Automatically adjusts output based on connected battery voltage.
- BMS tengi: Supports communication with lithium batteries for enhanced monitoring and protection.
- Real-time LED Display: Shows system status, operating data, and error codes.
- Configurable Charging & Output Modes: Offers flexibility for various application needs.
- Optional WiFi/GPRS Monitoring: Remote monitoring capability (module sold separately).

Figure 2: Inverter Display and Controls. This image illustrates the inverter's LCD display, function buttons for configuration, and the optional WiFi module for remote monitoring.
4. Uppsetning og uppsetning
4.1 Raflagnamynd
Refer to the electrical schematic for proper system wiring. Ensure all connections are secure and correctly polarized.

Figure 3: Electrical Schematic. This diagram shows the complete wiring for a solar inverter system, including solar panels, combiner box, DC/AC breakers, inverter, utility grid connection, and loads.
4.2 Rafhlöðutenging
The inverter supports 12V and 24V battery configurations. It automatically detects the battery voltage and adjusts its output accordingly (2300W for 12V, 4200W for 24V). For 24V systems, connect two 12V batteries in series. For 12V systems, connect batteries in parallel if increasing afkastageta.

Figure 4: Battery Connection Options. This image illustrates how to connect batteries for 12V (parallel connection for 2300W output) and 24V (series connection for 4200W output) systems.
The inverter also supports lithium batteries and includes a BMS (Battery Management System) interface for monitoring and protection. Ensure the BMS is properly connected if using lithium batteries.

Figure 5: Communication Interfaces. This image highlights the dual communication interfaces for BMS (Battery Management System) and optional WiFi module, enabling remote monitoring and battery communication.
4.3 Startup and Shutdown Sequence
Ræsingarröð:
- Tengdu rafhlöðuna.
- Kveiktu á inverterinu.
- Activate the protective switches for PV, Utility, and Loads.
Lokunarröð:
- Deactivate the protective switches for Loads, Utility, and PV.
- Slökktu á inverterinu.
- Aftengdu rafhlöðuna.
Important Note: Inductive loads (e.g., motors, refrigerators) may require up to 3 times their rated power for startup. Ensure the inverter's capacity is sufficient to handle these surge loads. Exceeding the inverter's surge capacity can cause damage.
5. Rekstur
5.1 LCD skjár og stillingar
The inverter features an LED display that provides real-time system data and operating status. Use the function buttons below the display to navigate menus and configure settings. Settings include battery charging current, AC/solar charging priority, and charging current priority.
5.2 hleðslustillingar
The inverter offers four configurable charging modes:
- Forgangur sólarorku: Solar power is prioritized for charging.
- Aðeins sólarorka: Einungis sólarorka er notuð til hleðslu.
- Forgangsröðun gagnsemi: Utility grid power is prioritized for charging.
- Solar + Utility Hybrid: Sameinar sólarorku og orku frá almennum tækjum til hleðslu.
5.3 Úttaksstillingar
Three output modes are available to adapt to various application needs:
- Sólarforgangur (SUB): Solar power is prioritized for loads.
- Forgangur gagnsemi (USB): Utility grid power is prioritized for loads.
- SBU: Solar, Battery, Utility priority.

Figure 6: Charging and Output Modes. This diagram visually explains the four available charging modes (Solar Charge, Utility Priority, Solar Priority, Hybrid Charge) and three load output modes (PV Priority, Utility Priority, SBU Priority).
5.4 Fjarvöktun
The inverter supports remote monitoring via an optional WiFi/GPRS module (sold separately). This allows users to monitor system performance and status from a distance.
6. Viðhald
Reglulegt viðhald tryggir bestu mögulegu afköst og endingu invertersins:
- Haldið inverternum hreinum og ryklausum. Notið þurran klút til að þrífa.
- Gakktu úr skugga um að loftræstiop séu ekki stífluð.
- Athugið reglulega allar raflagnatengingar hvort þær séu þéttar eða merki um tæringu.
- Monitor the battery status, especially if using lithium batteries with the BMS interface, to prevent overcharge or deep discharge.
- Inspect solar panels for dirt or damage that could reduce efficiency.
7. Bilanagreining
The LED display will show error codes if issues arise. Refer to the inverter's display for specific error codes to diagnose and resolve problems. Common issues and their potential solutions include:
- Engin aflgjafi: Check battery connections, DC/AC breakers, and inverter power switch.
- Lítil rafhlaða Voltage: Ensure batteries are adequately charged. Check charging sources (solar, utility).
- Ofhleðsluviðvörun: Reduce the connected load. Inductive loads may cause temporary overloads during startup.
- Ofhitnun: Ensure proper ventilation. Clean any dust from the inverter's vents.
- Villa í PV inntaki: Check solar panel connections and voltage. Ensure PV array voltage er innan tilgreinds sviðs (55-500V DC).
For persistent issues or error codes not listed, contact customer support.
8. Tæknilýsingar
| Eiginleiki | Forskrift |
|---|---|
| Vörumerki | Anern |
| Gerðarnúmer | AN-FGI-DU 4200 |
| Rafmagn | 4200 Watt |
| Output Power | 4500 Watt |
| Max. Output Power (Watts) | 4200 |
| Úttaksbylgjuform | Hrein sinusbylgja |
| Aflgjafi | Sólarorkuknúið, rafhlöðuknúið |
| Ráðlagðar notkunarleiðir vörunnar | Heim |
| Innifalið íhlutir | Leiðbeiningarhandbók |
| Fylgni | CE |
| Vörumál | 30 x 10 x 40 cm; 8.86 kg |
9. Ábyrgð og stuðningur
For warranty information and technical support, please refer to the documentation provided with your purchase or contact Anern customer service. Keep your purchase receipt as proof of purchase.


